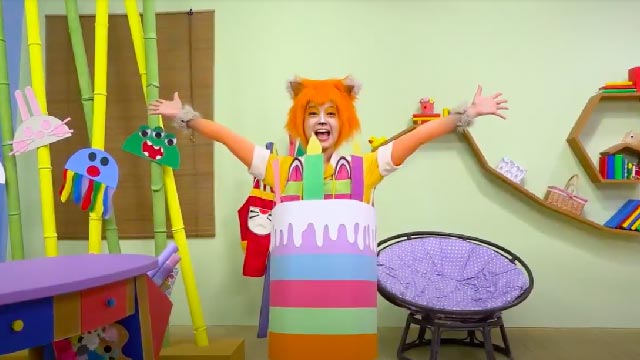
Cake Costume Challenge!
Make a wearable cake costume using cardboard, tissue paper, paint, and straps; design layers, decorate with candles, and practice measuring and cutting safely.


Step-by-step guide to make a wearable cake costume
Step 1
Gather all materials in one spot so you can find them easily.
Step 2
Draw a simple sketch showing how many cake layers you want and how tall each layer will be.
Step 3
Measure and mark the cardboard for every cake tier using a ruler.
Step 4
Cut out the marked cardboard shapes using scissors or a craft knife with adult supervision.
Step 5
Shape each cut piece into a round or square tier and tape the edges to hold the shape.
Step 6
Stack the tiers in the order you want and secure them together with tape or glue.
Step 7
Cut the tissue paper into strips or sheets for covering the cake tiers.
Step 8
Glue the tissue paper onto each tier to cover the cardboard neatly.
Step 9
Paint icing designs and colorful decorations on the covered tiers and let the paint dry.
Step 10
Make candles by cutting paper candle shapes or prepare battery tea lights for the top.
Step 11
Attach the candles safely to the top tier using glue or tape.
Step 12
Measure and attach elastic straps or ribbon to the inside of the bottom tier so you can wear the cake.
Step 13
Try on your cake costume to check the fit and balance.
Step 14
Adjust the straps or add padding until the cake feels comfortable and secure.
Step 15
Share your finished wearable cake costume on DIY.org
Help!?
What can we use instead of hard-to-find materials like large cardboard, tissue paper, or battery tea lights?
Use layered cereal boxes or poster board for the tiers, crepe or wrapping paper instead of tissue paper, and rolled paper candles or inexpensive LED string lights in place of battery tea lights.
My tiers keep collapsing or the tape won't hold—what should I do?
Reinforce taped edges with extra-strong tape or hot glue, insert rolled-up newspaper or a small cardboard tube inside each tier for internal support before stacking, and press tiers together while the glue sets.
How can I adapt this activity for different age groups?
For preschoolers, pre-measure and pre-cut the cardboard and let them glue tissue paper and add stickers, while older kids can measure and cut with a ruler and craft knife (with supervision), paint detailed icing designs, and sew or fasten adjustable elastic straps.
How can we extend or personalize the cake costume to make it more special?
Add LED string lights under the tissue paper, paint a name banner on a tier, attach fabric ruffles or glitter to the painted decorations, or make removable tiers to change the costume height before attaching the elastic straps.
Watch videos on how to make a wearable cake costume
Annie and Sammy with Decorating Cakes Challenges
3 Videos
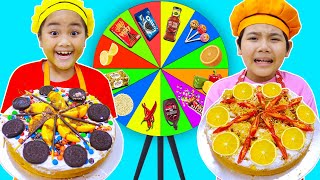
Annie and Sammy with Decorating Cakes Challenges
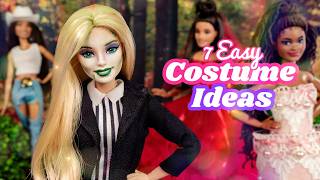
7 Easy Costume Ideas For Dolls: Cake Dress, Removable Makeup & More
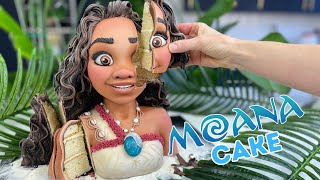
🎉 Sculpting Disney's Moana in Cake | Impress with This Bust Cake!
Facts about costume making for kids
🎂 Ancient Greeks offered moon-shaped cakes to Artemis and lit candles on them — an early ancestor of birthday candles.
📦 Corrugated cardboard gets its strength from a wavy "fluted" inner layer sandwiched between flat liners.
🎨 Tempera (poster) paints are water-based, fast-drying, and popular in schools because they're bright and usually washable.
✂️ Safety scissors for kids have blunted tips and smaller grips to help prevent pokes and teach safe cutting skills.
🕯️ Battery-operated LED "candles" are a fun, flame-free decoration that keep wearable costumes much safer at parties.
How do I make a wearable cake costume for the Cake Costume Challenge?
What materials do I need to make a cake costume?
What ages is the Cake Costume Challenge suitable for?
What safety precautions should I follow when making a wearable cake costume?
