Build your own moose on Bloxburg
Design and build your own moose in Bloxburg using in game building tools, planning proportions, choosing colors, and testing poses for stability.


Step-by-step guide to build your own moose on Bloxburg
Step 1
Open Bloxburg and enter Build Mode so you can start creating.
Step 2
Choose an empty flat lot or clear a flat area to build your moose.
Step 3
Draw a simple sketch of your moose on paper showing the head body legs and antlers to plan proportions.
Step 4
Use a ruler to decide how many grid squares tall and wide each part will be from your sketch.
Step 5
In Build Mode place large blocks to form the moose’s body using your measurements.
Step 6
Add blocks to make the moose’s head and attach it to the front of the body.
Step 7
Build four legs from long thin pieces and place them under the body where they will support the weight.
Step 8
Create antlers with smaller pieces and attach them to the top of the head.
Step 9
Paint the body head legs and antlers using the colour tool to match your design.
Step 10
Switch to Play Mode and gently push or walk around the moose to check if it stays upright.
Step 11
Go back to Build Mode and adjust leg positions or add hidden support blocks until the moose is stable.
Step 12
Add final details like eyes nose fur patterns or decorations to finish your moose.
Step 13
Share your finished moose on DIY.org
Help!?
What can I use instead of a physical ruler or hard-to-find long thin pieces from the instructions?
Use the game's grid squares on-screen instead of a physical ruler to count measurements, and replace long thin pieces for the legs with stacked thin blocks or pillars from the Build Mode catalog.
My moose keeps tipping over when I switch to Play Mode—what should I check and fix?
If the moose tips in Play Mode, return to Build Mode to widen or re-center the four legs on grid squares and add hidden support blocks under the body or connect legs to a base until it stays upright.
How can I adapt this moose-building activity for different ages?
For younger kids, simplify by letting them place a few large blocks for the body and head and use simple stick antlers, while older kids can follow the sketch-to-grid step, build detailed antlers with smaller pieces, paint patterns with the colour tool, and test stability in Play Mode themselves.
What are some ways to enhance or personalize the finished moose beyond the basic steps?
Personalize the moose by painting custom fur patterns with the colour tool, adding decorations or a themed base from extra blocks (like snow or trees), experimenting with different antler shapes from smaller pieces, and then share photos of the finished moose on DIY.org.
Watch videos on how to build your own moose on Bloxburg
BUILDING A KIDS ONLY HOUSE IN BLOXBURG | roblox
4 Videos
BUILDING A KIDS ONLY HOUSE IN BLOXBURG | roblox
HOW TO MAKE CUSTOM PAINTINGS IN BLOXBURG! (TUTORIAL TUESDAYS)
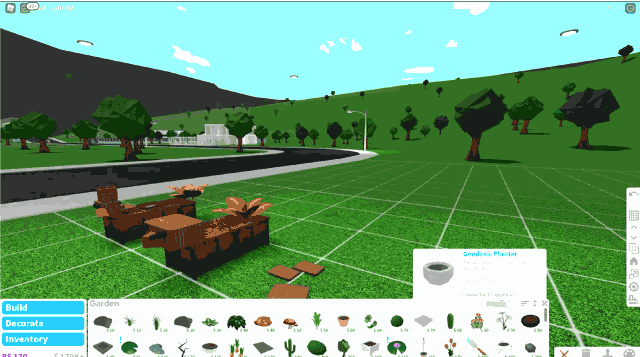
3 Hacks to IMPROVE Your Garden! | Bloxburg
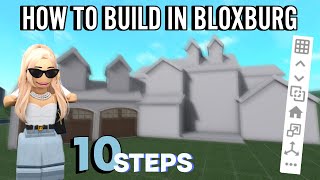
HOW TO BUILD IN BLOXBURG
Facts about virtual building and design in sandbox games
🦌 Moose are the largest members of the deer family; adult bulls can weigh up to about 700 kg (1,500 lb).
🎮 Roblox lets players build worlds with Roblox Studio — the same tools creators use to make games like Welcome to Bloxburg.
🏗️ 3D modelers and builders often start with simple blocks and shapes to plan proportions before adding details.
🎨 Using complementary colors (opposites on the color wheel) makes parts of your design pop and grab attention.
📐 A stable pose keeps the center of mass over the base of support — testing poses prevents tipping and clipping.
How do you build your own moose in Bloxburg?
What materials and in-game tools do I need to build a moose in Bloxburg?
What ages is designing and building a moose in Bloxburg suitable for?
What are the benefits and fun variations of building a moose in Bloxburg?
