Build something with LEGO® cheese slopes
Design and build a small LEGO model using cheese slopes to create roofs, vehicle noses, and creature features while learning shape, balance, and creativity.


Step-by-step guide to build something with LEGO® cheese slopes
5 Strange Ways to Use LEGO Cheese Slopes
Step 1
Gather all the items listed under Materials Needed.
Step 2
Clear a flat workspace where pieces will not fall or get lost.
Step 3
Choose whether you will build a house a vehicle or a creature.
Step 4
Pick a baseplate or build a flat base using plates and bricks.
Step 5
Sort your cheese slopes into piles by size and color.
Step 6
Build a simple foundation for your model using regular bricks.
Step 7
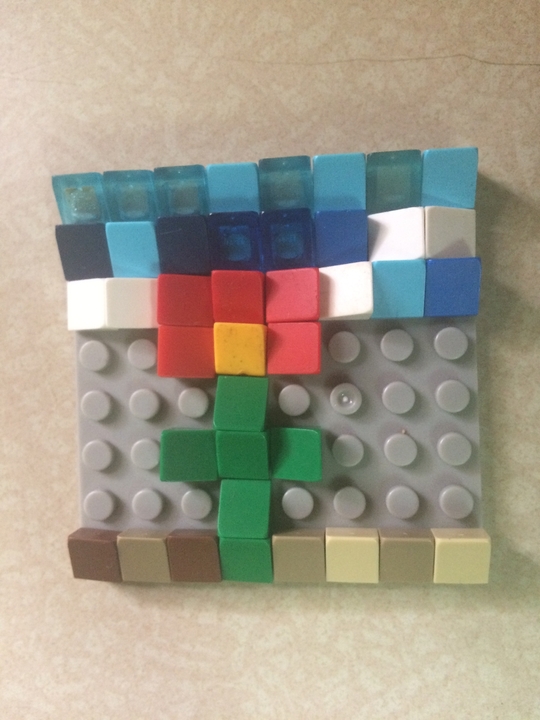
Attach cheese slopes to the top or front of your foundation to make a roof a nose or a face.
Step 8
Test your model’s balance by gently nudging one side to see if it tips.
Step 9
Strengthen your model if it wobbles by adding bricks to widen or support the base.
Step 10
Add small details like doors windows eyes teeth or patterns using extra bricks and slopes.
Step 11
Give your model a fun name.
Step 12
Share your finished creation on DIY.org
Help!?
What can we use if we don't have a LEGO baseplate or enough cheese slopes?
If you don't have a LEGO baseplate, use a sturdy piece of cardboard or a wooden board as your flat base and if cheese slopes are scarce use regular small sloped bricks, flat tiles, or folded cardboard wedges to mimic the angled pieces.
My model keeps tipping when I test its balance—what should I try?
When your model tips during the 'gently nudging one side' balance test, widen or reinforce the foundation by adding extra bricks or plates to the base and move heavy cheese slopes lower or closer to the base for better stability.
How can I adapt this build for younger or older children?
For younger kids give a large baseplate, pre-sorted cheese slopes, and a simple foundation to attach slopes for a roof or face, while older children can build more complex foundations, add moving parts, and create detailed patterns with many small slopes.
How can we personalize or enhance our finished model before sharing it?
Personalize and enhance your model by adding small details like doors, windows, eyes, teeth, or layered patterns with extra bricks and slopes, give it a fun name, and photograph it on the baseplate to share on DIY.org.
Watch videos on how to build something with LEGO® cheese slopes
LEGO BUILDS you can use in REAL LIFE...
4 Videos

LEGO BUILDS you can use in REAL LIFE...

10 FUN LEGO Building IDEAS!!
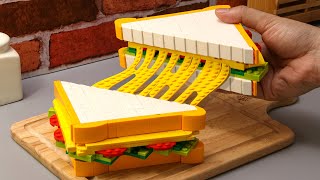
LEGO Breakfast: The Ultimate Grilled Cheesy Sandwich | How to make Lego Food in real life
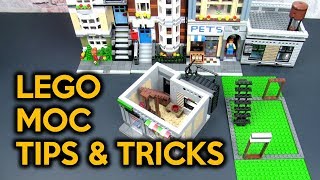
How to Build a LEGO Modular Building (Tips & Tricks)
Facts about LEGO building techniques
🧱 The LEGO brick design from 1958 is still compatible with bricks made today — decades of building fun!
🧀 "Cheese slopes" get their name from their tiny wedge shape and are perfect for roofs, noses, and creature details.
⚖️ If a model's center of mass moves outside its base, it will tip over — balance is a builder's best friend.
🚗 Sloped noses make real vehicles more aerodynamic, and using slopes in LEGO makes sleeker-looking models.
🎲 There are 915,103,765 possible ways to combine six 2×4 LEGO bricks — endless creative combos!
How do I design and build a small LEGO model using cheese slopes to make roofs, vehicle noses, or creature features?
What materials and LEGO pieces do I need to build with cheese slopes?
What ages is this LEGO cheese slopes activity suitable for?
What are some fun variations, challenges, and safety tips for cheese slope builds?
