Build a wind- or water-powered machine
Build a simple wind or water-powered machine from recycled materials (bottles, cardboard, craft sticks); test how blades, flow, and angle affect motion and speed.


Step-by-step guide to build a simple wind- or water-powered machine
DIY Wind Turbine Science Project
Step 1
Gather all the materials on a clear table so you can reach everything easily.
Step 2
Trace two equal circles on cardboard using a round lid or cup as a guide.
Step 3
Cut out the two cardboard circles carefully with scissors.
Step 4
Make a hole in the center of each cardboard circle that fits the straw or skewer through snugly.
Step 5
Cut six small rectangles from cardboard to use as blade paddles.
Step 6
Tape each cardboard rectangle to the end of a craft stick so each craft stick has one blade paddle attached.
Step 7
Tape the blade-topped craft sticks evenly around the edge of one cardboard circle so the blades point the same way.
Step 8
Place the second cardboard circle on top and tape around the rim to sandwich the craft sticks so the blade paddles are held in place.
Step 9
Push the straw or skewer through the center holes so the wheel sits on the straw and can spin freely.
Step 10
Cut the plastic bottle into two short stands and set them apart to hold the straw so the wheel is balanced between them.
Step 11
Set up your test: for wind place a fan or prepare to blow at a fixed distance or for water position a cup above a tray to pour a steady stream onto the wheel.
Step 12
Run the first test by turning on the fan or pouring water for 10 seconds while counting wheel rotations and write down the number.
Step 13
Change only one thing (blade shape angle or water/air flow) and set up the test the same way as before.
Step 14
Repeat the test for 10 seconds and write down the new rotation number to compare results.
Step 15
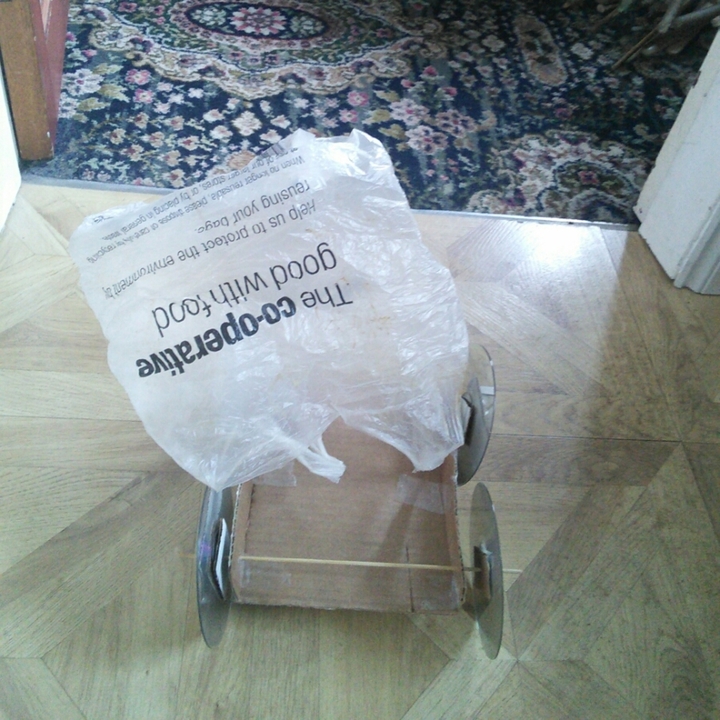
Take a photo or note and share your finished wind-or-water-powered machine and what you learned on DIY.org.
Help!?
What can we use instead if we don't have a straw, craft sticks, or a plastic bottle for the stands?
If you don't have a straw or skewer for the axle, use a pencil or wooden dowel pushed through the center holes, replace craft sticks with sturdy cardboard strips taped to the blade rectangles, and prop the axle on two small boxes or stacked bottle caps instead of the cut plastic bottle stands.
The wheel isn't spinning smoothly or wobbles — what should we check and fix?
If the wheel won't spin freely or wobbles, check that the tape around the rim isn't squashing the craft sticks, ensure the center holes fit the straw snugly (not too tight or loose), and fix friction by slightly enlarging the hole or adding a small paper spacer so the wheel can rotate on the straw.
How can I simplify or make the project more challenging for different age groups?
For younger children, have an adult pre-cut the circles and pre-tape the blade-topped craft sticks in step 5 so they can focus on pushing the straw through and testing, while older kids can redesign blade shapes and angles in step 12, add a cardboard gear, and record more precise rotation counts.
What are some creative ways to extend or personalize the wind-or-water-powered machine after the first tests?
You can personalize and extend the activity by decorating the cardboard circles before assembly, photographing each test, graphing the 10‑second rotation counts when you change only one variable as in steps 11–13, and sharing your results and photos on DIY.org.
Watch videos on how to build a simple wind- or water-powered machine
How to Make a Simple Windmill for Free Energy - School Project | Functional
4 Videos
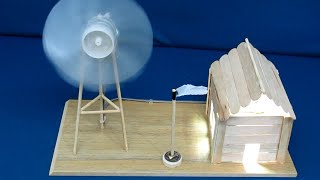
How to Make a Simple Windmill for Free Energy - School Project | Functional
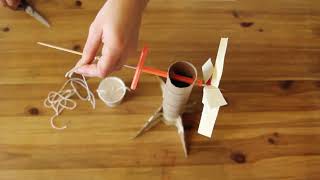
Build a Wind Turbine | Windmill #EarthMonth Activities for Kids

How To Make a Working Model Of Windmill or Wind Turbine School Project/ Science School Project
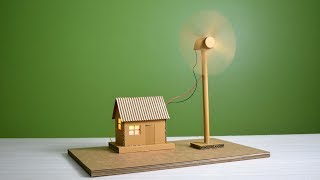
How to make working model of a wind turbine from cardboard | school project
Facts about wind and water power
🌬️ Some modern wind turbine blades are over 80 meters long — longer than a football field!
💧 Water wheels were used by ancient Greeks and Romans more than 2,000 years ago to grind grain and power machines.
🔋 One large wind turbine can produce enough electricity each year to power around 1,000–1,500 homes, depending on size and wind.
♻️ A plastic bottle can take up to 450 years to decompose, so turning bottles into craft parts helps cut waste and sparks creativity.
⚙️ Small changes to blade shape, number, or angle can make a machine spin faster or with more power — that’s why testing is so useful!
How do I build a simple wind- or water-powered machine with my child?
What materials do we need to make a wind or water-powered machine from recycled items?
What ages is this wind- or water-powered machine activity suitable for?
What are the benefits and safety tips when testing blade shape, flow, and angle?
