Build a water viewer
Build a simple water viewer using a clear jar, magnifying lens, LED, and lid to observe pond water samples and tiny aquatic life safely.


Step-by-step guide to build a water viewer
How to Make an Underwater Viewer for Under $15
Step 1
Ask an adult to help you with this activity so everything stays safe and fun.
Step 2
Wash your hands well with soap and water before you start.
Step 3
Put all your materials on a clean flat table or tray so they are easy to reach.
Step 4
Use the dropper or spoon to collect a few spoonfuls of pond water into the small cup.
Step 5
Pour a little of the pond water from the cup into the jar so the jar is about one-third to half full.
Step 6
Tape the magnifying lens to the center of the outside of the lid so it will sit over the jar opening.
Step 7
With your adult's help, tape the LED to the top of the lid so the light bulb points down through the lens toward the water and cannot touch the water.
Step 8
With your adult's help, place the coin cell battery on the taped LED and secure it so the LED lights up.
Step 9
Screw the lid onto the jar tightly so the lens and LED stay in place and nothing can leak.
Step 10
Move somewhere a little dim or turn away from bright sunlight so the LED light makes tiny things easier to see.
Step 11
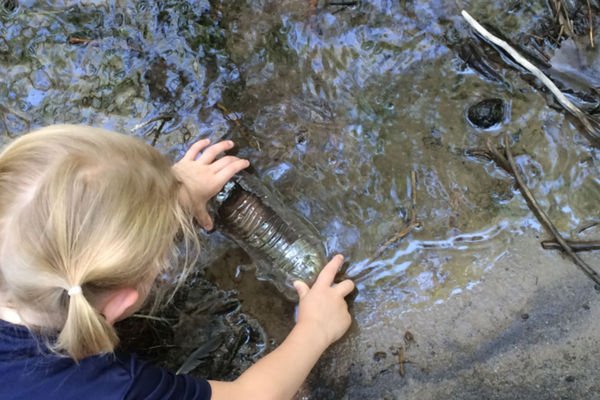
Hold the jar up to your eye and look through the magnifying lens while the LED lights the water to find tiny plants and animals.
Step 12
Draw or write what you see on your paper so you remember the tiny creatures and details.
Step 13
With your adult, remove the battery and LED and store them safely so nothing is left taped to the jar.
Step 14
Return the pond water to the pond or dispose of it safely following your adult's instructions and then wash your hands again.
Step 15
Share your finished water viewer and what you discovered on DIY.org.
Help!?
What can we use if we don't have a magnifying lens or a taped LED?
If you don't have the magnifying lens, use a strong reading glass or a smartphone macro lens taped over the lid opening, and if you lack a taped LED use a small flashlight or your phone's flashlight shone through the lens while keeping it from touching the pond water.
My LED won't light or the jar leaks—what should I check?
If the LED won't light, re-seat the coin cell battery with correct polarity on the taped LED and press/tape the contacts firmly, and if the jar leaks, unscrew and re-tighten the lid so the taped lens and LED are held flat and no gaps remain.
How can I adapt this activity for different ages?
For younger children, have an adult do the taping, battery placement, and jar-tightening steps and use a wide jar and spoon for safe supervised viewing, while older kids can collect their own pond sample with a dropper, photograph organisms through the lens, and upload findings to DIY.org as instructed.
How can we extend or personalize the water viewer after we've finished the basic steps?
Decorate and label your jar, make multiple viewers with different magnifying lenses or colored cellophane over the LED to compare views, and keep drawings or photos of the tiny plants and animals to share on DIY.org.
Watch videos on how to build a water viewer
DIY underwater viewer
4 Videos
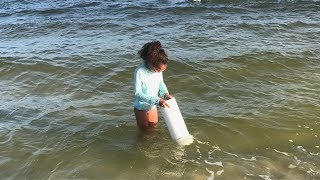
DIY underwater viewer
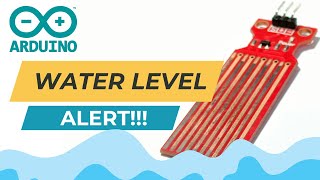
Arduino Water Level Sensor Tutorial: Monitor Water Levels with Ease

How to make 3D Water Cycle | Water Cycle for school Science project | Water cycle model by cardboard
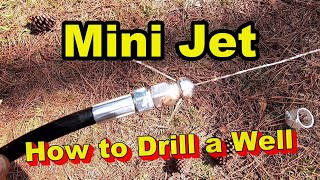
How to Dig Shallow Well - Viewer - Do it Yourself, EASY DIY
Facts about pond ecology for kids
🔬 Even a simple lens can reveal tiny pond creatures — lab microscopes can magnify 1000× or more, but your jar viewer will still show lots of movement and shape!
🌿 A single drop or teaspoon of pond water can hold hundreds to thousands of tiny organisms like algae, protozoa, and tiny animals.
🦐 Zooplankton such as Daphnia (water fleas) are big enough to see with a magnifying lens and often hop or swim in quick jerks.
💡 LEDs use much less energy than old bulbs and give steady, cool light—perfect for lighting up a water viewer without warming the sample.
🔍 Diatoms are microscopic algae with glassy, patterned shells that look like tiny stained-glass windows under magnification.
How do I build a kid-safe water viewer to observe pond water?
What materials do I need to make a pond-water viewer for kids?
What ages is a simple water viewer suitable for?
What safety steps should I follow when using a pond water viewer?
