Build a water rocket
Build and launch a water rocket from a plastic bottle using water and air pressure with adult supervision, exploring thrust and pressure.


Step-by-step guide to build and launch a water rocket from a plastic bottle
Homemade Water Rocket! Teach your children to follow directions.
Step 1
Put on your safety goggles so your eyes stay safe during the launch.
Step 2
Cut three matching fin shapes from the cardboard to help your rocket fly straight.
Step 3
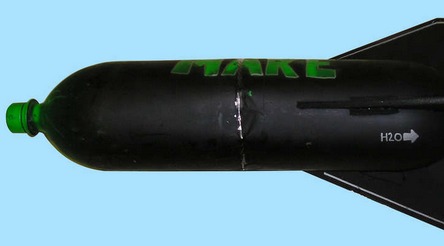
Tape the three fins evenly around the bottle’s bottom (the end opposite the cap) so they sit straight and secure.
Step 4
Press a ball of playdough or clay onto the bottle cap end to make a nose weight and smooth it into a rounded shape.
Step 5
Ask an adult to push the pump needle through the cork so the needle makes an airtight seal and then wrap tape around the cork if needed to seal gaps.
Step 6
Pour water into the bottle until it is about one-third full and hold the bottle steady while you do this.
Step 7
Push the cork with the pump needle into the bottle opening so it is snug and airtight.
Step 8
Place the bottle rocket upside down on a flat outdoor area pointed away from people buildings and fragile things.
Step 9
Have an adult hold the bottle and the pump connection steady so the rocket stays safe during pressurizing.
Step 10
Pump air slowly into the bottle while the adult watches and tells you when to stop to avoid over-pressurizing.
Step 11
Have the adult release the bottle to launch while you watch from a safe distance and enjoy the flight.
Step 12
Retrieve your rocket when the area is safe and share your finished creation on DIY.org
Help!?
What can we use if we don't have a cork or the pump needle?
Use a rubber bottle stopper or a short bike tire valve adapter pushed into the bottle opening and wrapped tightly with tape to make the airtight seal called for when the instructions say to push the pump needle through the cork and wrap tape if needed.
My rocket leaks or won't launch—what should I check?
Check the airtight seal from the step where you push the cork with the pump needle into the bottle and wrap tape around gaps, make sure the cork sits snug, confirm the bottle is about one-third full of water, and have the adult pump slowly while holding the connection steady.
How can we adapt the steps for different ages?
For preschoolers have an adult pre-cut the cardboard fins and handle the cork, pump, and launch while the child presses the playdough nose and watches safely, for elementary kids let them tape fins and pour the water with supervision, and for teens add a pressure gauge and let them experiment with water level and fin shapes.
How can we improve or personalize the rocket after following these steps?
Decorate the bottle and cardboard fins with paint or stickers, test different fin shapes and the one-third water fill to improve flight, attach a lightweight streamer to the tail, or sculpt a shaped clay nose cone instead of a ball of playdough to change the rocket's balance and look.
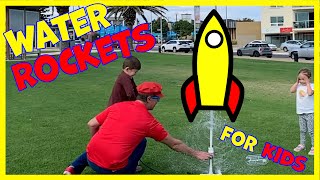
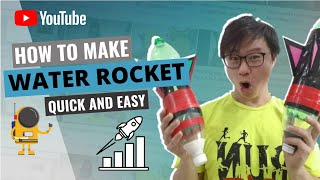
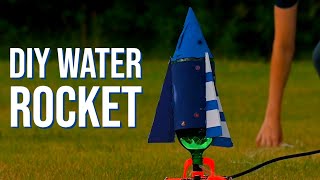
Watch videos on how to build and launch a water rocket from a plastic bottle
Making A Water Rocket with Matty Crayon | Water Rocket science For Kids
4 Videos
Making A Water Rocket with Matty Crayon | Water Rocket science For Kids

How To Build a Water Pressure Rocket With a Parachute
How to make a simple water rocket with soda bottles (have fun with your kids or students PART 2)
Make a Water Rocket With Items From Around the House
Facts about model rocketry and air pressure
🚀 Water rockets can fly tens to over a hundred meters when well-built and launched in hobby competitions.
💧 A common rule of thumb is to fill about one-third of the bottle with water for a good balance of mass and thrust.
🧪 Thrust is produced because compressed air pushes the water out the nozzle — action and reaction in motion!
📈 Increasing launch pressure boosts thrust and height, but too much pressure can burst the bottle — always use safety limits.
🧑🔬 Robert H. Goddard launched the first liquid-fueled rocket in 1926, a milestone that helped start modern rocketry.
How do you build and launch a water rocket from a plastic bottle?
What materials do I need to build a water rocket?
What ages is building a water rocket suitable for?
What are the benefits, safety tips, and variations for a water rocket activity?
