Build a water feature
Build a small tabletop water feature using a container, pump, stones, and plants; assemble, decorate, and observe water flow with adult supervision.


Step-by-step guide to build a tabletop water feature
5 Minutes Easy DIY Water Feature Tutorial
Step 1
Gather all the materials and place them on a clear table or tray so everything is easy to reach.
Step 2
Rinse the container with water to make it clean and then dry the rim and outer parts with a towel.
Step 3
Put the pump into the container and set it on one side where it will sit stably.
Step 4
Attach the tubing to the pump and run the tubing up toward the top edge where the water will pour out.
Step 5
Pour a layer of pebbles into the bottom of the container to hide the pump base and make a rocky bed.
Step 6
Tuck the plant roots into the pebbles and add a little potting soil or moss around them to hold them steady.
Step 7
Arrange decorative items like marbles twigs or small figurines around the plants to make your mini scene.
Step 8
Slowly pour water into the container until the pump is at least halfway submerged so it can pump safely.
Step 9
Ask an adult to plug in the pump and turn it on while you stand back and watch the water start to move.
Step 10
Watch how the water flows over the stones and around the plants and think about places you might shift a stone to change the flow.
Step 11
With an adult’s help turn the pump off when you are done experimenting for now.
Step 12
Take a photo and share your finished tabletop water feature on DIY.org
Help!?
What can I use if I don't have the submersible pump and tubing listed in the materials?
Use a small battery-powered or USB aquarium fountain pump or a ready-made tabletop fountain kit so you can still follow the step 'Attach the tubing to the pump' and run water to the container edge.
Why might the water not flow when I plug in the pump and how can I fix it?
If water doesn't flow, double-check the instruction to have the pump at least halfway submerged, make sure the pump sits stably on one side, and straighten or reattach the tubing to remove kinks and trapped air.
How can I adapt this activity for younger or older kids?
For younger children, focus on rinsing the container, pouring pebbles, tucking plant roots, and arranging decorations while an adult handles plugging in the pump, and for older kids let them handle 'Attach the tubing to the pump', adjust flow paths, and experiment with different plant placements.
How can we extend or personalize the tabletop water feature after finishing the basic build?
Personalize it by adding waterproof LED lights under the pebbles, swapping in different stones or moss during the 'Pour a layer of pebbles' step to change flow patterns, or placing tiny figurines and moving stones to study how the water path changes before taking your photo.
Watch videos on how to build a tabletop water feature
How to Build an Easy Water Fountain
4 Videos
How to Build an Easy Water Fountain

Beginners guide to building a garden waterfall - Part 1
How to build a garden stream water feature

DIY Water Feature (How to build a Water Feature)
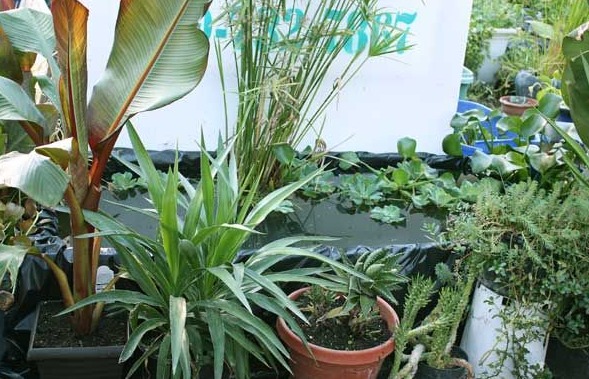
Facts about indoor water features and container gardening
💧 Small tabletop fountains recirculate the same water, so a cup or two can run them for many hours without needing a huge reservoir.
🪨 River stones and pebbles change the sound of water — larger stones produce deeper, softer flows while tiny pebbles make bright, tinkling splashes.
🌿 Some hardy plants like pothos, peace lilies, and lucky bamboo can grow with roots in water and help absorb impurities.
⚙️ Submersible pumps are rated in gallons per hour (GPH) or liters per hour (LPH); tiny tabletop pumps are often around 50–200 GPH (190–760 LPH).
☀️ Evaporation can lower a fountain's water level quickly in warm or sunny spots, so tabletop features usually need a top-up every few days.
How do I build a small tabletop water feature?
What materials do I need to build a tabletop water feature?
What ages is this activity suitable for?
What safety tips should I follow when building a tabletop water feature?
