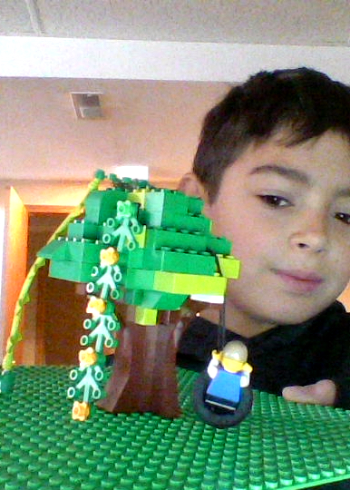
Build a tree with leaves using LEGO®
Use LEGO® bricks to build a sturdy tree trunk and attach colorful leaf pieces, exploring balance, patterns, and creative design while following simple steps.


Step-by-step guide to build a tree with leaves using LEGO®
Step 1
Place the LEGO® baseplate on a flat table or the floor so it won’t slide.
Step 2
Choose the exact spot on the baseplate where your tree will stand and place a brick there as the center.
Step 3
Snap several bricks together around the center brick to make a wide sturdy foundation.
Step 4
Stack bricks straight up on the foundation to build the trunk about eight layers tall.
Step 5
Add wider bricks or flat plates around the bottom of the trunk to make it stronger.
Step 6
Attach hinge pieces or flat plates to studs near the top of the trunk to create branches.
Step 7
Snap leaf elements onto the ends of the branches so each branch has at least one leaf cluster.
Step 8
Rearrange leaf colors to make a pattern like alternating colors or a rainbow on the branches.
Step 9
Gently press the top of your tree to check if it wobbles.
Step 10
Add extra bricks to the base or lower trunk until the tree stands steady without wobbling.
Step 11
Share your finished LEGO® tree and a short description of how you built it on DIY.org.
Help!?
What can we use if we don’t have the LEGO® baseplate, hinge pieces, or leaf elements?
Use a sturdy cardboard or plastic tray as the baseplate, substitute hinge pieces with flat plates, clip bricks, or small Technic pins to make branches, and replace LEGO® leaf elements with paper or fabric leaf clusters taped or clipped to branch studs.
My tree wobbles when I press the top — which steps should I repeat or change to fix it?
If the tree wobbles when you gently press the top, follow the instructions to snap more bricks around the center brick to widen the foundation, add wider bricks or flat plates around the bottom of the trunk, and keep adding extra bricks to the base or lower trunk until it stands steady.
How can I adapt this build for younger kids or older kids while still following steps like stacking the trunk and attaching leaves?
For younger children use larger DUPLO or pre-stack an eight-layer trunk for them and let them snap on leaf elements, while older kids can add more than eight stacked layers, hinge-based movable branches, and complex alternating-color or rainbow leaf patterns.
What are some ways to make the tree more creative or challenging after arranging the leaf colors and stabilizing it?
Extend the project by building a grove using the same foundation-and-trunk technique, create seasonal leaf-color patterns, add movable hinge branches or minifigure scenes, and photograph the finished builds to share the step-by-step process on DIY.org.
Watch videos on how to build a tree with leaves using LEGO®
LEGO FOLIAGE TUTORIAL: 5 Simple (but elegant!) Plant/Tree Builds! (Come Build with Me!)
4 Videos
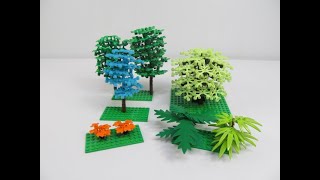
LEGO FOLIAGE TUTORIAL: 5 Simple (but elegant!) Plant/Tree Builds! (Come Build with Me!)
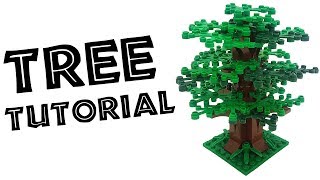
How to Build A Large LEGO Tree Tutorial

Super Easy Lego Tree Tutorial!

How to Build an AWESOME LEGO Tree: Complete Guide with Parts List
Facts about LEGO building and balance
🧱 Over 400 billion LEGO bricks have been produced — that’s enough bricks to build lots of imaginary forests!
🌳 Many trees grow in branching patterns that resemble fractals, making them a great template for LEGO trunk and branch shapes.
🎨 Color theory shows that contrasting colors (like bright leaves against a darker trunk) make your design pop and catch the eye.
⚖️ Lowering the center of mass by widening the trunk base or adding weight low down helps your LEGO tree stay stable and not tip over.
🍃 LEGO includes many specialized leaf and plant elements — mix shapes, sizes, and colors to create playful canopy patterns.
How do you build a tree with leaves using LEGO®?
What materials do I need to build a LEGO® tree with leaves?
What ages is this LEGO® tree activity suitable for?
What are some fun variations for a LEGO® tree with leaves?
