Build a target
Make a colorful cardboard target with concentric rings, attach a stand or hang it, then practice aiming with beanbags to learn accuracy.


Step-by-step guide to make a colorful cardboard target and practice aiming
Handmade Rolling Marble ball Target Game. Tutorial
Step 1
Gather all the materials and bring them to a clear workspace.
Step 2
Lay the cardboard flat and use the pencil to mark the exact center point.
Step 3
Place a small round object on the center mark and trace it to make the bullseye.
Step 4
Move to larger round objects and trace more circles around the first to make concentric rings.
Step 5
Cut out the outermost circle along the largest traced line to make your round target.
Step 6
Color or paint each ring a different bright color using your colouring materials.
Step 7
Write point values on each ring with a marker, putting the highest points in the center.
Step 8
Tape a paper towel tube or stick vertically to the back center of the target to make a stand.
Step 9
If you prefer to hang your target instead, poke two small holes near the top edge and tie a loop of string through them.
Step 10
Use masking tape or chalk to mark a throwing line on the floor about six feet from the target.
Step 11
Stand behind the line and practice tossing beanbags at the target, aiming for the high-point rings.
Step 12
Count your points after each round and try again to beat your score.
Step 13
Share a photo and a description of your finished target and your best score on DIY.org.
Help!?
What can I use instead of cardboard, a paper towel tube, or beanbags if those items are hard to find?
Use a stiff poster board or flattened cereal box for the cardboard, a toilet-paper roll or tightly rolled-up newspaper for the paper towel tube stand, and clean socks filled with rice or dried beans as beanbag substitutes.
My rings looked uneven or the target wobbles—how can I fix that?
If rings are uneven, re-center and retrace each circle using the same round object before cutting, and if the taped paper towel tube makes the target wobble, reinforce it with extra tape or glue it to a small cardboard base so it stands straight.
How can I change the activity for younger or older kids?
For younger children, make larger, fewer rings, use stickers or crayons instead of paint and move the throwing line closer than six feet, while for older kids make rings narrower, increase the distance beyond six feet, and add timed or point-challenge rounds.
How can we personalize or make the target game more challenging and fun?
Personalize by painting a theme, adding glow-in-the-dark or reflective tape to rings, creating multiple targets with different point values, and record scores on a chart to share your finished target and best score on DIY.org.
Watch videos on how to make a colorful cardboard target and practice aiming
How to Make a Target Shooting Minigame Ep.1 - Modeling and exporting a Target Asset to Unity
4 Videos
How to Make a Target Shooting Minigame Ep.1 - Modeling and exporting a Target Asset to Unity
Target game with Scratch | Scratch Programming | Scratch Tutorial
OBJECT LESSON ABOUT SIN: Target Game
How to Make Shoot The Target Game on SCRATCH - by Putu Adi
Facts about hand-eye coordination and target practice
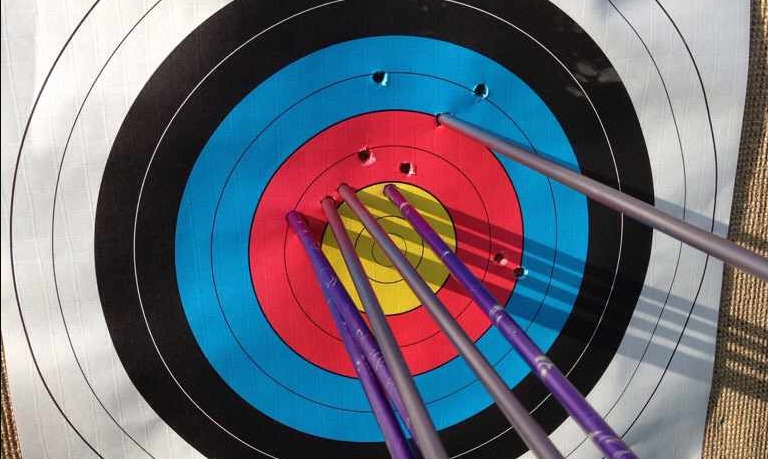
🎯 Bullseye power: Targets use concentric rings so the center (bullseye) scores the most — hitting it is the classic goal!
🎨 Color pop: Bright, contrasting rings (like red, yellow, and blue) make it easier for your eyes to spot the center from far away.
📏 Old-school scoring: Concentric-ring scoring goes back to archery and early target games to make practice measurable and competitive.
♻️ Upcycle win: Cardboard is perfect for DIY targets — it’s cheap, easy to paint, and recyclable when you’re finished.
🎒 Beanbag boost: Tossing beanbags is a favorite school game because it builds hand-eye coordination and steady aiming with short practice sessions.
How do you build a colorful cardboard target with concentric rings and practice aiming with beanbags?
What materials do I need to make a cardboard target and beanbags?
What ages is a cardboard target and beanbag aiming activity suitable for?
What safety tips should I follow when kids play with a cardboard target and beanbags?
