Build a stitching pony
Build a simple wooden stitching pony to hold leather or fabric while sewing, learn measurements, safe tool use, and basic joinery skills.


Step-by-step guide to build a stitching pony
Sewing With Kids
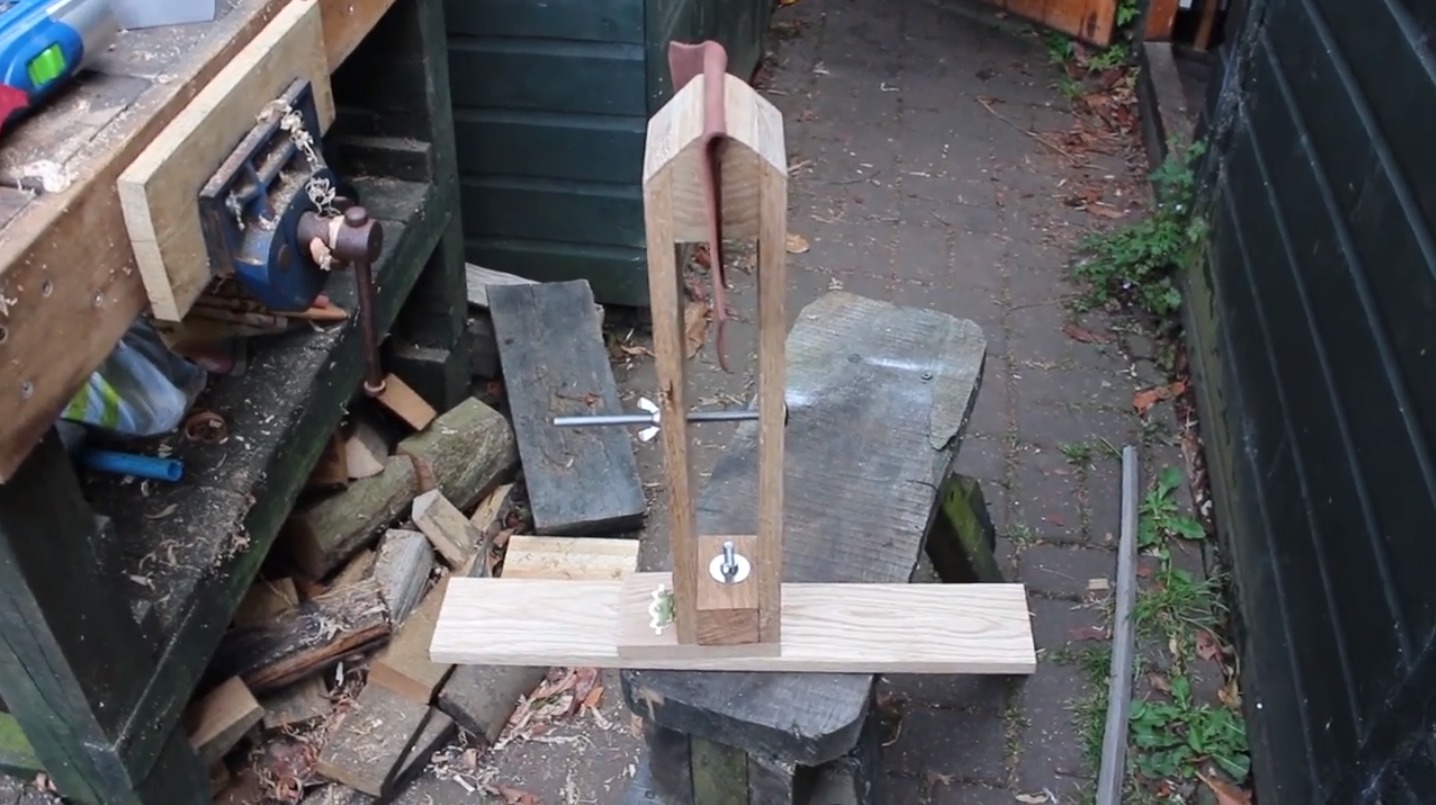
Step 1
Put on safety glasses gather all materials and ask an adult to help you.
Step 2
Use the ruler and pencil to measure and mark the base board the upright and the two jaw pieces to the sizes listed in the materials.
Step 3
With an adult helping clamp each piece and cut along your marks using the saw.
Step 4
Sand all cut edges until they are smooth and splinter free.
Step 5
Position the upright near one end of the base and mark two screw hole locations where it will attach.
Step 6
Drill pilot holes at the marks through the base and into the upright.
Step 7
Put a thin line of wood glue on the base where the upright will sit.
Step 8
Screw the upright to the base using the wood screws so the upright stands firmly.
Step 9
Place one jaw piece across the top of the upright as the fixed jaw and mark the center point for the bolt hole.
Step 10
Align the movable jaw with the fixed jaw and drill matching center holes through both pieces.
Step 11
Put a washer on the bolt slide the bolt through the movable jaw then through the fixed jaw add the second washer and tighten the wing nut so the movable jaw opens and closes smoothly.
Step 12
Test your stitching pony by placing a scrap of leather or fabric between the jaws and turning the wing nut to clamp it snugly.
Step 13
Share your finished stitching pony on DIY.org.
Help!?
What can I use if I can't find the wing nut, bolt, washers, or wood screws listed in the materials?
If you can't find a wing nut, bolt, or washers, use a short machine bolt with a regular nut and a lock washer for the movable/fixed jaw assembly, and if wood screws are unavailable you can use short wood bolts or heavy-duty wood glue with clamps when attaching the upright to the base.
My movable jaw is sticking or the jaws don't line up—what should I do?
If the movable jaw sticks or wobbles after you drill the matching center holes, re-center and re-drill both jaw holes, sand the bolt hole edges, and add washers or a drop of beeswax on the bolt so the wing nut turns smoothly.
How can I adapt this project for different ages and skill levels?
For younger children (5–8) have an adult pre-cut and pre-drill the base, upright, and jaw pieces and let the child sand, glue, and tighten the wing nut, while older kids (9+) can measure, clamp, and cut the wood themselves and try a power drill under supervision.
How can we extend or personalize the stitching pony after it's built?
To personalize and improve grip, glue a strip of scrap leather or foam to each jaw, paint or stain the base, and add a small cup screwed to the base for storing needles and thread before sharing your finished stitching pony on DIY.org.
Watch videos on how to build a stitching pony
How To Knit For Kids
4 Videos

How To Knit For Kids
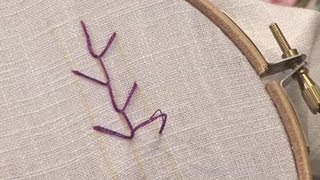
How To Sew A Feather Stitch
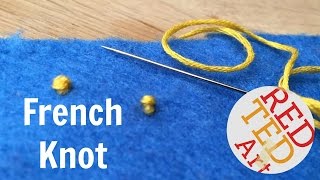
French Knot How To - Basic Sewing (Embroidery & Hand Sewing)
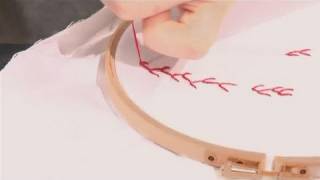
How to do feather stitching
Facts about woodworking for kids
🪡 A stitching pony holds leather or fabric so both of your hands are free to do neat, even saddle-stitches.
🪵 Many traditional stitching ponies are built from hardwoods like oak or beech because they resist wear and clamp strongly.
🧵 Saddle-stitching (often done with a stitching pony) uses two needles and creates a seam that won't easily unravel — great for tough leather projects.
🪚 Building a stitching pony teaches measuring, safe sawing and drilling, and basic joinery — perfect supervised first woodworking project for kids.
🔩 A simple pony can be made with just wood, screws, glue, and a leather-covered jaw to grip material without marking it.
How do you build a simple wooden stitching pony?
What materials and tools do I need to make a stitching pony?
What ages is building a stitching pony suitable for?
What safety tips should parents follow when building and using a stitching pony?
