Build A Seesaw!
Build a simple seesaw using a plank and fulcrum, test balance with different weights, learn about levers, and practice safe adult-supervised construction.


Step-by-step guide to build a simple seesaw
Step 1
Choose a safe flat spot on the floor and place the non-slip mat or towel there so the seesaw will not slide.
Step 2
Ask an adult to inspect the plank and the fulcrum and remove any splinters or sharp bits before you use them.
Step 3
Use the ruler to find the middle of the plank and mark the center with the marker or a piece of tape.
Step 4
Put the round fulcrum on the mat and set the plank across it with the center mark resting on top of the fulcrum.
Step 5
Gently press one end of the plank to make sure it can rock easily and will not slip off the fulcrum.
Step 6
Place a pillow or cushion under each end of the plank to stop the ends from hitting the floor hard.
Step 7
Use the ruler to mark equal distance points on both sides of the center like 5 cm and 10 cm and label them with tape or the marker.
Step 8
Put one small weight or toy at the 10 cm mark on one side and watch which way the plank tips.
Step 9
Put an identical weight at the 10 cm mark on the opposite side and see whether the plank balances.
Step 10
Move one weight 5 cm closer to the fulcrum and measure how the plank changes balance.
Step 11
With an adult's help place a heavier weight close to the fulcrum and a lighter weight farther away and observe whether distance helps them balance.
Step 12
Share your finished seesaw project and what you learned about levers on DIY.org
Help!?
What can we use if we don't have a round fulcrum or a non-slip mat?
Use a thick hardcover book or a sturdy, capped soup can as the fulcrum and a yoga mat or folded towel instead of the non-slip mat so the plank stays in place.
The plank keeps sliding off or won't rock — what should we check?
Make sure the center mark you drew with the ruler is sitting on top of the fulcrum, smooth any splinters the adult removed earlier, and add tape under the fulcrum or extra non-slip material so the plank can rock without slipping.
How can we change the activity for different ages?
For toddlers use a short, wide plank with large stuffed toys and pillows under the ends and close adult supervision during splinter checks, for elementary kids let them measure and label 5 cm and 10 cm points and test identical toys, and for older kids have them record weight×distance using the ruler and marked points to calculate torque.
How can we make the seesaw project more creative or educational once it's working?
Paint and label the plank, add removable tape markers at extra distances, try shifting the fulcrum to new center points, and keep a chart of which toy or weight placements at 5 cm and 10 cm balance to explore lever principles.
Watch videos on how to build a simple seesaw
Building a seesaw with my 6 year old
4 Videos
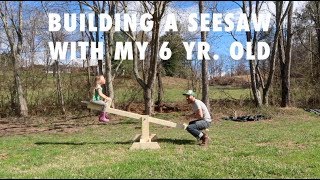
Building a seesaw with my 6 year old
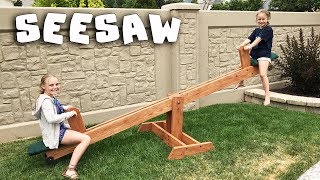
Make Your Own SeeSaw!
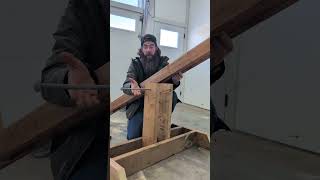
DIY Teeter Totter / Seesaw for the Kids EASY BUILD
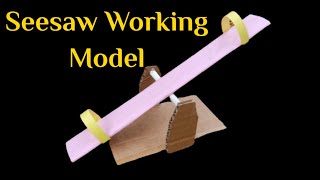
How To Make A Seesaw Model With Cardboard And Paper | School Project Seesaw Making | DIY Seesaw Easy
Facts about levers and simple machines
🪢 A seesaw is actually a type of lever — a long plank balanced on a single point called a fulcrum.
⚖️ Move the fulcrum closer to a heavier person and a lighter person can lift them — that's torque and the lever principle in action.
👥 Traditional seesaws teach teamwork: two riders must coordinate movement and weight to have fun safely.
🧠 The basic idea behind levers dates back to Archimedes, who explained how distances from the fulcrum trade off with force.
🛠️ A safe DIY seesaw needs strong, straight wood, rounded edges, secure fastenings, and adult supervision to prevent pinches and falls.
How do I build a simple seesaw with my child?
What materials do I need to build a child-safe seesaw?
What ages is building and using a seesaw suitable for?
What safety precautions should I take when building and testing a seesaw?


