Build a Pyramid in LEGO Style
Build a small LEGO-style pyramid using bricks, plan layers, measure dimensions, and learn about symmetry, stability, and basic geometry through hands-on construction.


Step-by-step guide to build a pyramid in LEGO style
How Did Ancient Egyptians Build Pyramids Quickly?
Step 1
Decide how wide you want the pyramid base to be and pick an odd number of studs for one side then write that number on your paper.
Step 2
Use the ruler and pencil to draw a square on the paper that matches the number of studs you picked for the base.
Step 3
Draw smaller concentric squares inside the first square, reducing each side by two studs each time to plan each layer of the pyramid.
Step 4
Count how many bricks you will need for each drawn layer and write those counts next to each square on the paper.
Step 5
Gather the exact bricks you counted and place each layer’s bricks in separate small piles beside your baseplate.
Step 6
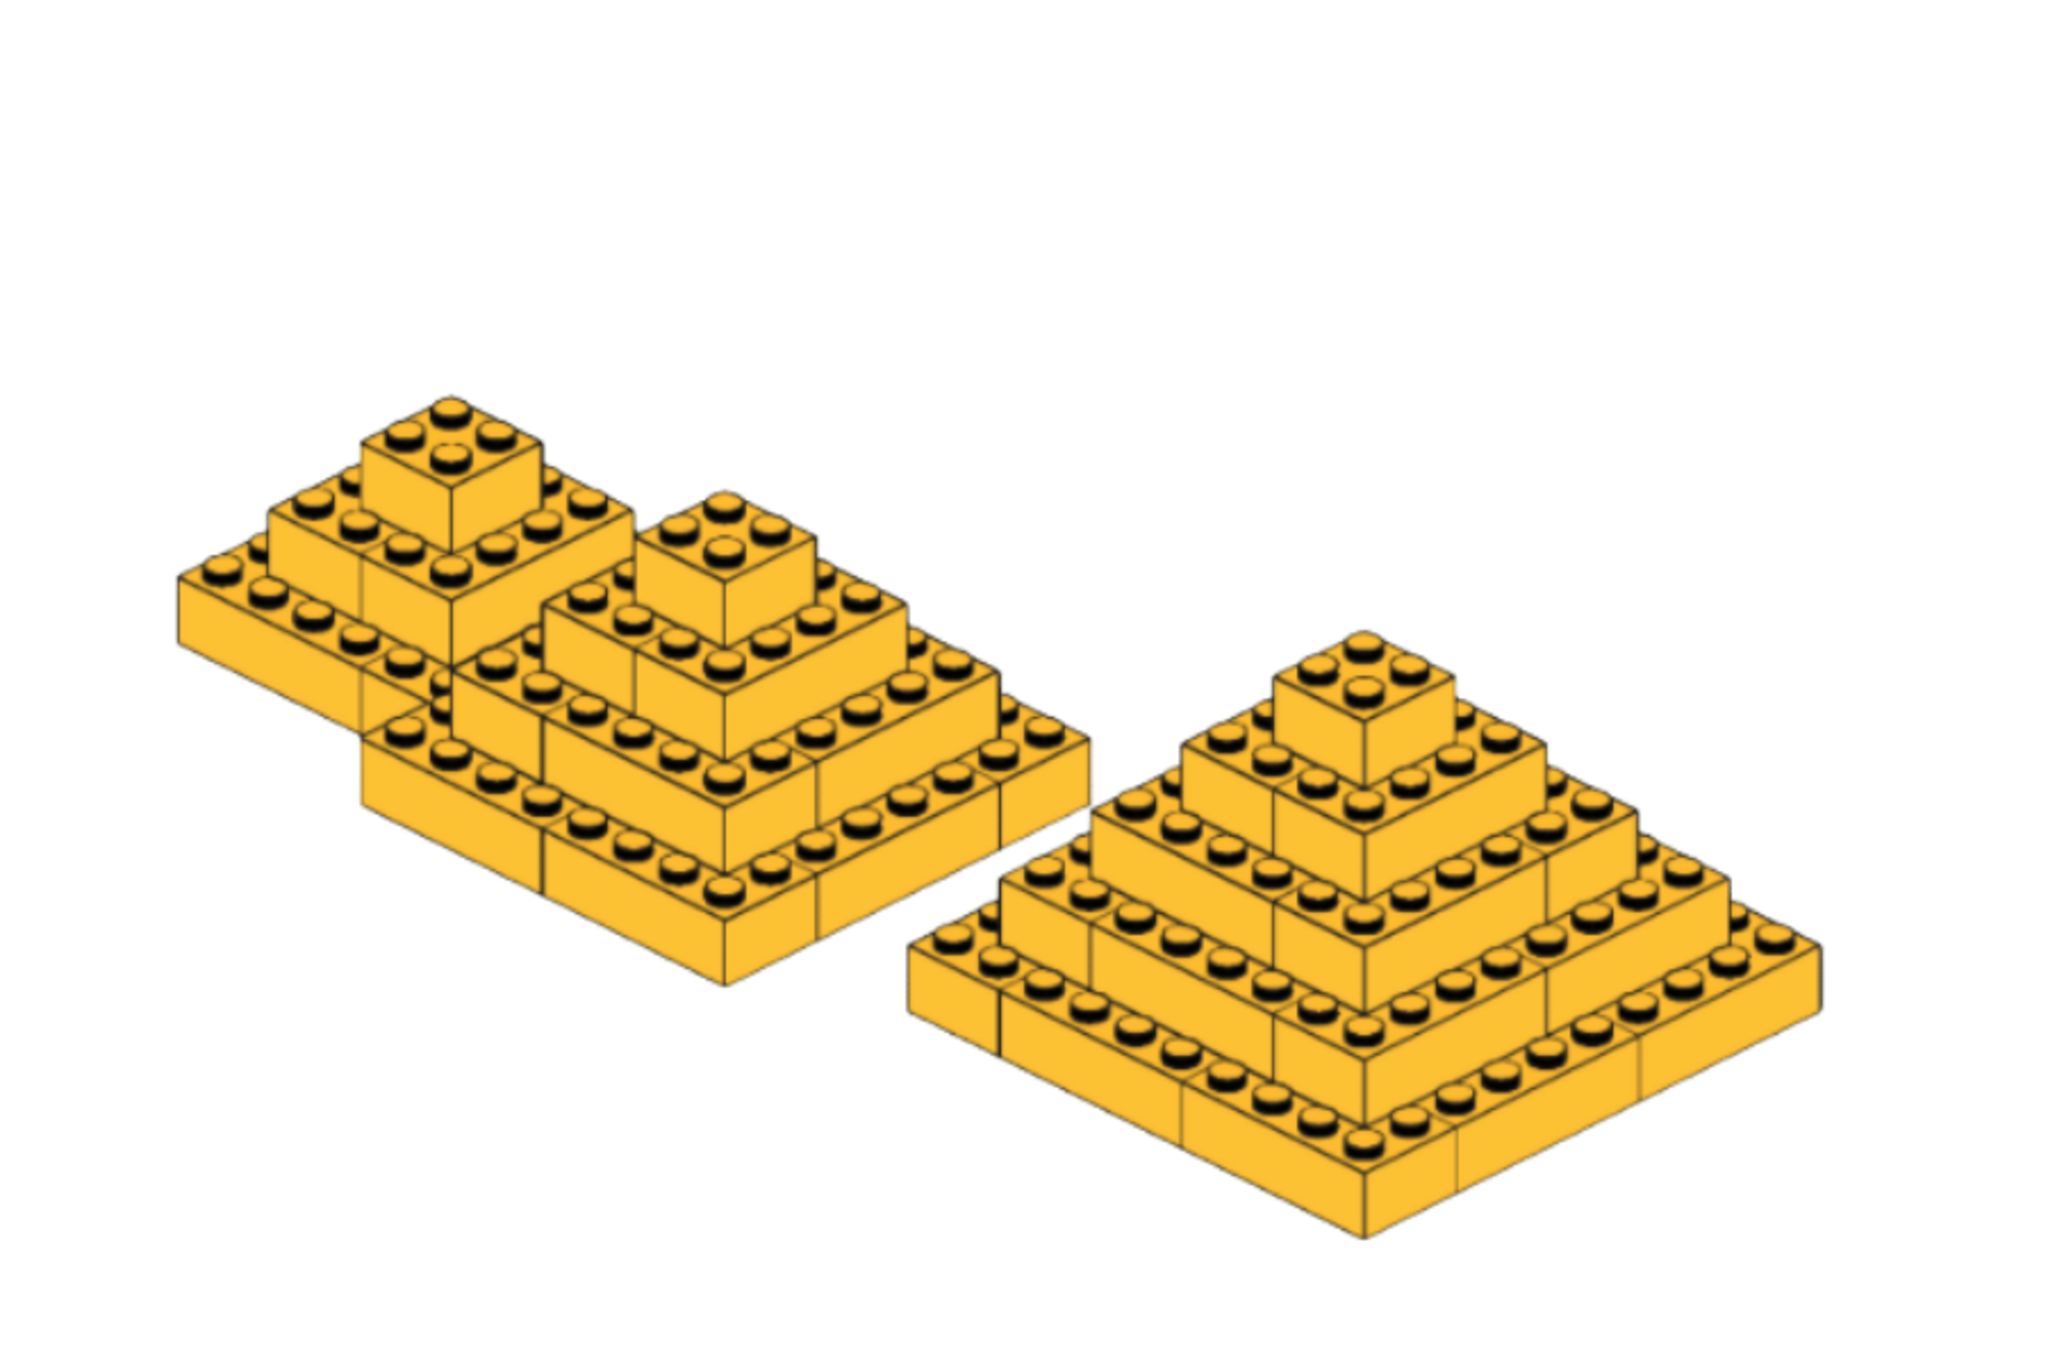
Lay the first (largest) layer of bricks on the baseplate following the outer square you drew.
Step 7
Put the next layer of bricks centered on top of the first layer so that it is inset by one stud on every side.
Step 8
Keep adding layers one at a time, making each new layer smaller by two studs per side until you reach the top.
Step 9
Press down on every brick to make sure each layer is snug and connections are strong.
Step 10
Add a decoration like a flag stripe or different colored bricks to the top and sides to make your pyramid look special.
Step 11
Take a photo and share your finished LEGO-style pyramid on DIY.org
Help!?
What can I use instead of a LEGO baseplate, ruler, or pencil if I don't have them?
Use a flat piece of cardboard or posterboard marked with your drawn squares instead of a baseplate, and substitute a kitchen ruler, a printable grid or graph paper for measuring and a pen if you don't have a pencil.
My layers keep sliding or end up off-center — how do I fix that?
Follow step 8 to press down on every brick, re-count the studs for each layer as in step 4, build on a firm baseplate or cardboard, and add 1x1 plates or stagger corner bricks to lock edges so each inset layer from step 6 sits centered.
How can I change the activity for younger children or make it harder for older kids?
For younger children use larger Duplo bricks, pre-draw only three concentric squares and pre-count piles (steps 2–5), while older kids can pick a bigger odd-number base, use slope bricks, add internal chambers and calculate exact brick counts as in step 4.
What are simple ways to personalize or extend the finished pyramid?
Use the decoration ideas in step 9 to add flags or colored stripes, create a mosaic pattern on the sides, build surrounding mini-structures or sand dunes, or add LEGO LED bricks and then follow step 10 to photograph and share it.
Watch videos on how to build a pyramid in LEGO style
I Built the Pyramids in LEGO!
4 Videos

I Built the Pyramids in LEGO!
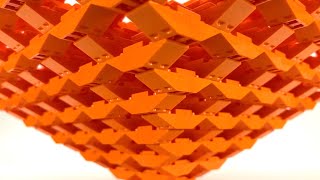
Building an Inverted LEGO Pyramid

How big can an inverted LEGO pyramid get?

How were LEGO bricks invented?
Facts about LEGO-style construction and basic geometry
🧱 Six 2×4 LEGO bricks can be combined in 915,103,765 different ways — tiny bricks, huge possibilities!
🏜️ The Great Pyramid of Giza was built from about 2.3 million stone blocks and originally stood around 146.6 meters tall.
📐 A square-based pyramid has fourfold rotational symmetry (turn it 90° and it looks the same) — symmetry helps designers plan layers.
📏 LEGO studs are spaced 8 mm apart and a standard brick is 9.6 mm tall, which makes measuring and scaling models easy.
⚖️ A wider base lowers the center of mass and makes a pyramid much more stable — great to remember when stacking bricks.
How do you build a small LEGO-style pyramid step by step?
What materials do I need to build a LEGO-style pyramid?
What ages is building a LEGO-style pyramid suitable for?
What are the educational benefits of building a LEGO-style pyramid?
