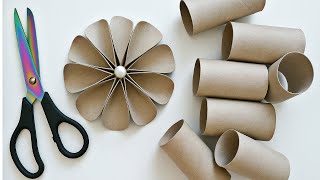
Build a paper roll sculpture
Create a tall sculpture by stacking, cutting, and decorating recycled paper rolls; learn stability, balance, and simple engineering while experimenting with shapes and supports.


Step-by-step guide to Build a paper roll sculpture
Step 1
Gather all materials and clear a flat workspace to build your sculpture.
Step 2
Draw and cut a sturdy cardboard base roughly the size of a dinner plate.
Step 3
Sort your paper rolls into piles by height and width so you can plan your tower.
Step 4
Use scissors to cut some rolls into shorter pieces for different levels.
Step 5
Cut small slits around the top or bottom edge of some rolls to make tabs for joining.
Step 6
Bend the tabs outward so they can sit flat against another tube or the base.
Step 7
Put glue or tape on the base and press one roll upright in the center to start your tower.
Step 8
Place another roll on top or beside the first roll to add height or shape to your sculpture.
Step 9
Secure that new roll by applying glue or tape where it touches the roll below and press to hold.
Step 10
Add short tube pieces as diagonal braces between rolls by gluing them to connect two parts.
Step 11
Gently test your sculpture’s balance by nudging the base and watching for wobbles.
Step 12
Make small repairs by re-gluing or moving pieces until your sculpture stands steady.
Step 13
Decorate your sculpture using colouring materials and glued paper shapes to make it bright and fun.
Step 14
Share a photo of your finished paper roll sculpture on DIY.org so others can see your creation.
Final steps
You're almost there! Complete all the steps, bring your creation to life, post it, and conquer the challenge!


Help!?
What can we use instead of toilet paper rolls or craft glue if we don't have them?
If you don't have paper rolls, roll and tape scrap cardboard into tubes and, instead of craft glue, use clear tape or a stapler (or have an adult use a hot glue gun) to join tabs and secure pieces to the cardboard base.
My tower keeps wobbling—what should I try to fix it?
To stop wobbling, bend the tabs outward and press them flat against the base, add short tube pieces as diagonal braces by gluing them between problem joints, and reinforce contact points with extra tape or a small glued weight under the cardboard base.
How can I change the activity for different age groups?
For younger kids, pre-cut rolls and slits and let them tape and decorate with colouring materials while adults handle scissors and glue, and for older kids, challenge them to cut precise tabs, build taller multi-level structures with many short pieces, and add detailed glued paper decorations before sharing on DIY.org.
How can we extend or personalize the finished sculpture?
Personalize and enhance your sculpture by painting the cardboard base and rolls, gluing paper shapes and small LED tea-lights inside tubes for glow effects, creating interlocking tabs for movable parts, and then photograph it for DIY.org.
Watch videos on how to Build a paper roll sculpture
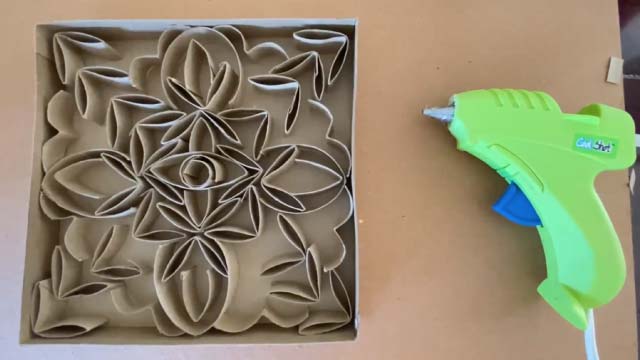
Paper Roll Relief Sculpture
4 Videos
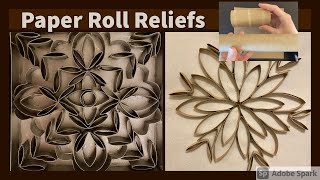
Paper Roll Relief Sculpture
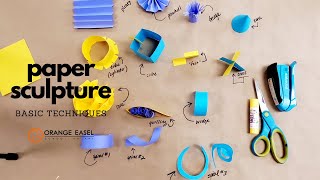
Basic Techniques for Paper Sculpture
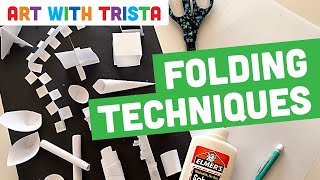
Paper Folding Techniques for 50 Forms Relief Sculpture Lesson - Art With Trista
How to Make Lovely Paper Flower from Toilet Paper Rolls 🌼 Home Decor Craft Step-by-Step DIY Tutorial
Facts about basic engineering and balance for kids
🧻 A cardboard tube's cylindrical shape makes it very strong under compression—perfect for stacking tall sculptures.
♻️ Recycling one ton of paper can save roughly 17 mature trees, plus significant energy and water.
🏗️ Putting heavier pieces low and keeping the center of mass down makes your sculpture much harder to tip over.
🎨 Upcycling turns everyday trash into art—many artists build impressive sculptures using simple recycled materials like paper rolls.
📏 Wider bases and triangle-shaped supports add stability because triangles don't deform under pressure the way other shapes can.
How do you build a paper roll sculpture?
What materials do I need to make a paper roll sculpture?
What ages is this paper roll sculpture activity suitable for?
What are the benefits of making paper roll sculptures and safety tips?


