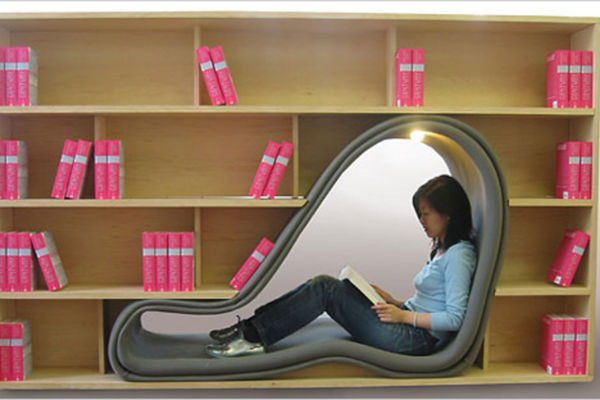
Build a nook
Design and build a cozy reading nook using chairs, blankets, cushions, and cardboard; measure space, arrange lighting, and personalize with decorations.


Step-by-step guide to design and build a cozy reading nook
Build a miniature BOOK NOOK with me! ✨ - Cutebee 'Owl Bookstore' 🦉 Step by Step
Step 1
Choose a cozy corner in your room and clear the floor so you have room to build.
Step 2
Measure the cleared space with the measuring tape or ruler and write down the width and depth.
Step 3
Decide whether your nook will be a small tent a corner hideout or a mini room based on your measurements.
Step 4
Move two or more chairs into the chosen spot to form the frame or walls of your nook.
Step 5
Place cardboard sheets on the floor or against the back to make a stable base or extra walls.
Step 6
Drape blankets over the chairs and cardboard to make a roof and walls and secure edges with clothespins tape or clips.
Step 7
Arrange cushions and pillows inside the nook to create a soft comfy seat.
Step 8
Set up battery-operated string lights or place a small lamp safely just outside the entrance to give gentle reading light.
Step 9
Make a simple cardboard shelf or pocket by folding and taping a small piece of cardboard and attach it inside the nook to hold books.
Step 10
Decorate the inside with stickers drawings ribbon or other simple decorations to make it yours.
Step 11
Check every taped edge and clipped blanket to make sure the nook is sturdy and safe.
Step 12
Bring your favorite books into the nook sit down and enjoy reading in your cozy space.
Step 13
Take a photo of your finished reading nook and share your creation on DIY.org
Help!?
What can we use instead of clothespins, cardboard sheets, or battery-operated string lights if we don't have them?
Use binder clips or heavy books to secure blanket edges, poster board or folded newspapers instead of cardboard sheets for a base or walls, and a flashlight or dimmed phone light in a jar as a safe reading light alternative to string lights.
The blankets keep sagging and the chairs shift—how can we make the nook sturdier when draping blankets over chairs and placing cardboard?
Tuck blanket edges under chair seats and cushions, add extra cardboard panels behind the chairs for support, and anchor the frame with heavy objects like books or a taped strip along the floor to prevent chairs from sliding.
How should we change the activity for different ages when measuring, moving chairs, and decorating the nook?
For toddlers, have an adult measure the space with the measuring tape, move chairs, and handle taping while using simple decorations and lots of cushions, and for older kids let them measure, build the cardboard shelf, and decorate the mini room independently for a more challenging project.
What are some easy ways to personalize or upgrade the reading nook after it's built?
Personalize the inside by painting or adding stickers to the cardboard shelf, stringing battery-operated lights around the roof edge for ambience, and creating labeled pockets for books and snacks before snapping the photo to share on DIY.org.
Watch videos on how to design and build a cozy reading nook
Let's Build a Book Nook Together - Part 1, The Box #booknook #diorama #miniatures
4 Videos

Let's Build a Book Nook Together - Part 1, The Box #booknook #diorama #miniatures

How To Build Fun Reading Nooks For Kids In Your Classroom? - Your Crafty Classroom
![BUILDING an ENCHANTING Magic Book Nook [Step by Step Assembly] 💫 | DIY Miniature Crafts](https://img.youtube.com/vi/yDaLyFz8y7Q/mqdefault.jpg)
BUILDING an ENCHANTING Magic Book Nook [Step by Step Assembly] 💫 | DIY Miniature Crafts
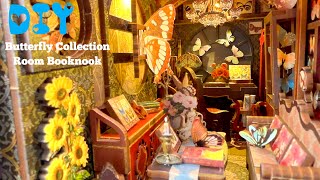
DIY Butterfly Collection Room Book Nook | Step by Step Tutorial
Facts about kid-friendly indoor DIY and reading nook design
📚 Cozy reading nooks make stories feel like adventures — kids with a special spot often pick up books more willingly.
📏 Measuring the space (width, depth, height) first helps you choose chairs, cushions, and cardboard panels that actually fit.
📦 Cardboard is lightweight, sturdy, easy to cut and decorate, and widely used for forts, prototypes, and recyclable crafts.
💡 Warm lighting (about 2700–3000 K) creates a calm, cozy feel and is gentler on the eyes than very cool, harsh bulbs.
🎨 Letting kids personalize the nook with colors, stickers, or a theme boosts creativity and makes the space feel like their own.
How do I design and build a cozy reading nook with chairs, blankets, cushions, and cardboard?
What materials do I need to build a cozy reading nook (chairs, blankets, cushions, cardboard, lighting)?
What ages is this cozy reading nook activity suitable for?
What are the benefits and safety tips for creating a child's reading nook?
