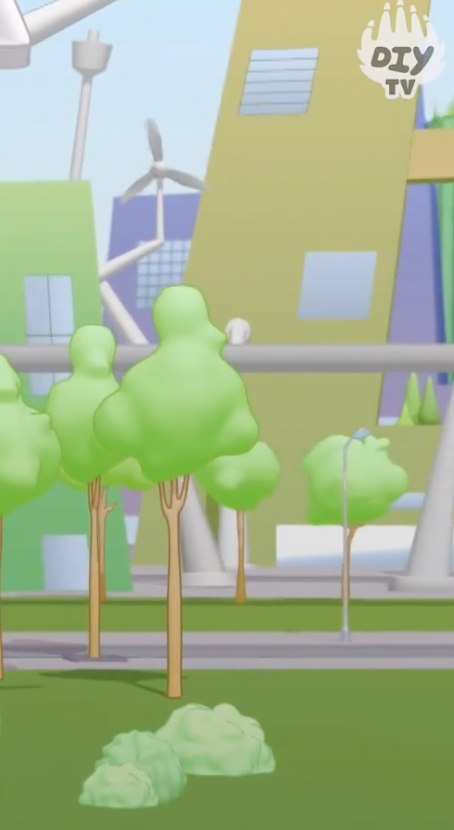
Build A LEGO Forest!
Build a LEGO forest on a baseplate using bricks and plant pieces; design trees, animals, and trails while exploring creativity and basic engineering.


Step-by-step guide to build a LEGO forest
Step 1
Clear a flat workspace and place your LEGO baseplate in front of you.
Step 2
Look at the baseplate and choose three areas for a big medium and small tree.
Step 3
Put a single flat tile or brick on each chosen spot to mark the tree locations.
Step 4
Stack brown or tan bricks on one marked spot to build a sturdy tree trunk.
Step 5
Attach leaf and plant pieces to the top of the trunk to make a leafy canopy.
Step 6
Build the other trees at the remaining spots using different heights and leaf styles for variety.
Step 7
Make a tiny LEGO animal by snapping together small bricks or place a small animal piece in the forest.
Step 8
Create a winding trail by lining up flat plates or tiles across the baseplate to form a path.
Step 9
Add bushes rocks and a pond by placing extra plant pieces round tiles and blue tiles where you like.
Step 10
Place minifigures signs or little benches to give your forest more story and play ideas.
Step 11
Gently press each tree and animal to see if any pieces wobble.
Step 12
Reconnect any loose pieces by clicking them firmly together so everything is secure.
Step 13
Share your finished LEGO forest on DIY.org
Help!?
What can we use if we don't have a LEGO baseplate or enough leaf pieces?
If you don't have a LEGO baseplate, use a large sturdy cardboard or tray as the flat workspace and anchor plates to it, and if leaf or plant pieces are missing, substitute green 1x1 round plates or paper leaves on studs for the canopy while still marking tree spots with single flat tiles as in step 2.
My trees wobble or pieces keep falling off—how do I fix them?
If a tree wobbles when you 'gently press each tree' in step 11, widen the trunk base with extra brown or tan bricks, attach leaves to multiple studs for a secure canopy, and 'reconnect any loose pieces' by clicking them firmly together as in step 12.
How can I adapt this activity for different ages?
For younger children, replace small bricks and fragile leaf pieces with larger Duplo or big bricks and pre-made animal pieces and let them place the three flat tiles to mark tree locations, while older kids can follow all steps to build varied-height trunks, design the winding trail with plates, craft tiny LEGO animals, and add detailed ponds with blue tiles.
What are some fun ways to extend or personalize our LEGO forest?
To enhance and personalize your forest, add a tiny LEGO cottage or lookout near the pond using extra bricks, swap in red or orange tiles for seasonal foliage, place a lamppost or moving bench along the winding trail, and photograph the scene to share on DIY.org.
Watch videos on how to build a LEGO forest
5 Easy To Build LEGO Tree Designs - Instructions
4 Videos
5 Easy To Build LEGO Tree Designs - Instructions

How To Build a LEGO Tree - LEGO MOC tutorial
Tutorial: How to Make LEGO Trees
LEGO Grow a Garden Full Garden Build Step by Step Tutorial eps 2
Facts about building with LEGO and basic engineering
🧱 LEGO makes over 36 billion elements every year — that's enough bricks to give dozens to every person on Earth!
🌳 Scientists estimate there are about 60,000 species of trees worldwide — perfect inspiration for unique LEGO tree designs.
🌲 Forests cover roughly 31% of Earth's land area, so your baseplate can be a tiny snapshot of a big biome.
🐾 Forests are home to most terrestrial biodiversity — around 80% of land-based species rely on forest habitats.
🎨 LEGO has produced over 60 official colors during its history, so you can mix leaves, animals, and trails in many shades.
How do I build a LEGO forest on a baseplate?
What materials do I need to build a LEGO forest?
What ages is building a LEGO forest suitable for?
What are the benefits of building a LEGO forest?
