Build a LEGO® vehicle
Build a LEGO vehicle with wheels and axles, design and decorate it, then test and improve its speed, steering, and stability.


Step-by-step guide to build a LEGO vehicle
How to Build a Simple LEGO Car (LEGO® Classic 10717) - Easy Kids DIY
Step 1
Clear a flat workspace and place all Materials Needed within reach.
Step 2
Choose a vehicle type like a racer truck or buggy and imagine how it should move.
Step 3
Build a sturdy flat chassis using a base plate or stacked flat bricks.
Step 4
Insert two axles under the chassis so they sit parallel and spaced apart.
Step 5
Attach wheels to each axle and make sure every wheel can spin freely.
Step 6
Add small LEGO bricks low on the chassis to make the vehicle more stable.
Step 7
Use masking tape to mark a clear start line and finish line on the floor.
Step 8
Place your vehicle on the start line and release it without pushing so it rolls on its own.
Step 9
Measure the distance it traveled from start to stop using the ruler or tape measure.
Step 10
Straighten or shift any axles or wheels that make the vehicle veer to improve steering.
Step 11
Reduce rubbing by moving pieces away from wheels or replacing rough parts to improve speed.
Step 12
Decorate your vehicle with stickers or colouring materials to make it look awesome.
Step 13
Do one last test run to check speed steering and stability after your changes.
Step 14
Share a photo and a short description of your finished vehicle on DIY.org
Help!?
What can we use instead of a LEGO base plate if we don't have one?
If you don't have a base plate, build a sturdy flat chassis from stacked flat bricks as the instructions suggest, or tape a piece of cardboard under your chassis to help keep the axles aligned.
My wheels don't spin or the car keeps veering—what should I check?
Check that the two axles sit parallel and spaced apart under the chassis, make sure every wheel can spin freely, straighten or shift any axles or wheels that cause veering, and move or replace pieces that rub the wheels to reduce friction.
How can I adapt this activity for younger or older children?
For younger children use larger LEGO bricks, pre-assembled wheel/axle units, and adult help inserting axles, while older kids can use a base plate or stacked flat bricks, experiment with axle spacing and wheel types, and measure runs with the ruler to refine speed and steering.
How can we extend or personalize the vehicle after the basic build?
Extend the activity by adding small LEGO bricks low on the chassis for stability or extra weight, trying different wheel sizes or smoother parts to improve speed, decorating with stickers or colouring materials, and sharing a photo and description on DIY.org.
Watch videos on how to build a LEGO vehicle
How To Build Simple LEGO R/C Car Tutorial
4 Videos

How To Build Simple LEGO R/C Car Tutorial
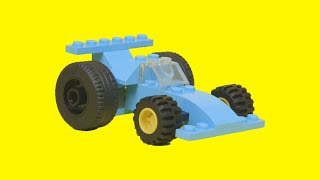
How to build a LEGO Race Car! Building Tutorial with LEGO Bricks | DIY LEGO MOC
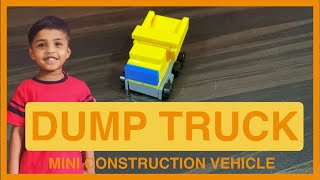
How to Build a Mini LEGO Dump Truck | Step-by-Step LEGO Construction Vehicle Tutorial
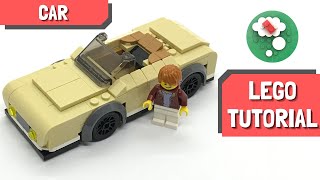
How to build a LEGO Car (Tutorial)
Facts about basic mechanics and vehicle design for kids
🚗 The wheel-and-axle is one of the oldest simple machines and has helped transport people and goods since about 3500 BC.
🧱 The modern LEGO brick design (the clutch brick that snaps together) was patented in 1958, letting builds stay strong and stackable.
⚙️ Using gears and different axle setups (like in LEGO Technic) lets you change a vehicle's speed and torque for faster or stronger movement.
🏁 Reducing friction with smooth axles and well-rolling wheels can make a toy car much faster on a ramp or straight track.
🧭 Lowering a vehicle's center of gravity and widening its wheelbase makes it more stable and less likely to tip when turning.
How do I build and test a LEGO® vehicle with wheels and axles?
What materials do I need to build a LEGO® vehicle with wheels and axles?
What ages is building a LEGO® vehicle with wheels and axles suitable for?
What are the benefits of building and testing LEGO® vehicles?
