Build a LEGO® city
Design and build a miniature LEGO city with streets, buildings, parks, and vehicles, planning layout, practicing measuring, and collaborating with friends or family.

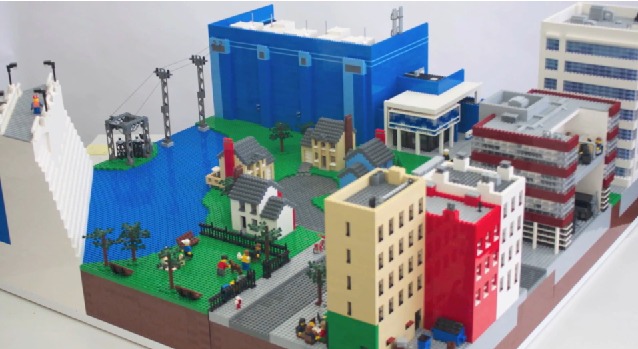

Step-by-step guide to build a LEGO® city
How to build a LEGO city (10 tips and tricks tutorial)
Step 1
Choose a flat baseplate or board to be your city's foundation.
Step 2
Pick the size of your city and write the width and length on your paper.
Step 3
Draw a simple map on the paper showing where streets parks and buildings will go.
Step 4
Use the ruler and pencil to mark street widths and important spots on the baseplate.
Step 5
Lay down road pieces or long flat bricks along the marked lines to create streets.
Step 6
Build buildings by stacking bricks in different heights and place them on their map spots.
Step 7
Create a park area using green plates and small bricks for trees and benches.
Step 8
Make vehicles by assembling small LEGO cars and trucks.
Step 9
Place your vehicles on the streets you built.
Step 10
Add small details like signs crosswalks and lamp posts with tiny bricks or stickers.
Step 11
Measure spacing between buildings and streets and move pieces if something feels too tight.
Step 12
Invite a friend or family member to join you and build one shared area of the city together.
Step 13
Share your finished LEGO city on DIY.org.
Help!?
What can we use instead of a LEGO baseplate or special road pieces if we can't find them?
If you don't have a LEGO baseplate, use a sturdy piece of cardboard or a wooden board as the city's foundation and tape your paper map to it so you can still mark street widths with your ruler and pencil and lay down road pieces or long flat bricks.
My streets don't line up and buildings wobble—what should I check or do to fix this?
If streets made from road pieces or long flat bricks don't line up or buildings wobble, remeasure the marked street widths with your ruler and pencil, shift pieces to match your drawn map, and use overlapping plates or wider bases under buildings for extra stability.
How do we change the activity for different ages so it's fun but not too hard?
For younger children, pick a small baseplate, pre-draw simple map areas and let them stack larger bricks and place green plates for the park, while older kids can write exact width and length, use the ruler and pencil to measure street widths precisely, and build taller multi-story buildings.
What are some ways to extend or personalize our LEGO city after the basic build?
To personalize and extend the city, add LED lights inside stacked buildings, create custom sticker signs for shops, build seasonal scenes in the park with small bricks and trees, and invite a friend to co-build the shared area before sharing the finished LEGO city on DIY.org.
Watch videos on how to build a LEGO® city
How to Build a LEGO City When You Have NO Space (Minifig-Scale)
4 Videos
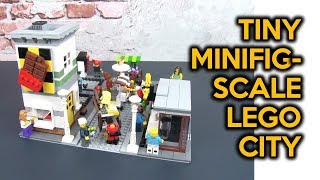
How to Build a LEGO City When You Have NO Space (Minifig-Scale)
LEGO Instructions - City - 60271 - Main Square - Town (Book 2)
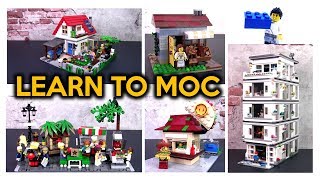
5 Steps to Creating a LEGO MOC from Scratch
LEGO Instructions - City - 60271 - Main Square - Town (Book 5)
Facts about model building and basic urban planning for kids
🧱 More than 400 billion LEGO bricks have been produced — that's roughly dozens of bricks for every person on Earth.
🏙️ Urban planners often use small models and maps to test where streets, parks, and buildings should go before construction begins.
📏 Using scale helps planning: at 1:100 scale, 1 cm on your model equals 1 m in real life, perfect for laying out streets and blocks.
👥 LEGO building is often social — there are LEGO User Groups and community builds where people collaborate on giant displays.
🚗 LEGO has thousands of vehicle and minifigure designs (over 4,000 unique minifigures), so you can mix lots of parts when designing a city.
How do you build a miniature LEGO city with streets, buildings, parks, and vehicles?
What materials do I need to design and build a LEGO city?
What ages is building a LEGO city suitable for?
What are the benefits of designing and building a LEGO city?
