Build a Clay Cup
Use air-dry clay to build a simple pinch pot cup, smooth and decorate it, then let it dry and paint your finished cup.

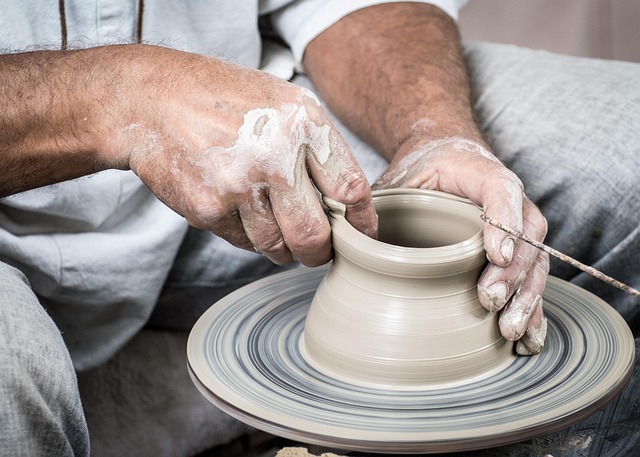

Step-by-step guide to build a clay cup
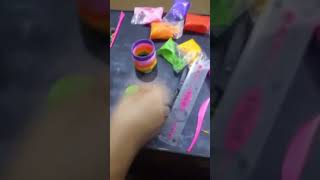
"DIY Clay Cup & Plate Tutorial for Kids | Fun Pottery Project for Beginners!"
Step 1
Cover your table with wax paper to keep things clean.
Step 2
Tear off a piece of clay about the size of a golf ball.
Step 3
Knead the clay in your hands until it feels soft and even.
Step 4
Roll the clay into a smooth round ball using your palms.
Step 5
Press your thumb into the center of the ball to make a deep hole.
Step 6
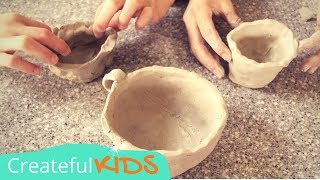
Pinch the clay gently while turning it to pull the walls up into a cup shape.
Step 7
Press the bottom flat so the cup can stand steadily.
Step 8
Smooth the inside and outside with a damp sponge or cloth to remove cracks.
Step 9
Use a clay tool or butter knife to press patterns or attach small clay shapes for decoration.
Step 10
Let the cup dry on the wax paper until completely hard following the clay package directions (at least 24 hours).
Step 11
Paint your dry cup with acrylic paints in any colors you like.
Step 12
Let the paint dry completely on a protected surface.
Step 13
Share your finished clay cup creation on DIY.org
Help!?
What can we use if we don't have air-dry clay or wax paper?
If you don't have air-dry clay, substitute oven-bake polymer clay (bake per package) or homemade salt-dough (bake to harden), and replace the wax paper with parchment, a plastic bag, or an old placemat to keep the table clean.
My cup keeps cracking or collapsing while I'm shaping it — what should I do?
If the cup cracks or collapses, make sure you knead the clay until very soft and even, keep the wall thickness uniform while pinching and turning, press the bottom flat for support, and smooth cracks with the damp sponge before drying.
How can I adapt this activity for different ages?
For toddlers, use a larger ball of clay and help them press a shallow bowl and skip sharp tools, while older kids can thin the walls more, add handles or stamped patterns with the clay tool or butter knife, then dry and paint with acrylics themselves.
How can we personalize or extend the clay cup project after the basic steps?
Press on decorative clay shapes before drying, carve patterns with a butter knife or clay tool, paint layered acrylic designs after the cup is hard, seal with a water-based varnish for durability, and make matching cups to share on DIY.org.
Watch videos on how to build a clay cup
how to make a clay cup step_by_step pottery tutorial
4 Videos
how to make a clay cup step_by_step pottery tutorial
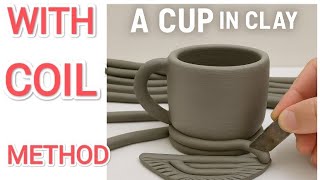
"Clay Cup Making | Easy Coil Method Tutorial for Beginners"
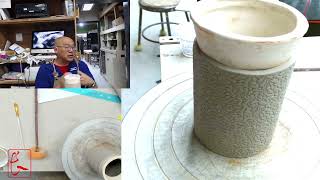
How to Make a Textured Slab-Built Clay Cup | Step-by-Step Pottery Tutorial
How to Make Pottery | Kids Pottery Term Lesson
Facts about clay crafts for kids
🏺 Pottery is one of the oldest human crafts — Jōmon pottery from Japan is over 12,000 years old.
✋ The pinch pot is one of the simplest hand-building techniques: you form a cup by pinching a ball of clay between thumb and fingers.
🎨 Air-dry clay can be painted with acrylic or tempera paints once it's fully dry, making it perfect for bright kid-friendly colors.
⏳ Small air-dry clay pieces often need at least 24 hours to dry, but thicker cups can take several days to fully harden.
🌿 Pressing leaves, fabric, or stamps into clay before it dries creates lasting textures that look great after painting.
How do I help my child build a clay pinch pot cup step-by-step?
What materials and tools do we need to make an air-dry clay cup?
What ages is building a clay pinch pot cup suitable for?
What are the benefits of doing a clay pinch pot cup with my child?
