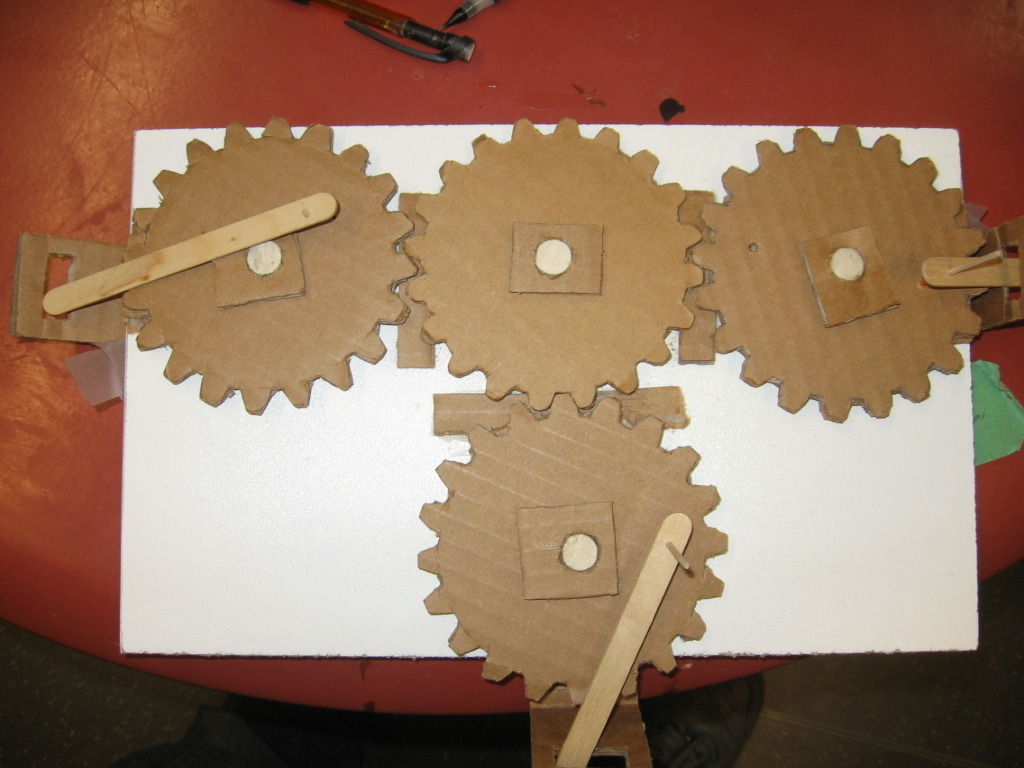
Build a cardboard contraption
Build a cardboard contraption with wheels and rubber bands. Measure, cut, assemble parts, and test simple mechanical motion safely and creatively.


Step-by-step guide to build a cardboard contraption with wheels and rubber bands
How to Make Cardboard Working Robot /Diy Robot From Cardboard Craft
Step 1
Clear a flat workspace and lay out all your materials so everything is easy to reach.
Step 2
Use the ruler and pencil to draw a rectangle about 20 cm by 10 cm on the cardboard for your car chassis.
Step 3
Carefully cut out the rectangle to make the chassis.
Step 4
Cut two drinking straw pieces about 6 cm long to make axle bearings.
Step 5
Tape the two straw pieces under the chassis about 3 cm in from each short end so they line up across the width.
Step 6
Cut the two wooden skewers so each is a little wider than the chassis so the ends stick out as axles.
Step 7
Push each skewer through one straw bearing so both skewers sit across the chassis as front and rear axles.
Step 8
Slide a bottle cap or toy wheel onto each exposed skewer end to make four wheels.
Step 9
Put a small piece of tape on each skewer end to keep the wheels from sliding off.
Step 10
Tape a toothpick upright to the rear center of the chassis to act as a hook for the rubber band motor.
Step 11
Attach a rubber band to the rear axle by wrapping it around the skewer a couple of times and taping it so one end is fixed to the axle.
Step 12
Stretch the free part of the rubber band forward and loop it over the toothpick hook so it can twist when you wind the axle.
Step 13
Turn a rear wheel several times to wind the rubber band then place the car on the floor and let go to watch it roll.
Step 14
Share a photo and a short description of your finished rubber-band car on DIY.org
Help!?
What can I use instead of wooden skewers, drinking straws, or bottle caps if I can't find them?
If you don't have the wooden skewers from 'cut the two wooden skewers', use sharpened pencils or thin dowels as axles, replace the 'cut two drinking straw pieces' bearings with rolled paper tubes or short pen caps, and swap bottle-cap wheels with LEGO/toy wheels or coins taped on.
My wheels won't spin freely or the car goes crooked — how do I fix it?
If wheels bind or the car tracks crooked, re-tape and realign the straw bearings under the chassis 'about 3 cm in from each short end' so they line up across the width, trim or sand skewer ends to reduce friction through the straws, and reposition the small piece of tape on each skewer end so the wheels don't rub or slide off.
How can I adapt this activity for younger or older kids?
For younger kids have an adult pre-measure and cut the 20 cm by 10 cm chassis, pre-cut straw bearings and skewer pieces, and let them slide on wheels and loop the rubber band, while older kids can measure and cut the chassis themselves, experiment with more rubber-band wraps and different toothpick-hook designs, or strengthen the axle attachment.
How can we improve or personalize the rubber-band car to go farther or look cooler?
To extend and personalize the car try moving the straw bearings slightly from the 'about 3 cm' marks to change the wheelbase for stability, use a longer or additional rubber band when you 'attach a rubber band' for more power, replace the taped toothpick with a sturdier hook, and decorate the cardboard chassis before running.
Watch videos on how to build a cardboard contraption with wheels and rubber bands
How to Make a Moving Cardboard Toy Bus | Easy DIY Bus for School Project with DC Motor
4 Videos
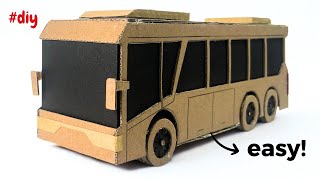
How to Make a Moving Cardboard Toy Bus | Easy DIY Bus for School Project with DC Motor
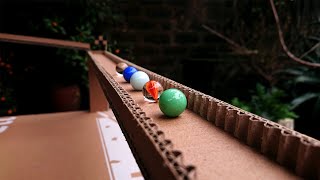
How To Make Marble Run from Cardboard
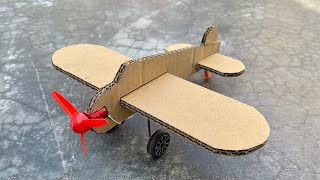
How to Make a Cardboard Airplane / DIY cardboard airplane: Step-by-step guide

How to make a cardboard gun | DIY Cardboard Toy Gun with Silencer!
Facts about simple machines and DIY engineering for kids
🧰 A stretched rubber band stores elastic potential energy that can power a tiny car when released.
📦 Corrugated cardboard's fluted layer makes it lightweight yet surprisingly strong — perfect for building frames and wheels.
🚗 The wheel was invented around 3500 BCE, making it one of the oldest inventions that still powers our machines today.
📏 Measuring, cutting, and testing a rubber-band-powered vehicle are hands-on ways to practice real STEM skills like iteration and precision.
🤹 Rube Goldberg-style contraptions celebrate playful problem-solving — they turn simple tasks into creative chain reactions.
How do I build a cardboard contraption with wheels and rubber bands?
What materials do I need to build a cardboard contraption with wheels and rubber bands?
What ages is this cardboard contraption activity suitable for?
What safety tips and creative variations should I know when making this cardboard contraption?
