Beautify Alphabets!
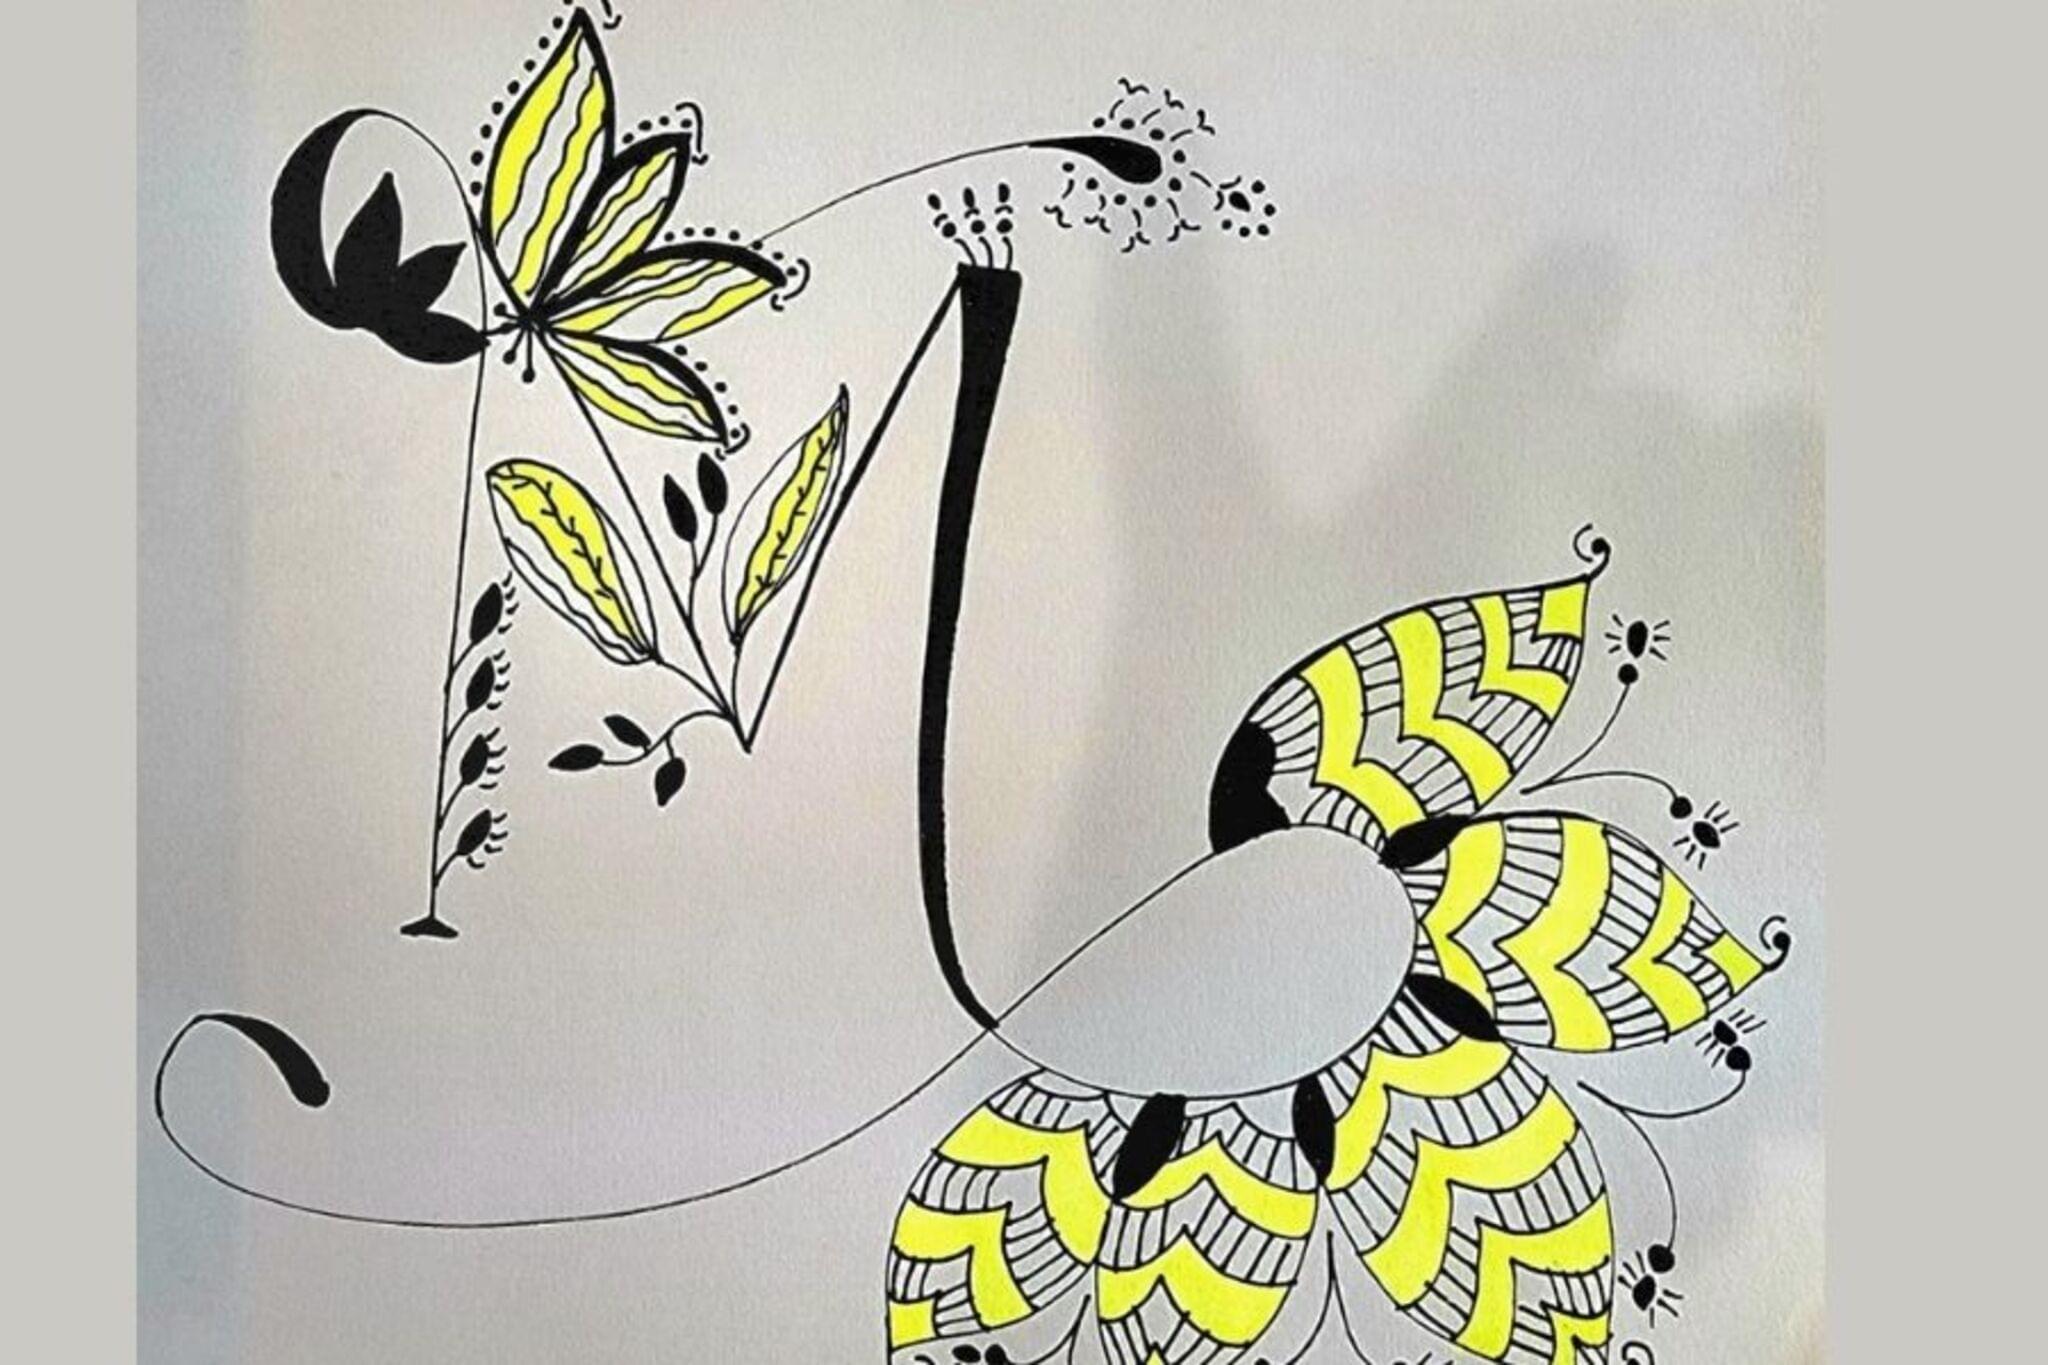
Decorate alphabet letters using paper, markers, stickers, and glitter to create a colorful wall display while practicing design, patterns, lettering, and fine motor skills.


Step-by-step guide to Beautify Alphabets!
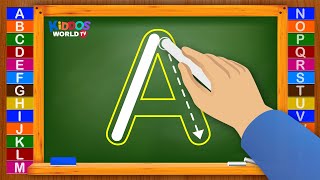
How to Teach Kids to Write the Alphabet | Writing Alphabet Letters | Pre-Writing Activities
Step 1
Gather all your materials and set them on a clear workspace.
Step 2
Choose which alphabet letters you want to decorate such as your name letters or A to Z.
Step 3
Use your pencil and ruler to draw or trace each letter large enough to color and decorate.
Step 4
Cut out each letter carefully with scissors.
Step 5
Lightly sketch patterns or small pictures inside each letter with your pencil.
Step 6
Color the patterns and backgrounds using your markers or coloring materials.
Step 7
Stick fun stickers onto letters where you want extra decoration.
Step 8
Apply a little glue to one small area on a letter where you want to add glitter.
Step 9
Sprinkle glitter over the glued area so it sticks.
Step 10
Gently tap the letter to remove extra glitter onto a tray or scrap paper.
Step 11
Repeat the glue sprinkle and tap steps for each letter you want glittered.
Step 12
Let all the letters dry completely before moving them.
Step 13
Lay your dry letters on the floor or table to decide the order and spacing for your wall display.
Step 14
Attach the letters to the wall using tape or sticky putty in your chosen layout.
Step 15
Take photos and share your colorful alphabet wall display on DIY.org.
Help!?
What can I use if I don't have glitter, stickers, or sticky putty from the materials list?
If you don't have glitter or stickers, use torn shiny foil, sequins, or cut pieces of colored paper and attach them with the same small-glue step, and replace sticky putty with double-sided tape when you 'Attach the letters to the wall'.
My letters tear when I cut them or keep falling off the wall — what should I try?
If letters tear while cutting, reinforce the paper back with clear tape before using scissors, and if letters fall off the wall swap the tape in the 'Attach the letters to the wall' step for stronger double-sided tape or sticky putty applied to a clean wall surface.
How can I adapt this activity for different ages (toddlers, elementary, older kids)?
For toddlers, have an adult pre-cut large letters and let them color and add stickers in Steps 6–7; elementary kids can trace and lightly sketch patterns in Step 5, and older kids can use a ruler to draw precise letters in Step 3 and add detailed mixed-media decorations like sequins and layered paper before the drying step.
What are simple ways to extend or personalize the finished alphabet display?
After 'Let all the letters dry,' personalize by laminating the letters, adding names or themed drawings inside each letter from Step 5, or punching holes to string them into a hanging banner or mobile for a different display.
Watch videos on how to Beautify Alphabets
How to Teach Kids to Write ABC Letters | Learning Easy Writing the Alphabet Uppercase Letters A-Z
4 Videos
How to Teach Kids to Write ABC Letters | Learning Easy Writing the Alphabet Uppercase Letters A-Z
Teaching Kids How to Write The Alphabet Letters A-Z | Learning the Uppercase Letters Handwriting
Tracing Alphabet for kids | How to write Alphabet | Small Letters
How to Write Letters for Children - Teaching Writing ABC for Preschool - Alphabet for Kids
Facts about alphabet crafts and early literacy
🅰️ The modern English alphabet has 26 letters; the letter E is the most commonly used in English.
✍️ Calligraphy literally means "beautiful writing" in Greek and has inspired many decorative lettering styles.
🔤 Typography studies the shapes and spacing of letters—small design changes can make text feel playful or serious.
✂️ Papercraft includes origami, kirigami, collage and more—paper art has been a creative hobby for centuries.
✨ Glitter sparkles because tiny flat particles reflect light, making decorations pop on walls and letters.
How do we do the "Beautify Alphabets" activity at home?
What materials do I need for Beautify Alphabets?
What ages is Beautify Alphabets suitable for?
What are the benefits of Beautify Alphabets and are there safe variations?
