Automate your garden
Build a simple automatic plant-watering system using a soil sensor or timer, tubing, and a small pump or gravity drip to water plants.


Step-by-step guide to automate your garden
7 Tips to Garden with Kids (Easy Gardening with Children)
Step 1
Gather all materials and place them on a flat table near your plant so everything is easy to reach.
Step 2
Fill the water container halfway with clean water and set it on the ground close to the plant.
Step 3
Push one end of the flexible tubing firmly onto the pump outlet until the tubing fits snug and cannot slip off.
Step 4
Place the pump into the water container so the pump is fully submerged and the tubing runs out toward the plant.
Step 5
Run the free end of the tubing to the base of the plant and tape or zip-tie it so water will drip right onto the soil near the roots.
Step 6
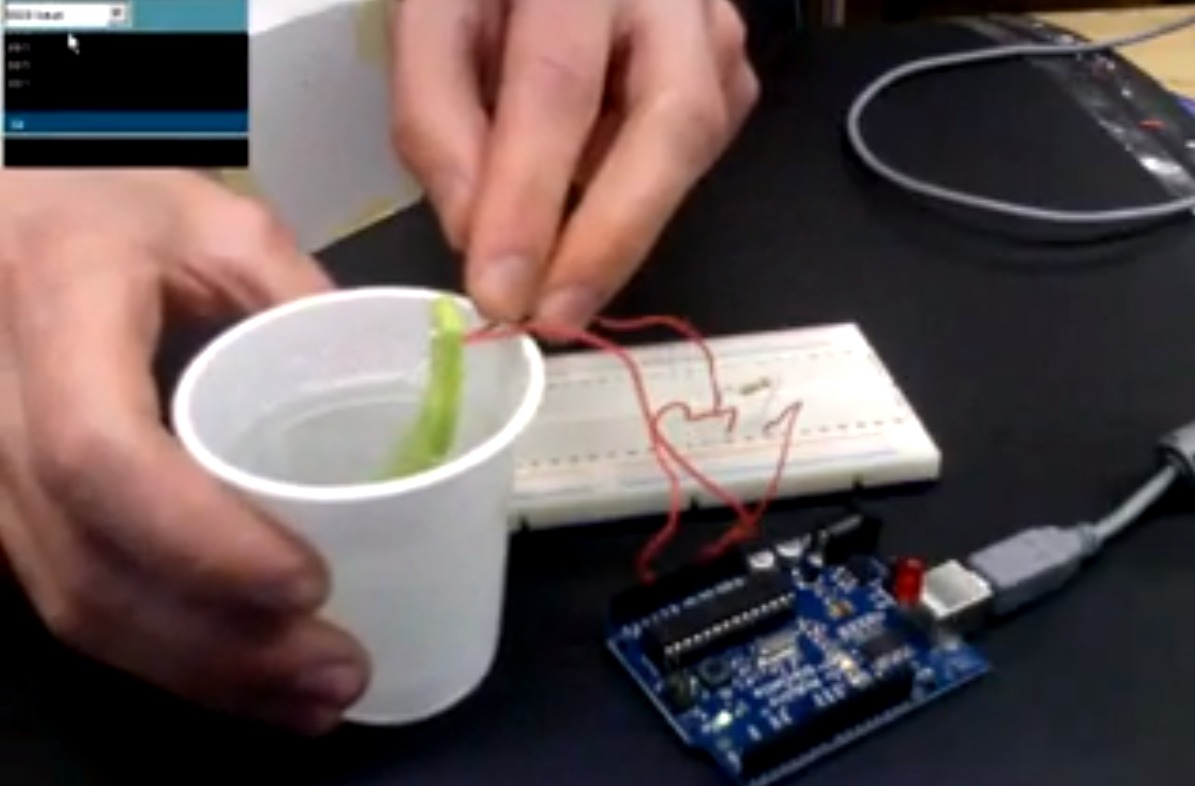
Stick the soil moisture sensor probes into the plant’s soil near the roots leaving the wires above the soil.
Step 7
With an adult, connect the sensor’s relay wires to the pump’s power wires following the kit’s wiring guide so the sensor can turn the pump on and off.
Step 8
Wrap every exposed wire connection with waterproof tape so the electronics stay dry and safe.
Step 9
Plug the USB power bank or 5V adapter into the sensor/relay module to give the system power.
Step 10
Turn the power on so the sensor and pump are active.
Step 11
Slowly turn the sensor’s adjustment knob until the pump runs when the soil is dry and stops when the soil is moist so it waters at the right time.
Step 12
Take a photo or video and share your finished automatic watering system on DIY.org
Help!?
What can we use if we can’t find the small pump, flexible tubing, or a USB power bank?
Use a submersible aquarium pump and silicone or repurposed aquarium airline tubing for the step where you push tubing onto the pump outlet and run it to the plant, and replace the USB power bank with a 5V phone charger or battery pack if needed.
Why isn’t my system watering and how do I fix it?
If water doesn’t drip, check that the tubing is pushed firmly onto the pump outlet (step 3), the pump is fully submerged in the water container (step 4), the relay wires are connected correctly per the kit guide (step 6), and every exposed connection is wrapped with waterproof tape (step 8).
How can I change this activity for different ages?
For ages 4–7 have an adult do the wiring and plugging in (steps 6–9) while the child helps place tubing and probes, and for ages 10+ let them complete wiring under supervision and experiment with pump placement and sensor adjustments (steps 3–11).
How can we improve or personalize our automatic watering system after it works?
Extend the project by adding a Wi‑Fi relay or Arduino to log moisture and schedule watering, split the tubing with T-connectors to water multiple plants, decorate the water container and tubing, and take the photo or video to share as described in step 12.
Watch videos on how to automate your garden
Automatic Plant Watering with Arduino | Science Project
4 Videos
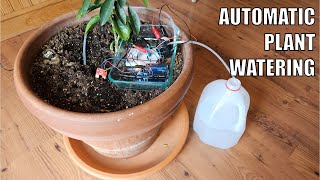
Automatic Plant Watering with Arduino | Science Project

Fun Gardening with Kids and Parents | Children Helping in Garden
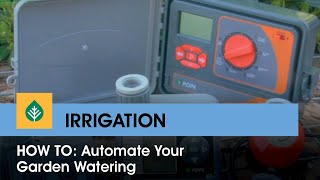
How To: Automate your garden watering
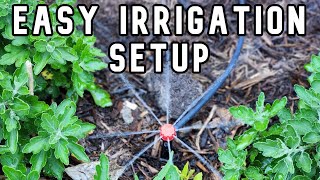
Easy garden irrigation system for beginners
Facts about garden automation and basic electronics
💧 Drip irrigation can use up to about 50% less water than traditional sprinklers, making it super water-smart for gardens.
🌱 Soil moisture sensors often work by measuring electrical resistance or capacitance to tell how wet the soil is.
🤖 Small microcontrollers like Arduino can read sensors and control pumps — many beginner boards cost under $30.
🔋 Tiny DIY water pumps often draw only 2–5 watts, so they can run from batteries or a small solar panel.
🌿 Overwatering is one of the top reasons plants die, so watering only when the soil is dry helps plants stay healthier.
How do you build a simple automatic plant-watering system for a kids' garden project?
What materials do I need to build a kid-friendly automatic plant-watering system?
What ages is an automatic plant-watering project suitable for?
What safety tips and benefits should parents know when automating a garden with kids?
