Art meets Science: Microbe Drawings 101
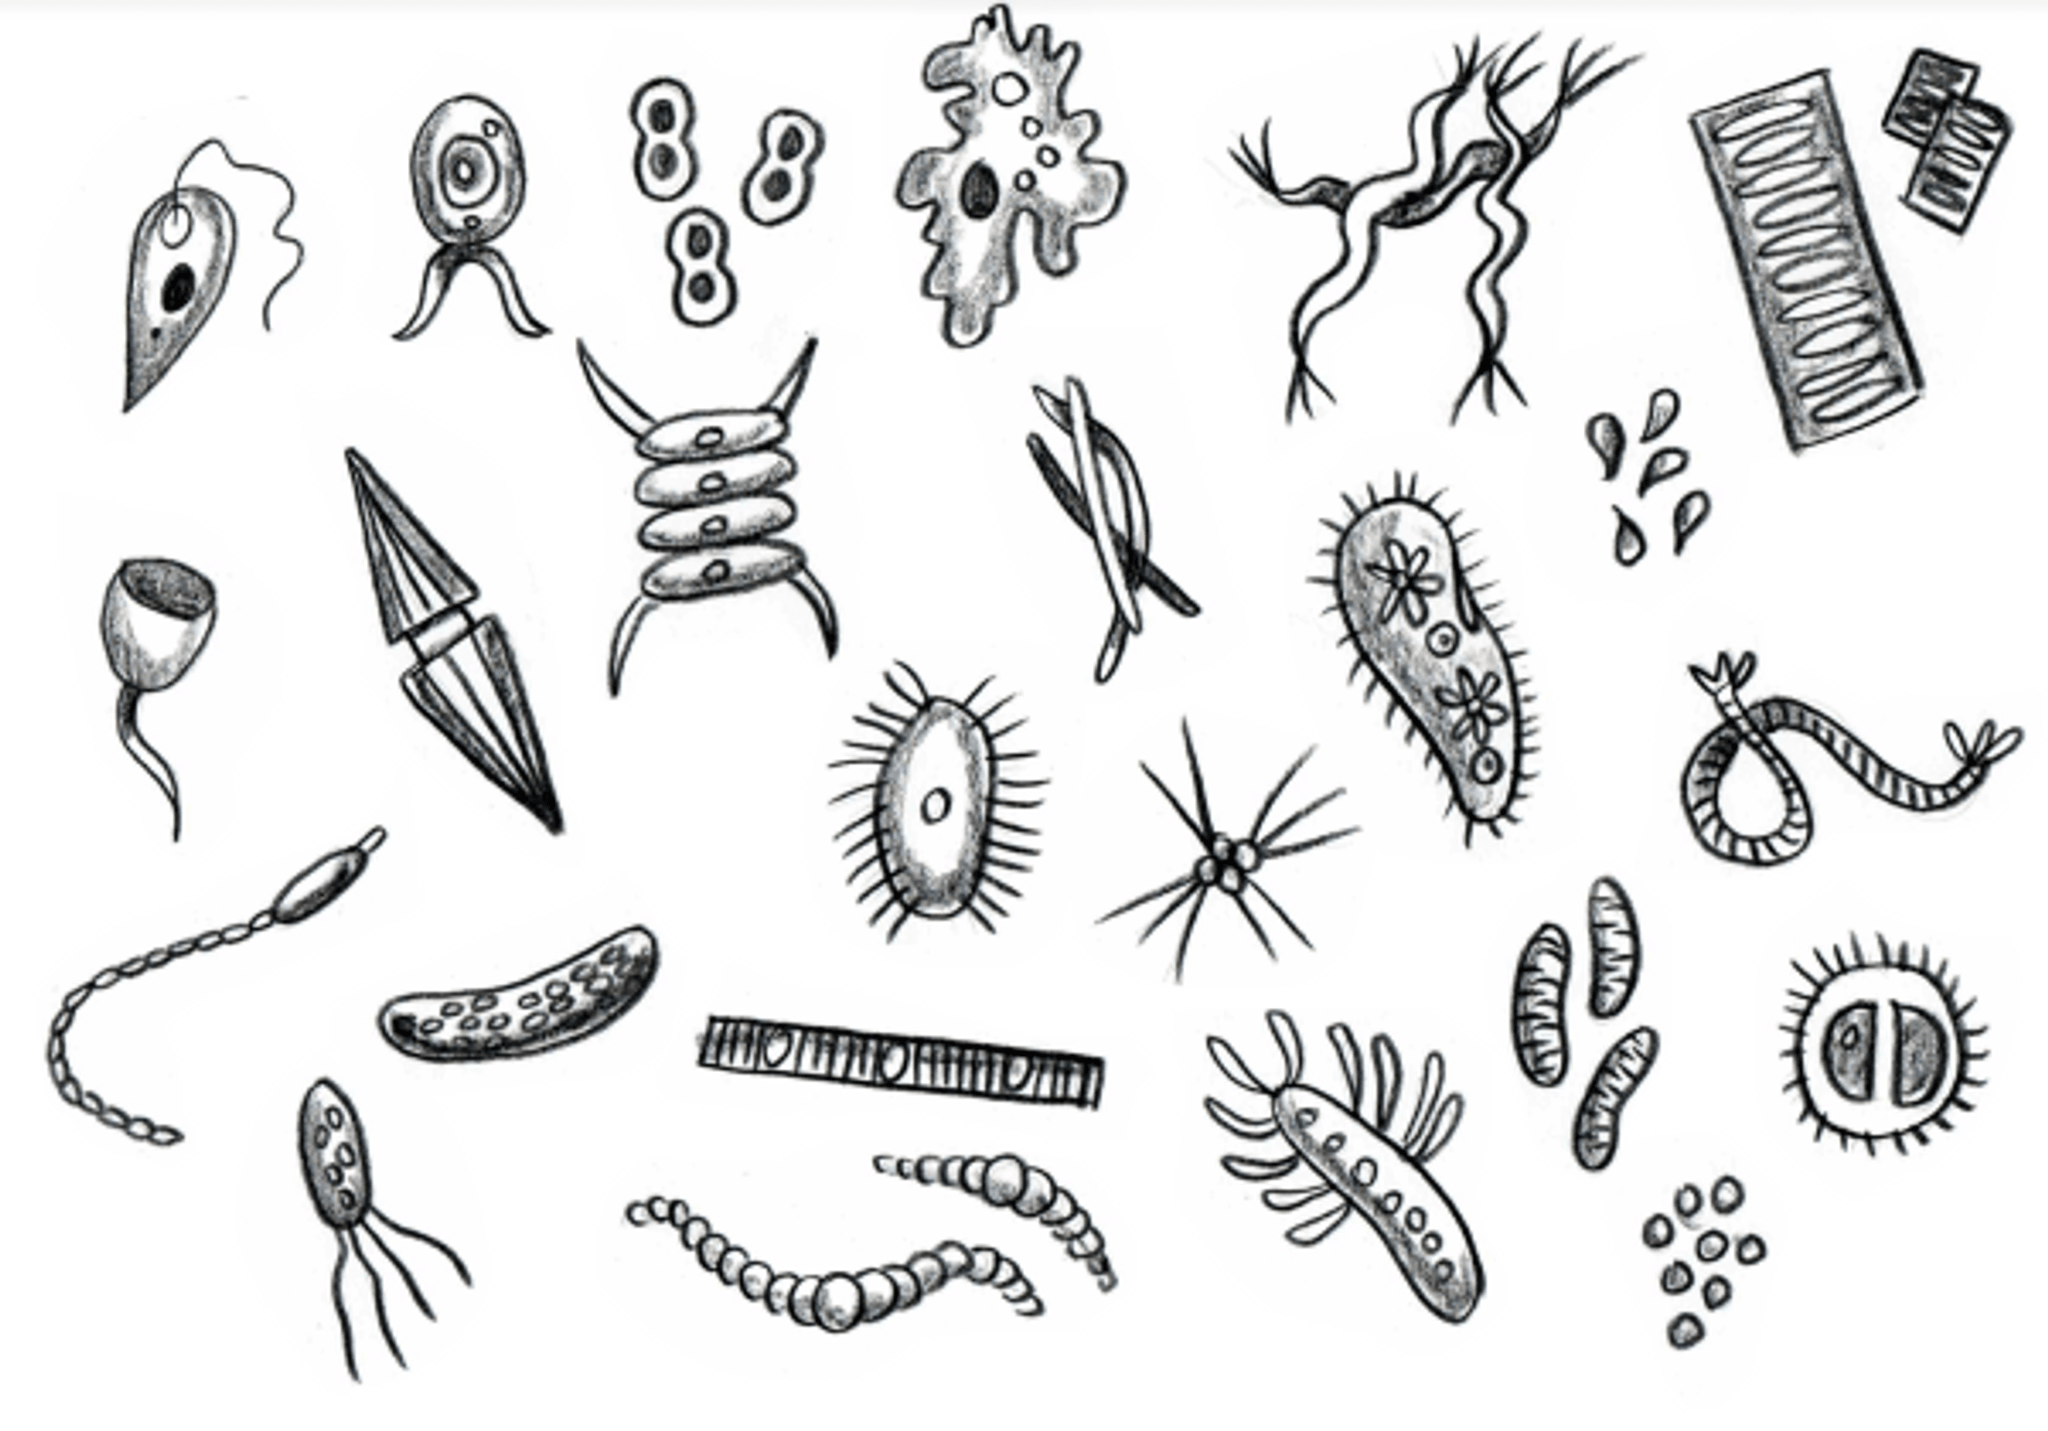
Create detailed microbe-inspired drawings from microscope observations or reference images, learning about shapes, structures, and safe lab practices while combining art and science.

Drawing Apps
Step-by-step guide to Art meets Science: Microbe Drawings 101
how to draw bacteria easy/easy bacteria drawing
Step 1
Gather all the materials listed and bring them to your workspace.
Step 2
Clear a table and lay a paper towel to make a clean flat workspace.
Step 3
Ask an adult to help you collect a safe sample such as pond water or a thin onion skin.
Step 4
With adult help put one drop of the sample onto a clean microscope slide or into a clear shallow dish.
Step 5
With adult help place a cover slip or clear plastic square over the drop to gently flatten the sample.
Step 6
Put the slide or dish under the microscope or hold it up to the magnifying glass and look carefully for shapes and movement.
Step 7
Lightly sketch the big outlines and overall shapes you see with a pencil.
Step 8
Add smaller structures you notice such as tails dots or thick walls using a sharper pencil for detail.
Step 9
Trace the pencil lines you want to keep with a fine-tip black pen to make the drawing bold.
Step 10
Gently erase any leftover pencil marks so only your ink lines remain.
Step 11
Color your microbe drawing using your coloring materials to add bright and realistic details.
Step 12
Label at least three parts of your drawing with neat handwriting and short names.
Step 13
Write one sentence about where you found the sample.
Step 14
Write one sentence about a safety rule you followed while collecting or observing the sample.
Step 15
Share your finished microbe drawing on DIY.org.
Help!?
What can I use if I don't have a clean microscope slide, cover slip, or microscope?
Use the clear shallow dish from the materials as your viewing base, a clean jar lid or a square of clear plastic in place of a cover slip, and a handheld magnifying glass instead of a microscope to complete the steps of putting a drop on a surface and looking for shapes.
My sample looks blurry or has air bubbles under the cover slip so I can't see details — what should I try?
When you put the drop on the slide or into the dish, blot excess liquid with the paper towel, lower the cover slip at an angle to push bubbles out, or switch to a thinner specimen like a single onion skin as described in the collection step to improve clarity.
How can I change this activity for younger children or make it more challenging for older kids?
For younger children, have an adult handle the sample, slide/dish and cover slip steps while the child focuses on sketching, tracing with the black pen, coloring, and labeling three parts, and for older kids let them collect samples with supervision, use a phone or digital microscope, add finer detail with the sharper pencil, and write longer observations beyond the required sentences.
What are some ways to extend or personalize the finished microbe drawing beyond sharing it on DIY.org?
Create a mini 'microbe field guide' by collecting multiple colored and labeled drawings from different samples, include each drawing's 'where you found the sample' sentence and 'safety rule' sentence, then bind them into a booklet or make a slideshow to upload to DIY.org.
Watch videos on how to create microbe-inspired drawings
How to draw a bacteria easy/bacteria drawing/draw and label bacterial structure
4 Videos
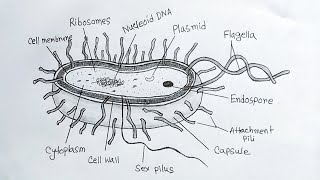
How to draw a bacteria easy/bacteria drawing/draw and label bacterial structure
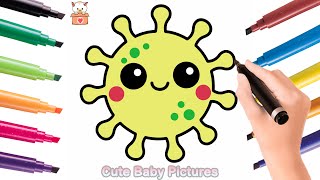
How to Draw a Cute Microbe
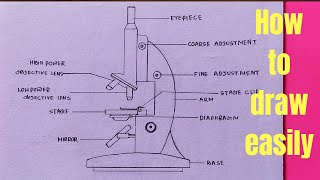
How to draw Microscope diagram for beginners - step by step
Microscope Drawings - Biology A-level
Facts about microbiology and scientific illustration for kids
🦠 Your body is home to trillions of microbes — recent estimates put microbial cells at roughly a 1.3:1 ratio to human cells!
🔬 Most classroom light microscopes can resolve details down to about 200 nanometers — tiny, but you need electron microscopes to really see viruses.
🧫 A single teaspoon of healthy soil can contain more microorganisms than there are people on Earth — great inspiration for busy, crowded microbe drawings.
🧬 Bacteria come in classic shapes — cocci (spheres), bacilli (rods), and spirilla (spirals) — perfect motifs to mix and match in designs.
✨ Some microbes glow: bioluminescent bacteria make ocean waves sparkle and can inspire glowing microbe art ideas.
How do I do the 'Art meets Science: Microbe Drawings 101' activity with my child?
What materials do I need for 'Art meets Science: Microbe Drawings 101'?
What ages is 'Art meets Science: Microbe Drawings 101' suitable for?
What are the benefits and safety tips for microbe drawing activities?
