Analyze soil samples
Collect and analyze soil samples by observing color, texture, smell, making a sediment test, and testing acidity with vinegar and baking soda.


Step-by-step guide to analyze soil samples
What is Soil | Science for Kids
Step 1
Choose two different outdoor spots where you want to collect soil and give each spot a simple name
Step 2
Write each spot name on a different jar so you can keep the samples separate
Step 3
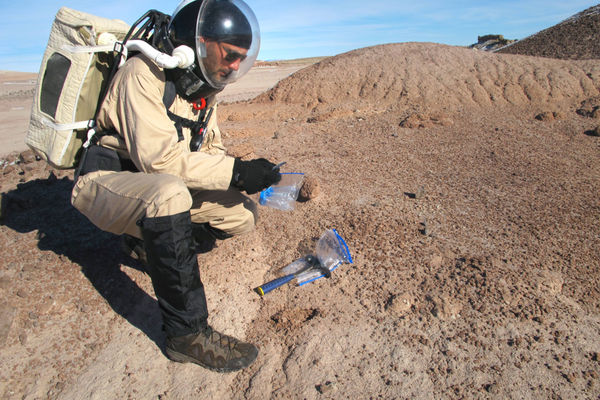
Use the shovel or spoon to scoop about a palmful of soil from the top 2 to 3 inches at each spot and put each scoop into its matching labeled jar
Step 4
Put a small spoonful of soil from each jar onto separate areas of the white paper or plate
Step 5
Look closely at the soil on the paper and notice the color of each sample
Step 6
Rub a small pinch of each sample between your fingers to feel if it is sandy gritty or smooth like clay
Step 7
Smell each sample carefully and notice any different scents such as fresh earthy or rotten
Step 8
Put two teaspoons of soil from each sample into separate clean clear jars to prepare for the sediment test
Step 9
Add water to each clear jar until it is about half full
Step 10
Put lids on the clear jars
Step 11
Shake both clear jars for 30 seconds to mix the soil and water well
Step 12
Set the clear jars on a flat surface and wait 10 minutes to let the layers form and settle
Step 13
Sprinkle a tiny pinch of baking soda onto a fresh pinch of each soil sample and watch closely for any fizz
Step 14
Put one small drop of vinegar onto a fresh pinch of each soil sample and watch closely for any fizz
Step 15
Share your finished creation on DIY.org
Final steps
You're almost there! Complete all the steps, bring your creation to life, post it, and conquer the challenge!


Help!?
What can I use if I don't have the small labeled jars with lids called for in the instructions?
If you don't have small labeled jars with lids, use clean clear yogurt cups or recycled clear plastic bottles, write each spot name on them with masking tape and a marker, and seal the sediment-test containers with cling film or screw caps.
My clear jars didn't show settled layers after 10 minutes — what should I try to get a clearer sediment test?
If layers aren't visible, confirm you added only two teaspoons of soil and water to half-full, re-shake the clear jars for 30 seconds, then let them sit undisturbed for up to an hour so fine particles like clay can settle into distinct layers.
How can I adapt this soil-analyzing procedure for younger or older children?
For younger children, collect one spot with a spoon and have an adult help with labeling, shaking, and the baking soda/vinegar steps, while older kids can follow the full protocol using measured two-teaspoon samples, timing the 30-second shake and 10-minute settling and recording detailed observations or photos.
What are simple ways to extend or personalize this soil experiment after finishing the steps?
To extend the activity, examine the soil on the white paper with a magnifying glass or phone macro photos, test the liquid from the sediment jars with pH strips, and plant seeds in small pots of each sample to compare growth before sharing your results on DIY.org.
Watch videos on how to analyze soil samples
Layers of Soil | Soil Formation | Video for Kids
4 Videos
Layers of Soil | Soil Formation | Video for Kids
How to Collect a Soil Sample for Lab Analysis
What are the Different Types of Soil? For Kids with Examples

Types of Soil For Kids: Science | TutWay
Facts about soil science for kids
🌱 A single teaspoon of healthy soil can contain billions of microorganisms — more living things than there are people on Earth!
🎨 Soil color tells a story: dark soils usually have lots of organic matter, while red or yellow shades often mean iron is present.
🧪 Do a sediment test: after shaking soil in water, sand settles first, then silt, and clay stays suspended the longest.
⚖️ Soil pH controls nutrient availability — most garden plants grow best in slightly acidic to neutral soil (about pH 6–7).
🧂 Simple chemical clues: baking soda fizzes if the soil is acidic, and vinegar fizzes if the soil contains carbonate minerals (like lime).
How do I collect and analyze soil samples with kids?
What materials do I need to analyze soil samples with children?
What ages is a soil sampling activity suitable for?
What are the benefits and safety tips for kids analyzing soil?


