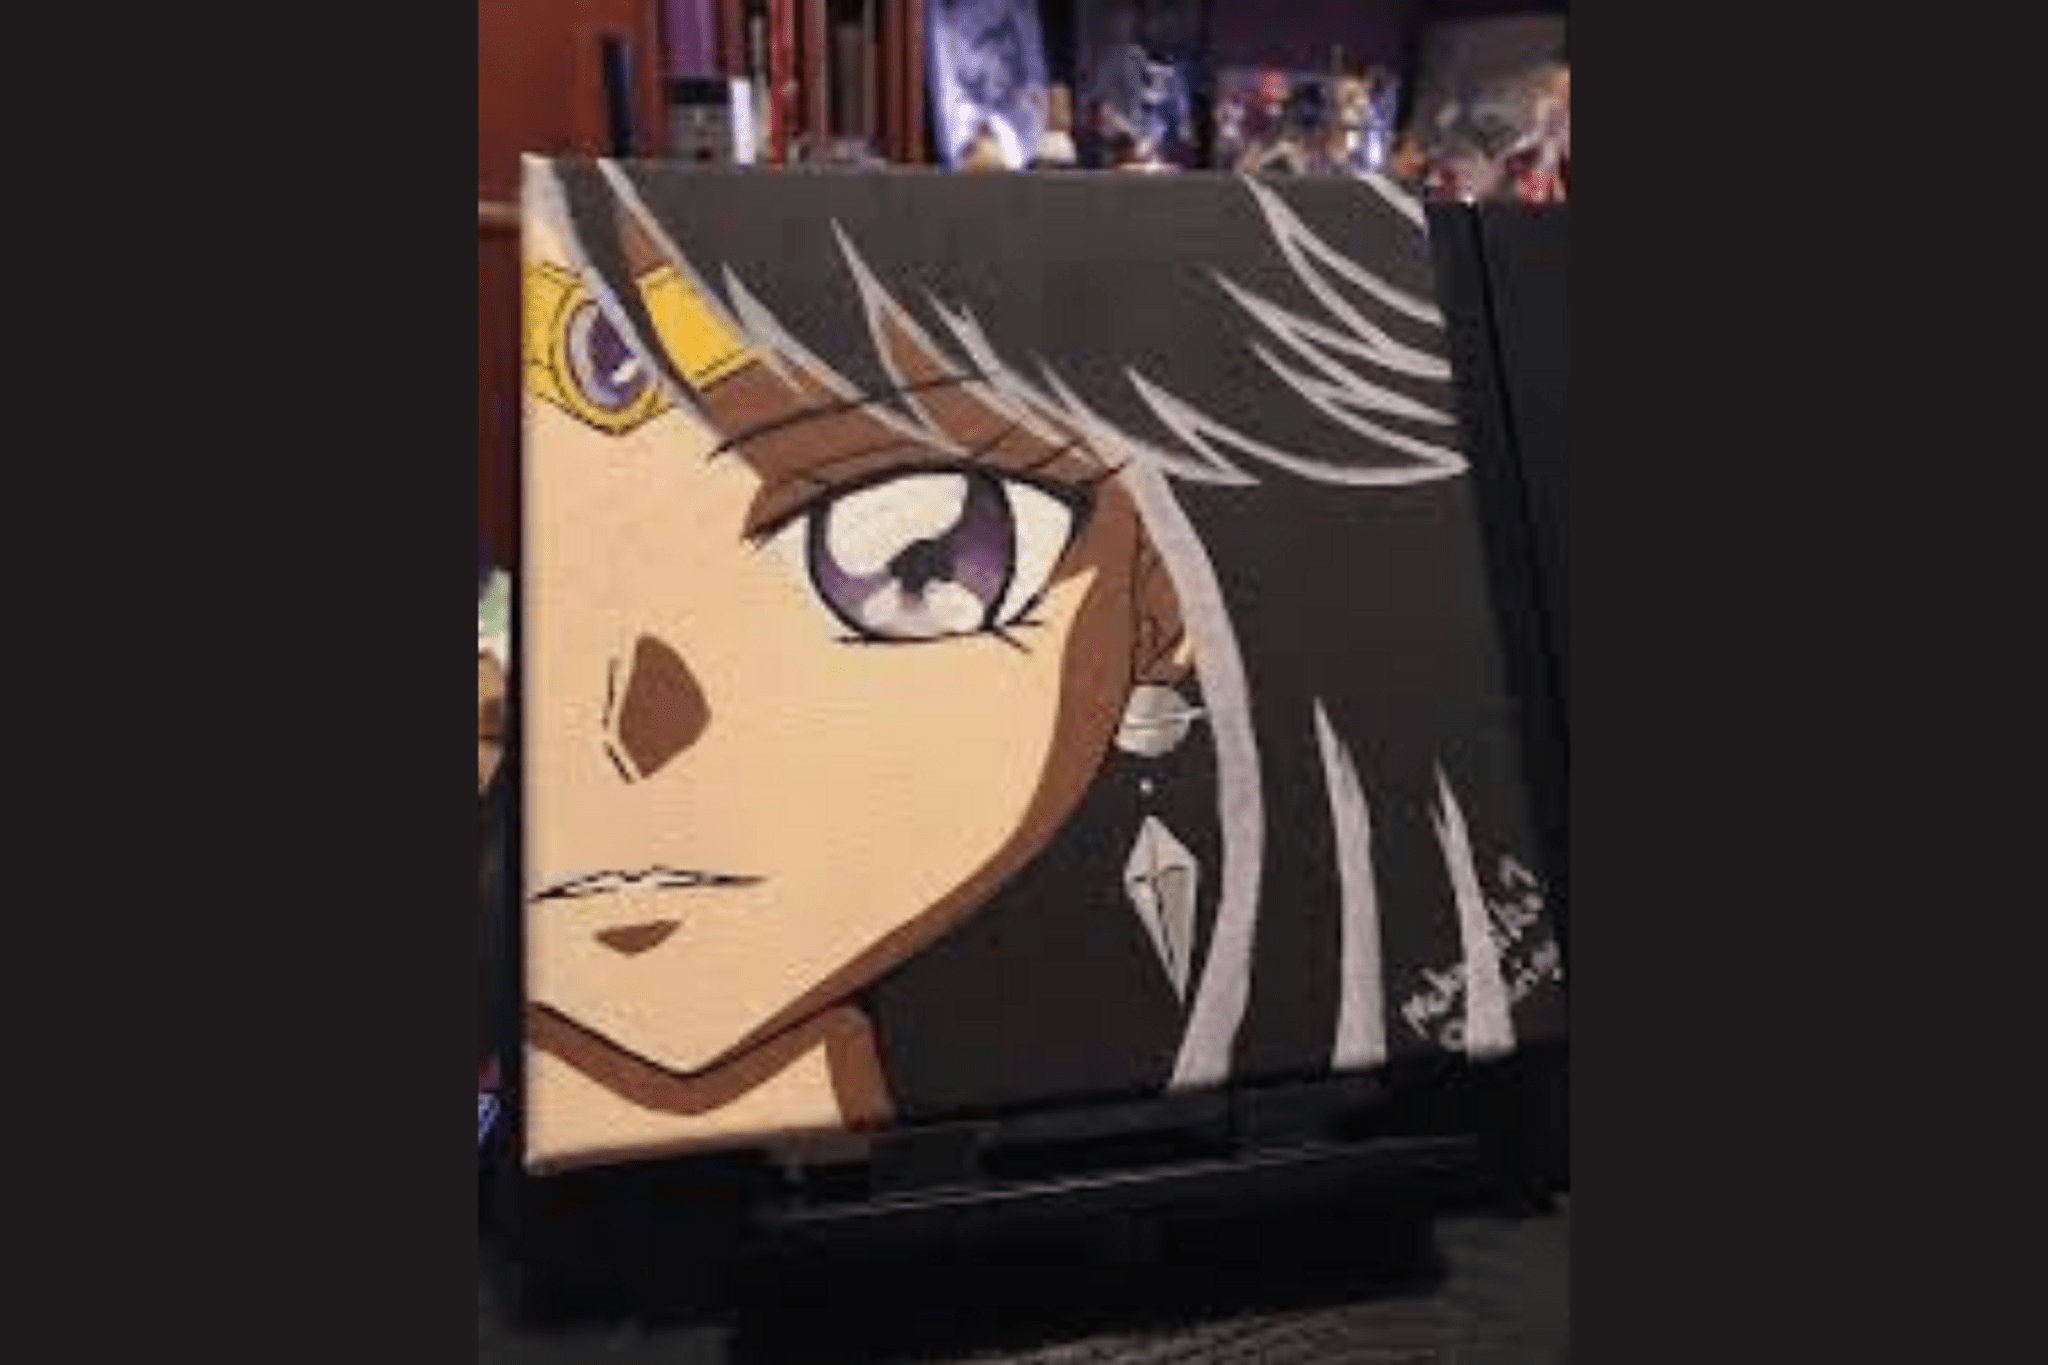
Acrylic Paint an Anime Character
Paint an original anime character using acrylic paints, brushes, and basic sketching techniques; learn color mixing, layering, and safe studio habits for creativity.


Step-by-step guide to Acrylic Paint an Anime Character
How to paint anime characters | acrylic painting tutorial + some tips
Step 1
Put on your apron and set all materials within reach on a clean workspace.
Step 2
Think of an original anime character idea and pick a pose for them.
Step 3
Lightly sketch the character’s big shapes and pose on your paper with a pencil.
Step 4
Refine the sketch by drawing clearer lines for the face hair and clothing.
Step 5
Choose a color palette and try mixing small color samples on scrap paper.
Step 6
Mix the base skin hair and clothing colors on your palette until you like them.
Step 7
Paint the largest flat areas with a medium brush using thin layers of acrylic.
Step 8
Wait for the paint to dry completely before adding more paint on top.
Step 9
Add shadows and midtones with a smaller brush to give your character depth.
Step 10
Paint highlights and fine details like eyes hair strands and small accents.
Step 11
Clean your brushes in water and dry them with a paper towel when you finish painting.
Step 12
Sign your name on the artwork in a small corner.
Step 13
Share your finished anime character on DIY.org
Help!?
If I can't find acrylic paints or a palette, what can I use instead?
Substitute gouache or washable tempera for acrylics and use a clean disposable plate, ceramic saucer, or the back of a cardboard box as a palette when mixing base skin, hair, and clothing colors on scrap paper.
My layers keep smudging when I add shadows—how can I fix that?
Follow step 7 by waiting for each layer to dry completely, apply thinner layers with your medium brush, and use a small brush for shadows and midtones so you don't lift or smear the base paint.
How should I change the project for younger children or older teens?
For younger kids, simplify step 3–6 to big shape sketches and block colors with a large medium brush and washable paints, while older teens can refine sketches, mix custom palettes on scrap paper, and add fine highlights and details with a small brush.
What are some ways to personalize or extend the finished painting?
Add a simple painted background, use dry-brushing or glazing for extra texture when adding highlights and fine details, varnish when fully dry, then sign in a small corner and share the finished anime character on DIY.org.
Watch videos on how to Acrylic Paint an Anime Character
Acrylic Anime Canvas Painting Tutorial Part 1
4 Videos
Acrylic Anime Canvas Painting Tutorial Part 1
Anime Eye Acrylic Painting | Step-by-Step Full Tutorial | Acrylic Art for Beginners
Painting Anime🎨🌷✨Acrylic on Canvas
Easy Naruto Acrylic Painting Tutorial for Beginners
Facts about acrylic painting for kids
🎨 Acrylic paint can start drying in just minutes, which makes layering fast and fun for kids.
🧪 Acrylics became a popular artist medium in the 1950s after modern acrylic formulas were developed.
👀 The large, expressive eyes often seen in anime were popularized by Osamu Tezuka, who was inspired by early Disney animation.
🔴🔵🟡 Mixing two primary colors makes a secondary color (red+blue=purple, blue+yellow=green, red+yellow=orange).
🧼 Wet acrylics wash off with soap and water, but once dry they're water-resistant—clean brushes right away!
How do you paint an original anime character with acrylics?
What materials do I need to acrylic paint an anime character?
What ages is acrylic anime painting suitable for?
What safety tips should I follow when acrylic painting with children?
