How to draw water - a free water drawing guide
Draw a realistic water scene using pencil and wash techniques. Practice shading, reflections, and ripples to learn about light and motion.


Instructions
SIMPLE Water Drawing for BEGINNERS!
Step 1
Tape your watercolor paper down on a flat board or table edge so it will not warp while you paint.
Step 2
Put your pencil eraser brushes water and palette within easy reach so you can work without stopping.
Step 3
Lightly sketch the big shapes of your scene with your pencil: shore horizon and any objects like boats or rocks.
Step 4
Draw a small arrow to show where the light source is so you know where highlights and shadows will go.
Step 5
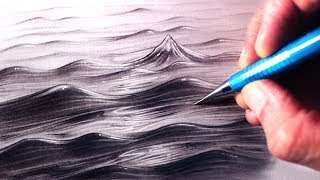
Add gentle pencil lines for ripples and the mirrored shapes of objects in the water following the water’s flow.
Step 6
Mix very light base colors on your palette by adding more water than paint to make thin washes.
Step 7
Paint a light horizontal wash across the water area with a large brush to lay down the base color for movement.
Step 8
Apply a second layer of mid-tone color with horizontal strokes to build depth and suggest waves.
Step 9
Use a smaller brush to paint darker shadow strokes and reflected shapes under objects to anchor them in the water.
Step 10
With a clean damp brush lift small areas of paint or blot gently with a paper towel to create soft highlights and shimmer.
Step 11
Add crisp small highlights and thin ripple lines with a tiny brush and stronger pigment for sparkle and detail.
Step 12
Let your painting dry completely on the flat surface before touching it.
Step 13
Sign your name in a corner so everyone knows you made it.
Step 14
Take a photo of your finished water scene and share your creation on DIY.org
Help!?
I don't have watercolor paper or a flat board—what can I use instead?
Tape a heavyweight mixed‑media sheet or thick printer paper down to a stiff cardboard or a baking sheet so it will not warp while you paint, following the 'tape your watercolor paper down on a flat board or table edge' step.
My washes look blotchy and the paper warped—how can I fix that?
Make sure you tape your watercolor paper down as instructed, mix much lighter base colors by adding more water than paint, let each horizontal wash dry completely before adding the mid‑tone layer, and lift spots with a clean damp brush or blot gently with a paper towel to correct blotches.
How can I adapt this activity for different age groups?
For younger children pre‑draw the big shapes and provide a large brush and washable paints to do the light horizontal wash, for elementary kids have them add mid‑tones and reflected shapes with a small brush, and for teens encourage tiny brush crisp highlights, stronger pigment, and signing their name before photographing for DIY.org.
How can we enhance or personalize the finished water scene?
After the first wash is still tacky try sprinkling salt for texture, use masking fluid to preserve highlights before washes, add ink or a tiny brush with stronger pigment for crisp ripple lines and sparkle, then sign your name and take a photo to share on DIY.org.
Related videos
HOW TO DRAW WATER Step by Step Drawing Tutorial easiest way to draw water / marker art video
4 Videos
HOW TO DRAW WATER Step by Step Drawing Tutorial easiest way to draw water / marker art video
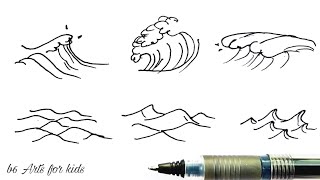
How to Draw Waves Step by Step Easy for Kids
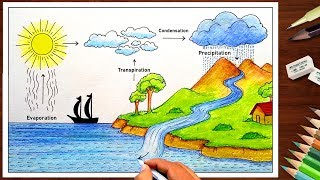
How to draw Water Cycle drawing for beginners ( very easy ) step by step diagram
How to Draw Water
Get inspired with these


Fun Facts
🎨 Watercolor pigments are suspended in a water-soluble binder, which makes them great for creating translucent layers and delicate reflections.
💧 Calm water can act like a mirror and reflect scenes almost perfectly — ripples break that mirror into beautiful patterns.
🌊 Artists suggest movement with curved, repeated brush strokes: small ripples travel outward from a disturbance in concentric circles.
🖌️ The wet-on-wet technique softens edges for misty water, while wet-on-dry keeps crisp lines for sharp ripples and reflections.
✨ Many watercolor painters 'reserve the white' of the paper for bright highlights instead of using white paint to make water sparkle.
How do I draw realistic water scenes with pencil and watercolor?
What materials do I need to draw realistic water with pencil and watercolor?
What ages is drawing realistic water with pencil and watercolor suitable for?
What are the benefits of drawing realistic water scenes with pencil and watercolor?
