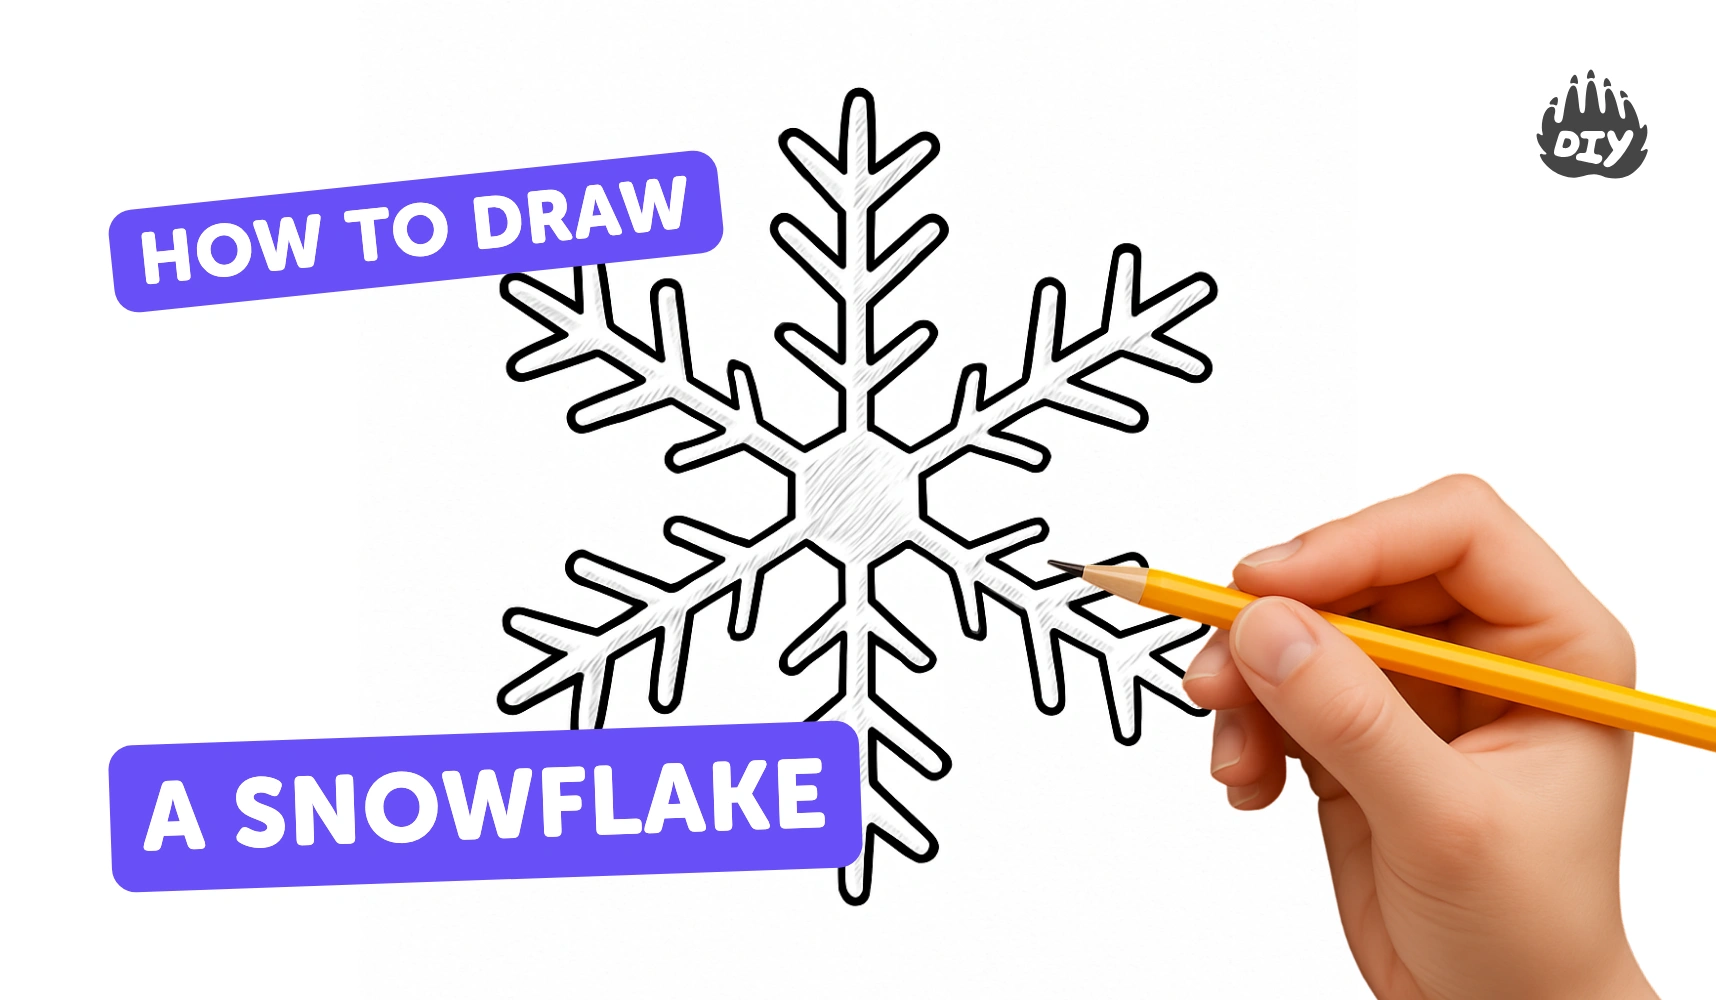
How to draw a snowflake - a free snowflake drawing guide
Draw a symmetrical snowflake using simple folding and drawing steps. Practice symmetry, pattern recognition, and fine motor control while creating your unique design.


Instructions
How To Draw A Snowflake
Step 1
Place a clean sheet of paper on a flat table in front of you.
Step 2
Put a small dot in the exact center of the paper with your pencil.
Step 3
Open your compass to a radius you like and draw a large circle centered on the dot.
Step 4
Put the protractor center on the dot and make six small marks on the circle at 0° 60° 120° 180° 240° and 300°.
Step 5
Use your ruler to draw straight lines from the center dot out to each of the six marks to make six rays.
Step 6
Choose one ray and use your ruler to mark three equal points along it from the center toward the circle.
Step 7
On that same ray draw small V shapes or tiny diamonds at each marked point to form the branch pattern.
Step 8
Repeat marking the same three equal points on each of the other five rays using your ruler.
Step 9
Repeat drawing the same V shapes or tiny diamonds at those points on each of the other five rays.
Step 10
Use your ruler to connect the outermost points around the circle to form a neat hexagon shape.
Step 11
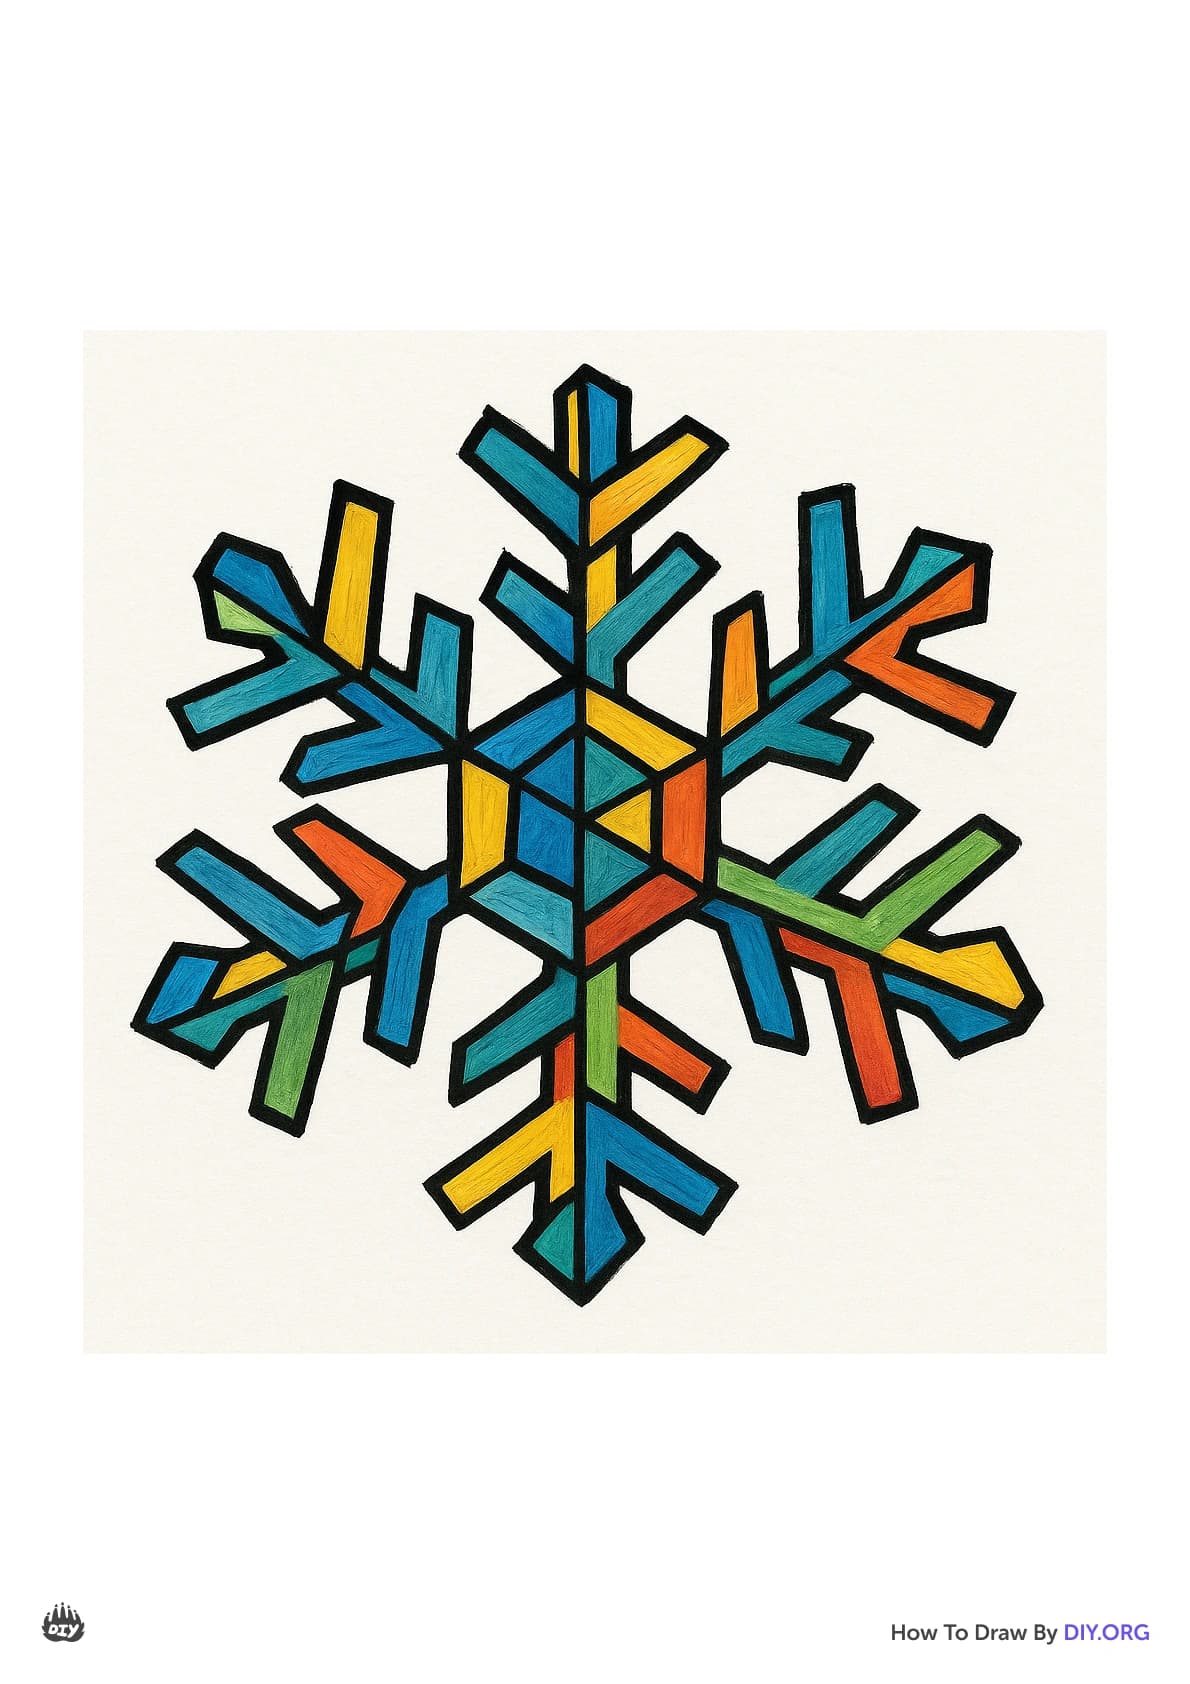
Add extra details like tiny circles little triangles or short lines at the branch tips and along the rays to decorate your snowflake.
Step 12
Carefully erase any extra construction marks so only your snowflake design stays visible.
Step 13
Trace over your final snowflake lines with your pencil to darken them.
Step 14
Colour your snowflake with your colouring materials if you want to make it bright and sparkly.
Step 15
Take a photo or scan of your finished snowflake and share your creation on DIY.org.
Help!?
What can we use instead of a compass or protractor if we can't find them?
If you don't have a compass, trace a cup or tie a string to your pencil and hold it at the center dot to draw the circle, and if there's no protractor fold a paper into 60° segments or print a simple protractor to mark the 0°, 60°, 120°… points.
My three marks on each ray and the hexagon edges don't line up—how can I fix that?
Measure the three equal points on a chosen ray with your ruler (for example every 2 cm from the center) and lightly draw the hexagon guide lines before darkening so you can easily erase and align everything.
How can I change the activity for different ages?
For preschoolers, pre-draw the circle and rays (steps 1–6) and let them add the V shapes and decorate, while older kids can use the compass/protractor precisely, add smaller branch levels and delicate details (step 11) and ink or watercolor the final design.
What are creative ways to improve or personalize our finished snowflake?
Personalize by varying the compass radius for different-sized snowflakes, adding glitter or layered cut-outs from the colored snowflake after step 13, and scanning multiple designs to make a winter card or upload to DIY.org as suggested in the last step.
Related videos
How To Do A Basic Snowflake Drawing
4 Videos
How To Do A Basic Snowflake Drawing

How To Draw A Snowglobe

How to Draw Snowball step by step Easy -The Secret Life of Pets

How to Draw Snowman Cute Step by step Easy Christmas Special
Get inspired with these


Fun Facts
❄️ Real snowflakes almost always have six arms because water molecules form ice with hexagonal symmetry.
🧭 Using a compass, you can draw a circle and step off its radius six times to make a perfect regular hexagon — a great base for a six-point snowflake.
📏 Folding paper and cutting a design gives perfect mirror symmetry, which is why paper snowflakes are an easy way to plan patterns.
🔬 Scientists say it's extremely unlikely for two complex natural snowflakes to be identical because of tiny differences in growth conditions.
✨ A famous (and debated) record claimed a 15-inch-wide snowflake fell in Montana in 1887 — a fun reminder that nature can surprise us!
How do I teach my child to draw a symmetrical snowflake with a pencil, ruler, and compass?
What materials do I need to draw a symmetrical snowflake at home?
What ages is drawing a symmetrical snowflake with a compass suitable for?
What are the benefits of drawing symmetrical snowflakes and how can we vary the designs?
