How to draw a mouth - a free mouth drawing guide
Draw a realistic mouth step by step using simple shapes, lines, and shading. Practice proportions and expressions to create varied mouth sketches.

Drawing Apps
Get inspired with these

Instructions
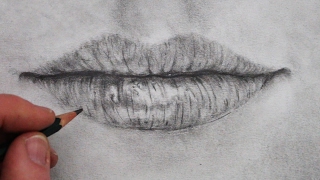
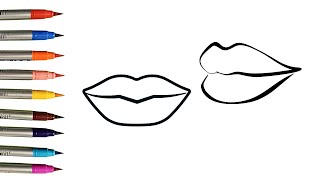
How to Draw Lips & Mouth in 10 MINUTES - EASY Tutorial for BEGINNERS
Step 1
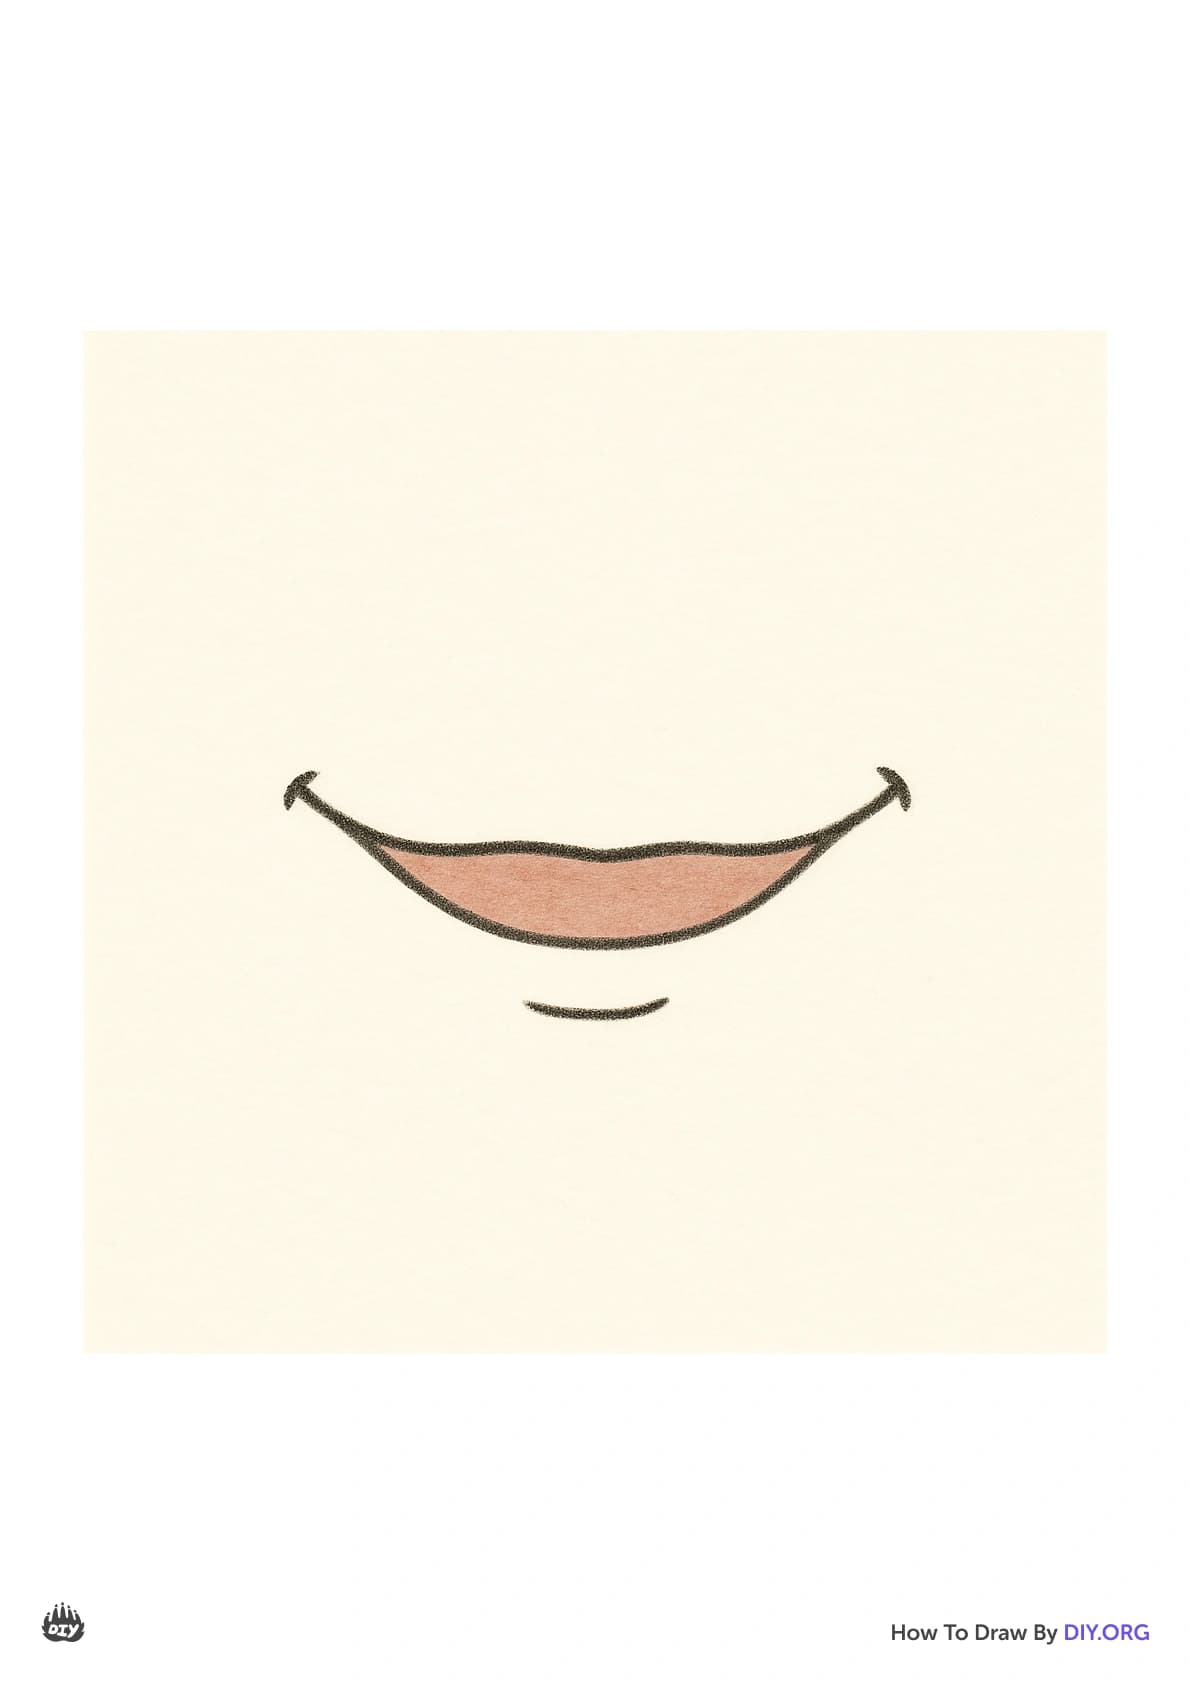
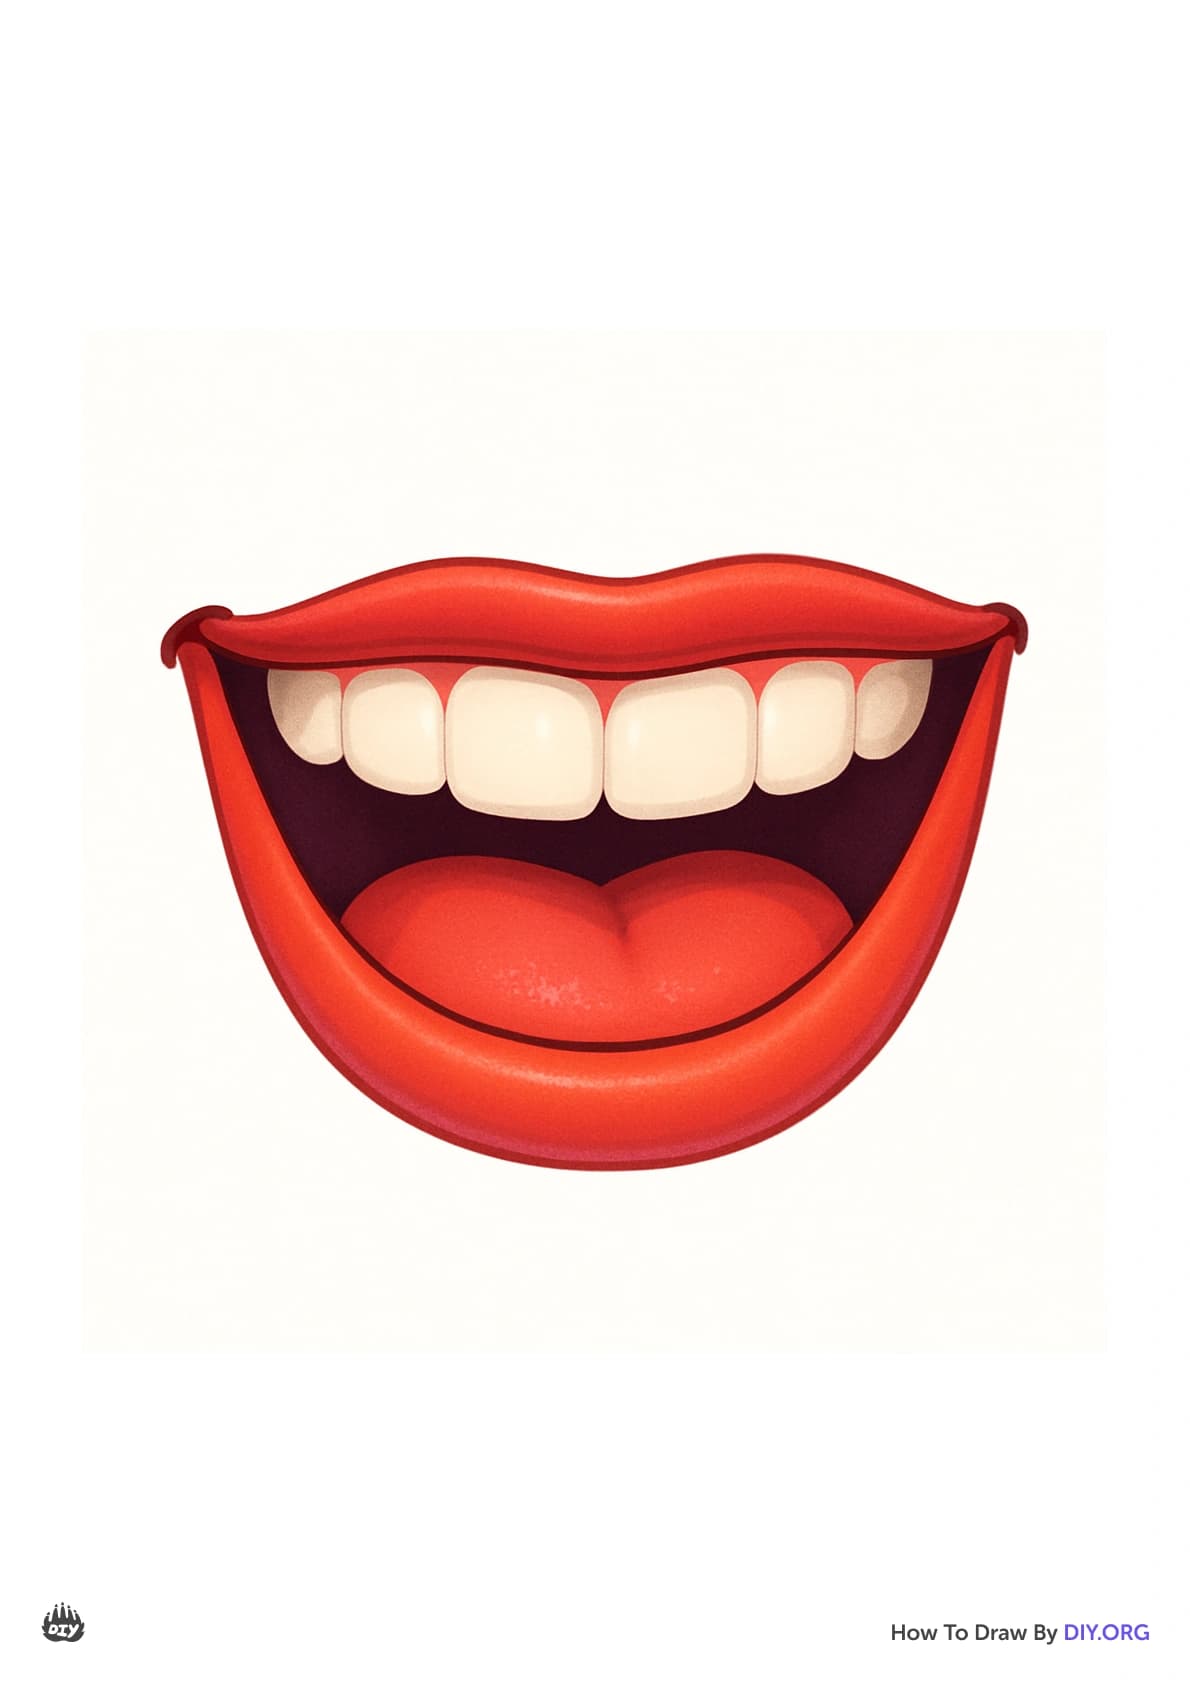
Decide which expression you want to draw like a small smile big grin or closed mouth.
Step 2
Lightly draw a horizontal guideline to mark the center line of the mouth.
Step 3
Lightly draw a short vertical guideline through the horizontal line to find the mouth center.
Step 4
Mark the left and right corners of the mouth with small dots on the horizontal guideline.
Step 5
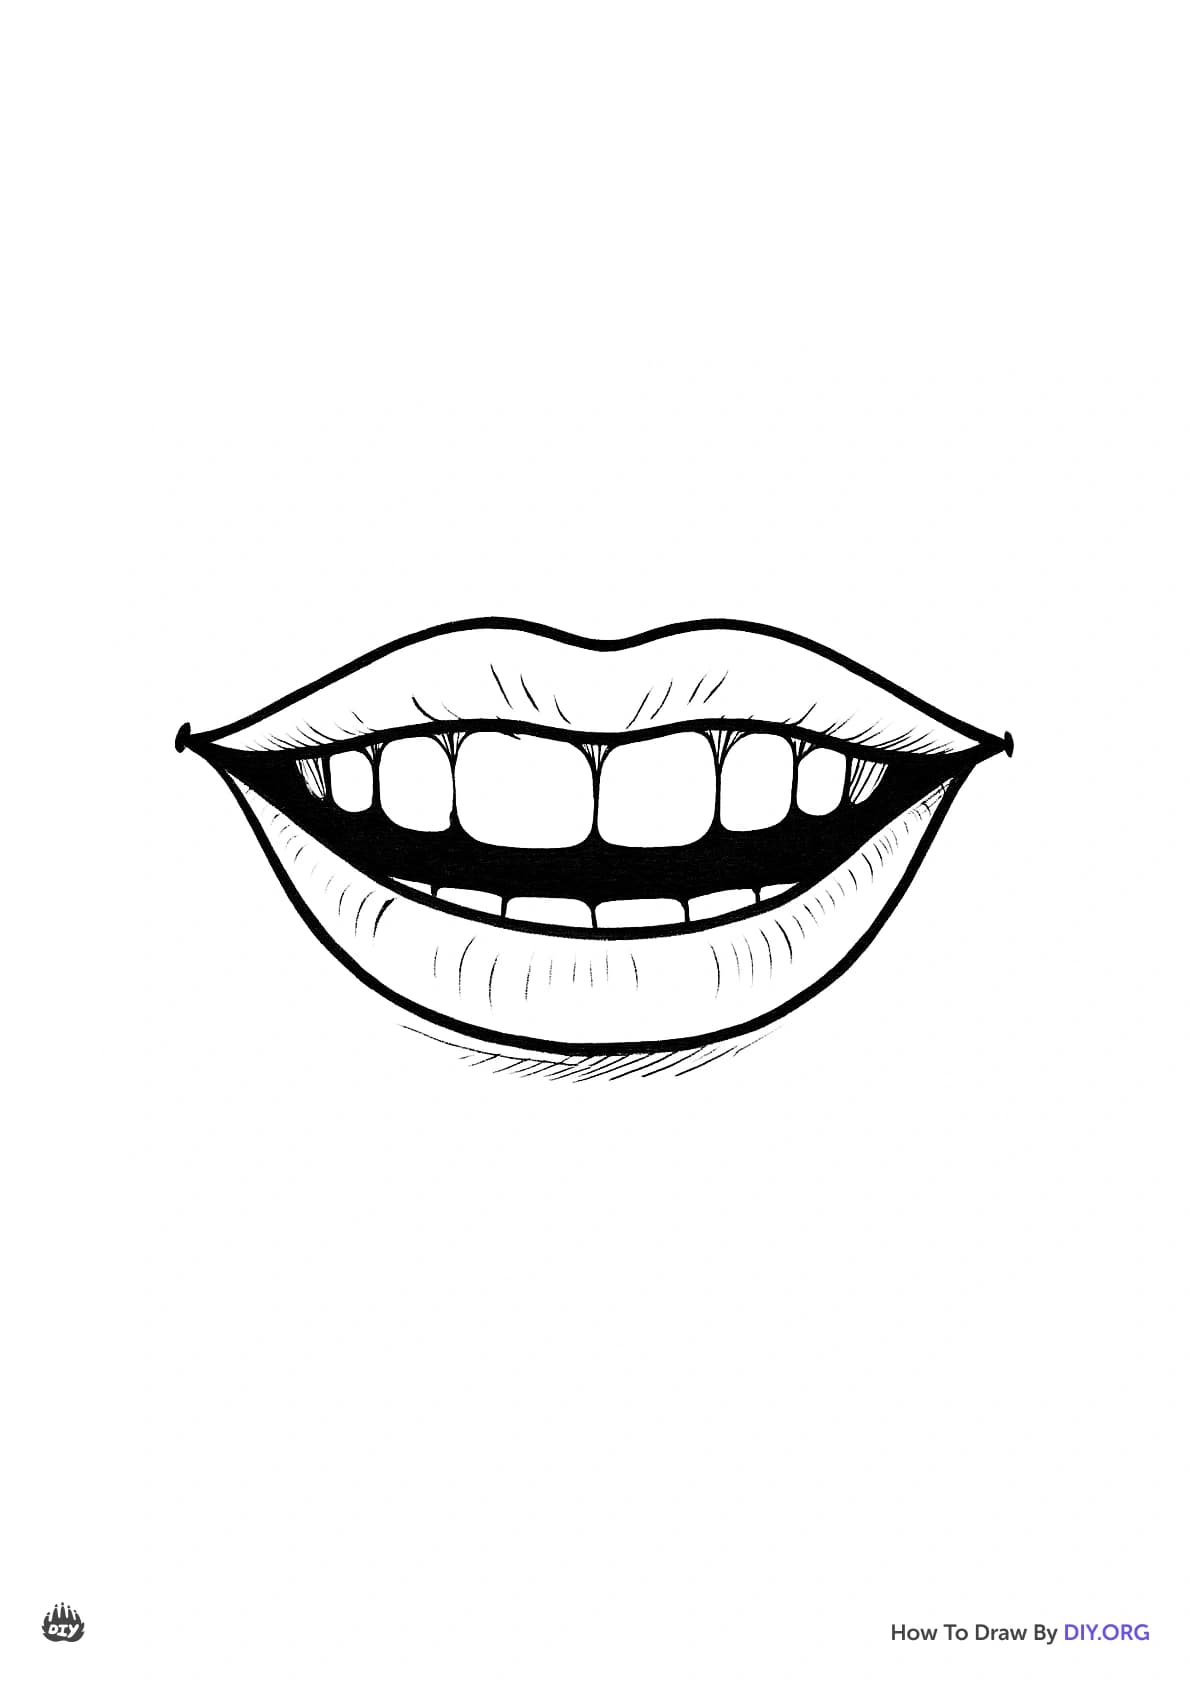
Draw a soft curved line from corner to corner for the upper lip shape.
Step 6
Draw a gentler curved line below the upper lip for the lower lip shape.
Step 7
Add the cupid’s bow by drawing two small shallow V-shaped curves at the center of the upper lip.
Step 8
Draw a thin line between the lips to show the mouth opening.
Step 9
If the mouth is open lightly sketch faint vertical hints for the teeth without drawing each tooth in detail.
Step 10
Draw small crease lines at the outer corners of the mouth for realism.
Step 11
Decide which direction the light is coming from for your drawing.
Step 12
Shade the shadow under the lower lip with light pencil strokes according to your chosen light direction.
Step 13
Blend the shaded areas gently with a tissue or cotton bud to soften the tones.
Step 14
Darken the deepest shadow areas lightly to add depth to the mouth.
Step 15
Share your finished mouth drawing on DIY.org.
Help!?
What can I use instead of the tissue or cotton bud for blending and is any specific pencil required for the 'light pencil strokes'?
If you don't have a tissue or cotton bud for the 'Blend the shaded areas...' step, substitute a clean fingertip, cotton ball, soft cloth, or blending stump and use a light HB or 2B pencil for the 'light pencil strokes' and 'lightly draw' guideline steps.
My mouth looks lopsided or the smile isn’t right—what part of the instructions should I check and how can I fix it?
If the mouth looks lopsided, erase lightly and recheck your short vertical guideline and the small dots marking the left and right corners on the horizontal guideline to realign the corners before redrawing the upper and lower curved lip lines.
How can I adapt the steps for different ages or skill levels?
For younger children simplify to a closed mouth or big grin using thicker lines and pre-drawn horizontal and vertical guidelines, while older kids can add the cupid’s bow, faint tooth hints, careful shading under the lower lip, blending with a tissue, and darkening deepest shadows for realism.
What are easy ways to extend or personalize the mouth drawing once the basic steps are done?
Personalize by adding dimples or outer corner crease lines, experimenting with lipstick or facial hair texture, creating an expression sequence from a small smile to a big grin, and finishing with the instructed shading, blending, and deeper shadow accents before sharing on DIY.org.
Related videos
How to Draw a Smiling Mouth with Teeth | Easy Step by Step Tutorial
4 Videos
How to Draw a Smiling Mouth with Teeth | Easy Step by Step Tutorial
How to Draw a Mouth and Lips: Step by Step

How to draw lips drawing easy step by step Basic drawing lessons with pencil for beginners tutorial
Lips drawing and colouring| how to Draw lips | Made for Kids
Fun Facts
👄 The Duchenne smile is the "real" smile — it uses muscles around the eyes as well as the mouth to show genuine happiness.
🎨 Many artists start a mouth with simple shapes (ovals, curves, and a center line) to get proportions right before adding details.
✍️ Shading gives lips volume: a soft highlight on the center and darker tones at the edges make them look round and glossy.
🦷 Lip thickness and shape vary a lot between people, so studying different references helps you draw more realistic and diverse mouths.
🙂 Tiny changes — raising a corner, widening the opening, or showing teeth — can turn a neutral mouth into a smile, smirk, or frown.
How do I teach my child to draw a realistic mouth step by step?
What materials do we need to draw a realistic mouth at home?
What ages is drawing realistic mouths suitable for?
What are the benefits and fun variations of practicing mouth drawings?
