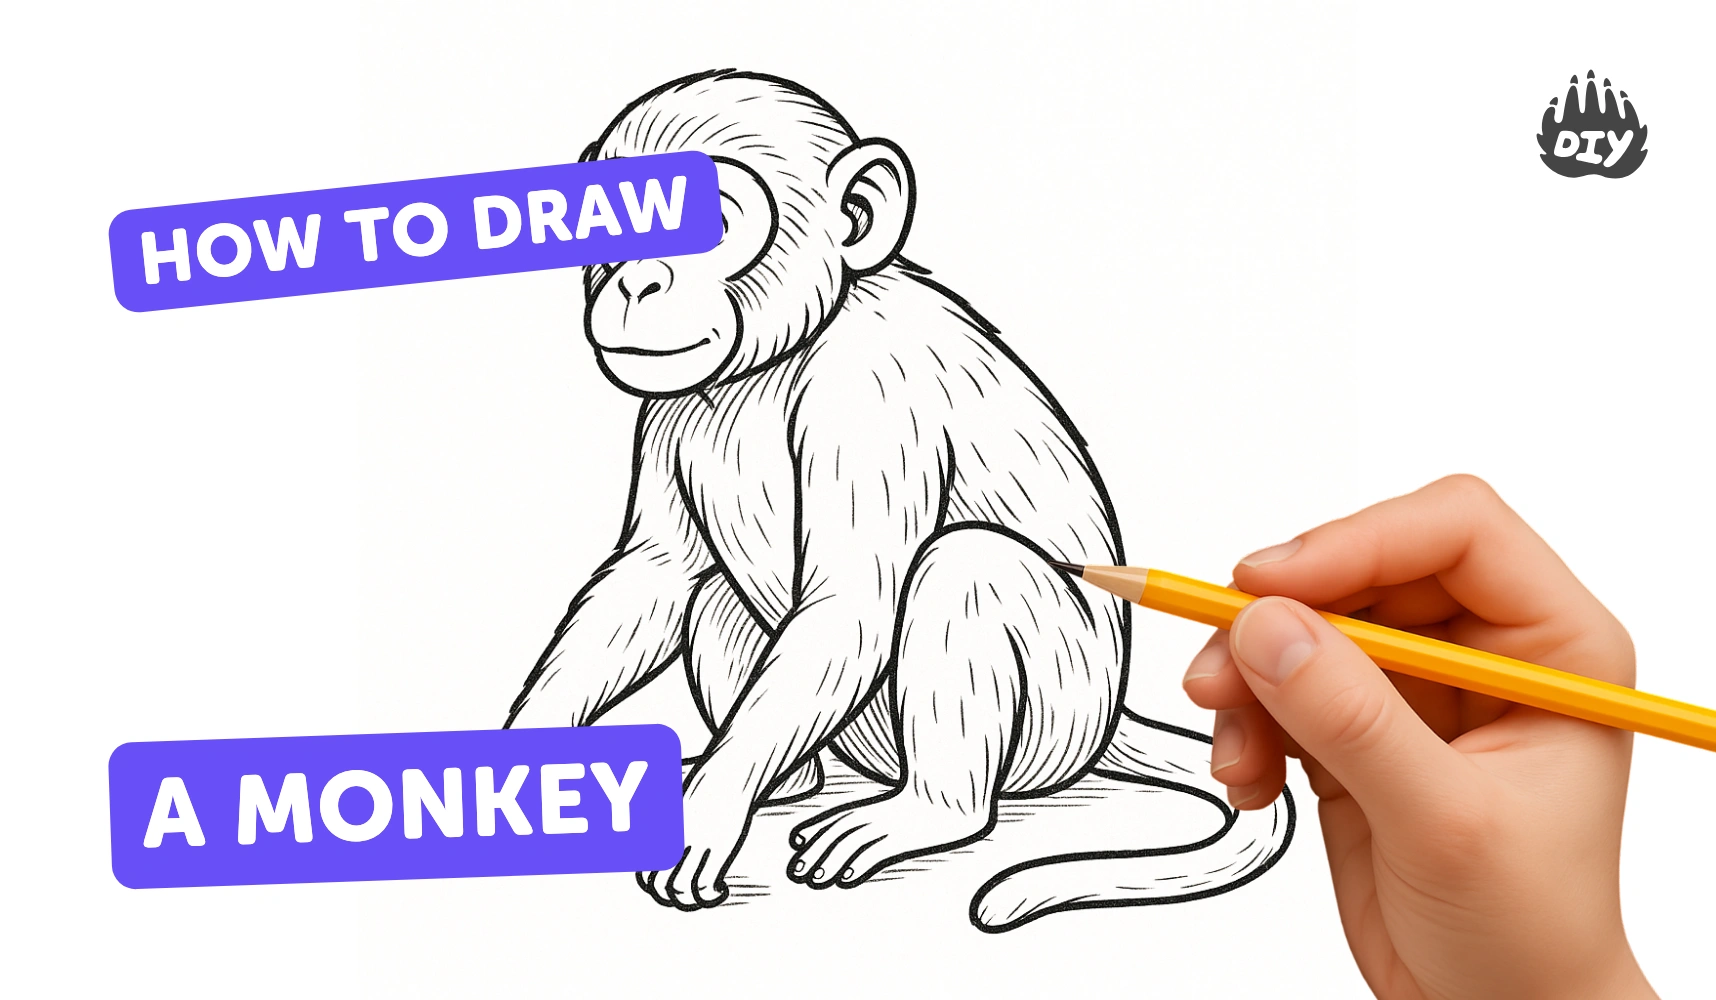
How to draw a monkey - a free monkey drawing guide
Draw a friendly monkey step by step using simple shapes, lines, and shading. Practice proportions, symmetry, and adding personality through facial expressions.

Drawing Apps
Get inspired with these


Instructions
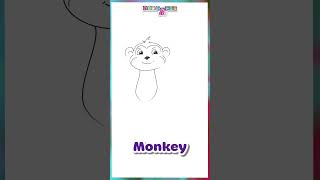
How to draw a monkey easy step by step for kids🐒
Step 1
Place your paper pencil eraser black pen and colouring materials on a flat well-lit workspace.
Step 2
Lightly draw a large circle near the top center of the paper for the monkey's head.
Step 3
Lightly draw a slightly smaller oval connected under the circle for the monkey's body.
Step 4
Add two medium circles on each side of the head for ears.
Step 5
Lightly draw a vertical line down the center of the head and a horizontal line across the lower third to help place facial features.
Step 6
Draw two small rounded ovals for the eyes on the horizontal guideline spaced evenly from the centerline.
Step 7
Draw a small rounded triangle or oval for the nose on the centerline just below the horizontal guideline.
Step 8
Draw a smiling curved mouth under the nose to give your monkey a friendly expression.
Step 9
Sketch two simple curved arms starting at the upper sides of the body ending with small oval hands.
Step 10
Sketch two short rounded legs at the bottom of the body with small feet.
Step 11
Draw a long curvy tail starting at the lower side of the body and curling outward.
Step 12
Add a lighter circle inside each ear and a rounded patch around the mouth to show the monkey's face markings.
Step 13
Carefully trace the final lines you want to keep with your black pen or fine marker and let the ink dry.
Step 14
Gently erase the pencil guidelines and then use your colouring materials to color the body face ears and tail adding darker strokes to show shading and using a tissue to blend if you like.
Step 15
Share your finished friendly monkey illustration on DIY.org.
Help!?
What can I use instead of a black pen, colouring materials, or tissue if I can't find them?
If you don't have a black pen you can use a fine-tip marker or a dark HB pencil to trace the final lines, for colouring use crayons, washable markers, or colored pencils, and a clean paper napkin or your fingertip can replace the tissue for light blending.
My guidelines smudge or my ink looks messy—how do I fix that?
Make the initial head, body and facial guidelines very light with a sharp pencil, wait until the black pen ink is fully dry before gently erasing with a kneaded or soft eraser, and practice the ear, eye and mouth placements on scrap paper if proportions feel off.
How can I adapt this monkey drawing activity for different ages?
For ages 3–5 have an adult pre-draw the large head circle and body oval and give thick crayons, for ages 6–9 follow the steps but use washable markers and simpler shading, and for 10+ encourage more detail like fur texture, precise shading with colored pencils and the tissue blending step.
How can we extend or personalize the finished monkey drawing?
Personalize by adding a patterned shirt, props or a jungle background before inking, drawing more monkeys to make a scene, or turning the tail into a short flipbook sequence and then color and share the final illustration on DIY.org.
Related videos
Learn how to draw MONKEY | Easy Drawing MONKEY For Kids | Easy Drawing Tutorial
4 Videos
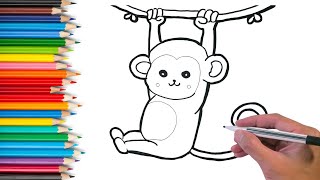
Learn how to draw MONKEY | Easy Drawing MONKEY For Kids | Easy Drawing Tutorial
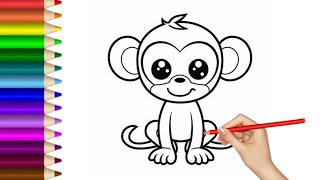
How to Draw a Monkey | Simple & Easy for Kids
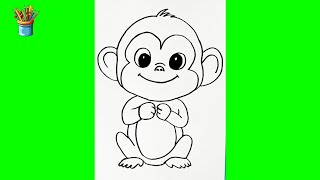
How to Draw a Cute Monkey Step by Step - Easy and Educational Animal Drawings for Kids
How to Draw a Monkey | Easy Drawing I Tutorial for Kids I Cute Monkey I Monkey Drawing #drawing
Fun Facts
🐒 There are about 260 species of monkeys around the world — that's a lot of faces to practice drawing!
🎨 Cartoon artists often enlarge the head and eyes to make characters look friendlier and cuter — try it with your monkey!
📐 Artists start with simple shapes (circles, ovals, rectangles) to get proportions right before adding details.
🖌️ Shading techniques like cross-hatching or smooth blending make a flat sketch look round and fluffy.
🧠 Some monkeys, like capuchins, use tools and show expressive behavior you can capture in facial expressions and poses.
How do I draw a friendly monkey step by step?
What materials do I need to draw a monkey?
What ages is drawing a monkey suitable for?
What are the benefits of drawing monkeys and safe variations to try?
