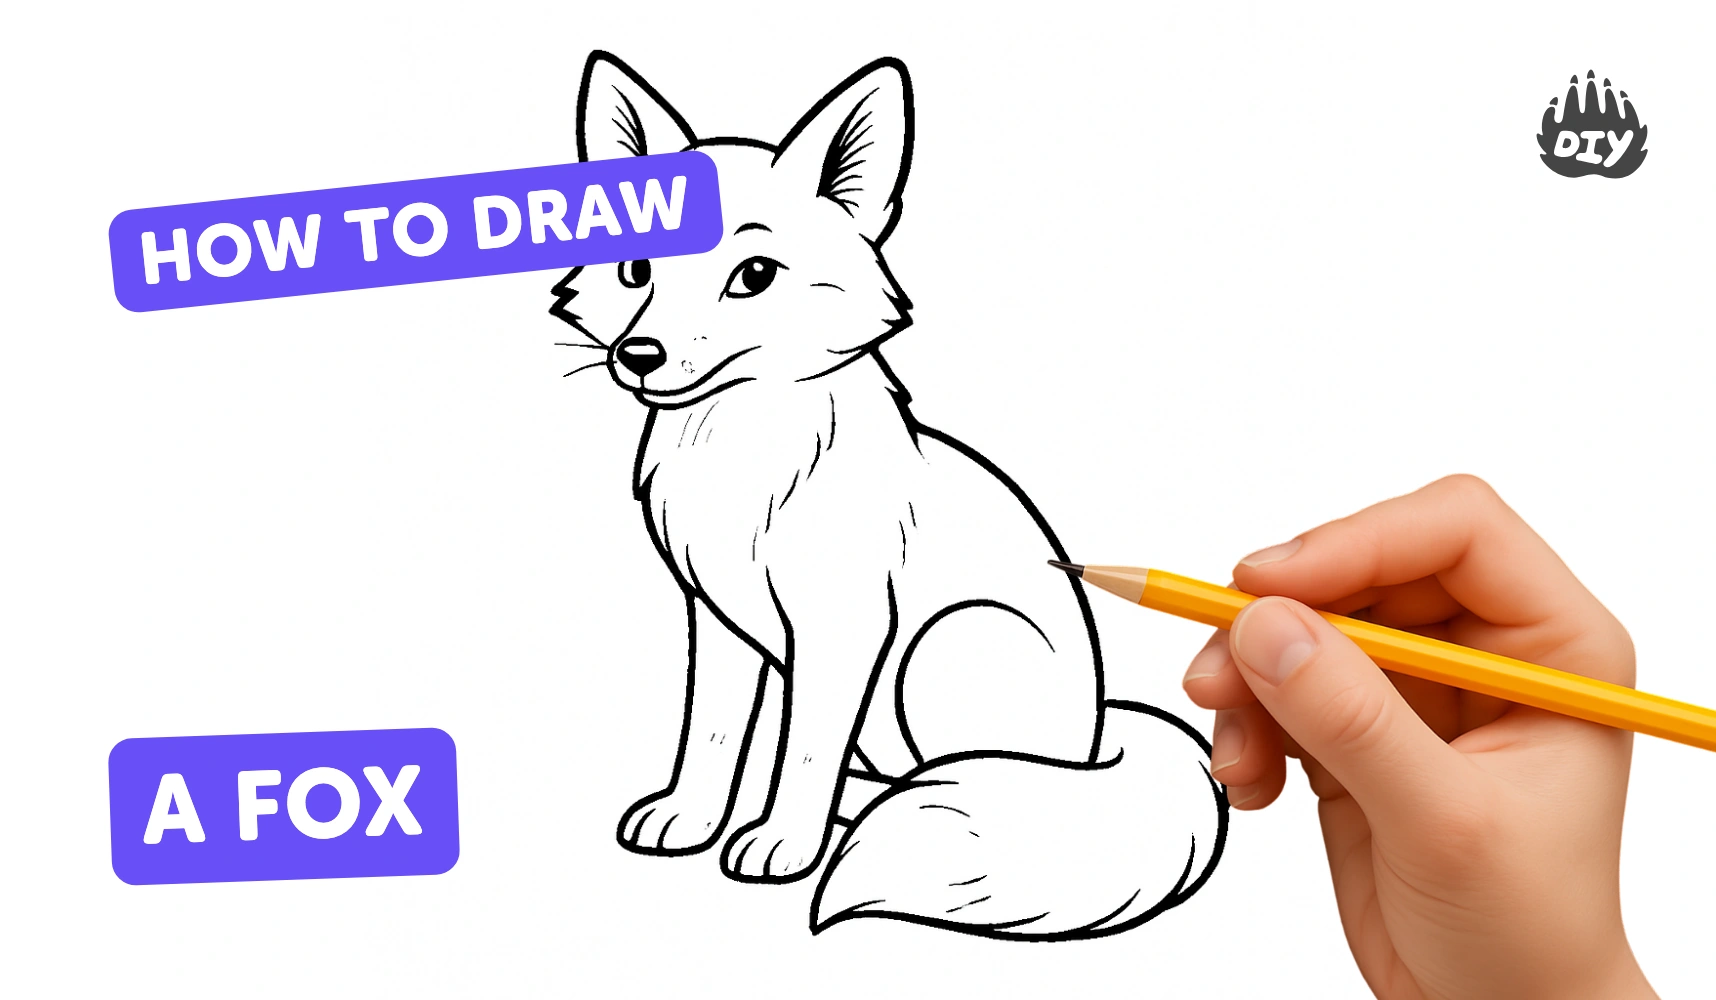
How to draw a fox - a free fox drawing guide
Draw a fox step-by-step using simple shapes, lines, and shading. Practice observation, proportions, and layering to create a finished fox illustration.

Drawing Apps
Get inspired with these


Instructions
How To Draw A Cute Fox
Step 1
Lightly draw a circle near the top of the paper for the fox's head.
Step 2
Lightly draw an oval slightly overlapping the circle for the fox's body.
Step 3
Draw two triangles on top of the circle for the fox's ears.
Step 4
Sketch a long curved shape beside the body for the fluffy tail.
Step 5
Draw a vertical line and a horizontal line across the head to make simple face guidelines.
Step 6
Draw a small rounded triangle at the bottom of the head for the muzzle.
Step 7
Draw two small circles on the horizontal guideline for the eyes.
Step 8
Draw a tiny oval at the tip of the muzzle for the nose and a short curved line beneath it for the mouth.
Step 9
Add short zigzag strokes along the head cheeks body and tail to create fur texture.
Step 10
Shade under the belly tail base and around the eyes with light pencil strokes to add depth.
Step 11
Gently erase the light guide lines so only your fox drawing remains.
Step 12
Color the fox using orange for the main fur then add white on the chest and tail tip and a darker color for the legs and ear tips.
Step 13
Share a photo of your finished colored fox on DIY.org to show your artwork.
Help!?
What can we use if we don't have orange crayons or a white crayon for coloring the fox?
If you don't have orange, blend red and yellow markers or watercolors or layer a brown pencil with red highlights to recreate the fox's main fur, and leave the paper showing for the chest and tail tip instead of needing a white crayon.
My fox looks lopsided and the shapes don't line up—how can I fix that while following the steps?
Because the instructions say to lightly draw the circle and overlapping oval and to add vertical and horizontal face guidelines, redraw those light shapes gently, erase and adjust the overlap until the ears and muzzle align, and keep the guide lines until the eyes and nose are in the right spots.
How can I adapt this drawing activity for younger or older kids?
For younger children, pre-sketch the circle, oval, and triangles for tracing and use chunky crayons for coloring, while older kids can add extra zigzag fur texture, detailed shading under the belly, tail base and around the eyes, or change the pose and tail shape for more challenge.
What are some ways to enhance or personalize the finished fox drawing before sharing it?
Personalize the fox by adding a background like trees or snow, giving it accessories (scarf or hat), experimenting with mixed media for the fur texture or darker leg and ear tips, and then share a photo of your finished colored fox on DIY.org as the instructions suggest.
Related videos
Draw a Cute Fox Step By Step | Easy Drawing Tutorial for Kids & Beginners | Draw a Fox Easily
4 Videos
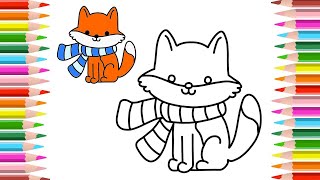
Draw a Cute Fox Step By Step | Easy Drawing Tutorial for Kids & Beginners | Draw a Fox Easily
How to draw a fox easy | Step by step Drawing for kids🦊
How to Draw a Cute Fox 🦊|Easy way to draw fox for kids #kidsart#fox

How to Draw a Fox | Easy Drawing tutorial
Fun Facts
🦊 The red fox is one of the world's most widespread wild mammals — it lives in forests, deserts, mountains, and even cities!
✏️ Artists often start animal drawings with simple shapes (circles, ovals, triangles) — a fox's head can begin as a rounded triangle!
🎨 Shading makes your fox look 3D — adding darker tones under the chin, behind the legs, and along the tail creates volume.
🧶 Short, directional pencil strokes (fur strokes) are great for creating realistic fur texture — layer light strokes for fluffiness.
👀 Tiny changes to the eyes, ears, and tail can completely change your fox's expression — make it curious, sneaky, or friendly!
How do you draw a fox step by step?
What materials do I need to draw a fox?
What ages is drawing a fox suitable for?
What are the benefits of drawing a fox?
