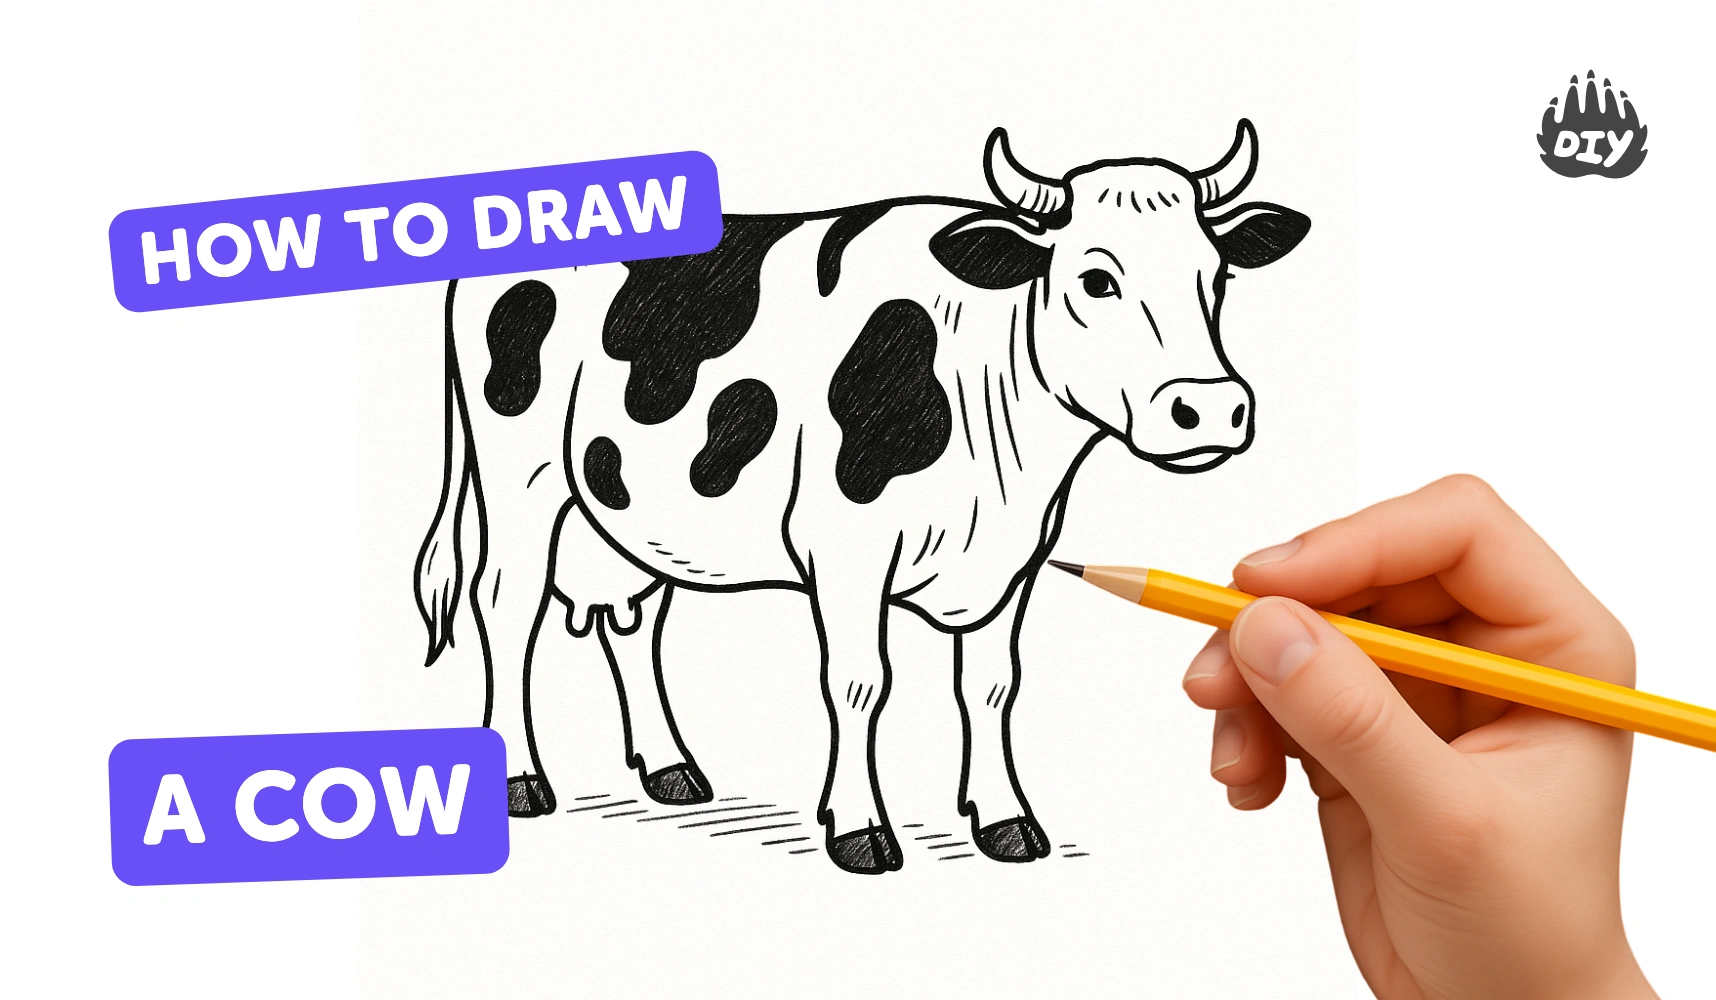
How to draw a cow - a free cow drawing guide
Draw a friendly cow step by step using basic shapes, add spots, face details, and simple shading to create a complete, recognizable cow drawing.

Get inspired with these


Instructions
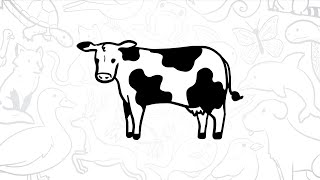
How To Draw A Cow - Preschool
Step 1
Draw a large oval in the middle of the page for the cow's body.
Step 2
Draw a medium circle overlapping the upper left side of the oval for the cow's head.
Step 3
Draw a short curved line between the head and body to make a neck.
Step 4
Draw two oval ears on top of the head.
Step 5
Draw two small circles inside the head for the eyes.
Step 6
Draw an oval under the eyes for the muzzle.
Step 7
Add two small dots on the muzzle for nostrils.
Step 8
Draw a curved line under the muzzle for a smiling mouth.
Step 9
Draw four straight legs under the body ending each with a small rectangle for a hoof.
Step 10
Draw a long curved tail from the back of the body and add a little tuft at the tip.
Step 11
Add several irregular blob shapes on the body to make cow spots.
Step 12
Erase extra guide lines and make the main outline darker.
Step 13
Color your cow using your coloring materials.
Step 14
Share your finished cow drawing on DIY.org
Final steps
You're almost there! Complete all the steps, bring your creation to life, post it, and conquer the challenge!


Help!?
What can we use if we don't have colored pencils, markers, or an eraser?
Use crayons, watercolor paints, markers, or glue torn colored paper to Color your cow, and if you lack an eraser draw very lightly or hide small mistakes with white paint or correction tape before you Erase extra guide lines and make the main outline darker.
What should we do if the head doesn't sit right on the body or the legs look uneven?
Lightly sketch the medium circle so it overlaps the upper left of the body oval, add the short curved line to join head and body for a correct neck, and draw four equal-length straight guide lines under the body before adding the small rectangles for hooves so you can erase extras and darken the final outline.
How can this drawing activity be adapted for younger or older children?
For younger kids simplify by tracing big ovals and circles and using stickers or crayons for eyes, muzzle, spots and hooves, while older kids can add shading, textured fur, detailed irregular blob spots, and a full farm background before coloring and sharing on DIY.org.
How can we extend or personalize the cow drawing into a longer project?
Personalize it by giving the cow a name tag, experimenting with different irregular blob spot patterns, adding a barn, grass, and other animals to create a scene, or scanning the finished line art to color and edit digitally before you Color your cow and Share your finished cow drawing on DIY.org.
Related videos
How to Draw a Cow easy | Step by step Drawing for kids 🐄🐮
4 Videos
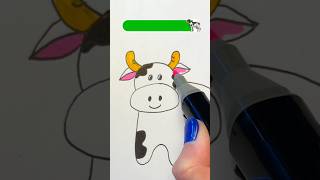
How to Draw a Cow easy | Step by step Drawing for kids 🐄🐮
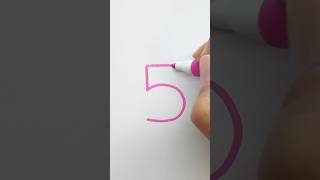
How to draw a cow from 5 🐄 Step by step drawing for kids
How to Draw a Cow - Easy Drawing Tutorial! Fun for kids! moo!!
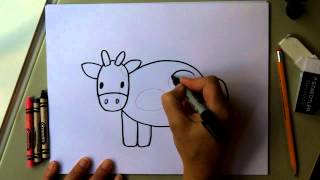
🐄 How to Draw a Simple Cow | Step-by-Step Lesson 🌾
Fun Facts
🐮 Cows have nearly panoramic vision (about 300°), so head and eye placement changes how they look from different angles.
🔵 Artists often start with circles and ovals (ellipses) because building complex animals from simple shapes makes drawing easier.
📏 Adult cows can be about 2–3 meters long depending on the breed — a handy reminder to keep body-to-head proportions accurate.
🎨 Cartoon cows exaggerate spots, eyes, and hooves to be more expressive and instantly recognizable for kids.
👀 A quick trick: counting spots or lining up hooves helps train observation and makes your sketch more accurate.

