Create a Minecraft Zombie Skin
Create a Minecraft zombie skin with a kid-friendly creative tool and learn how to turn a spooky character idea into something personal, playful, and ready to test. This page helps kids understand the topic, try ideas step by step, and build confidence while they make and improve their own Minecraft character style.
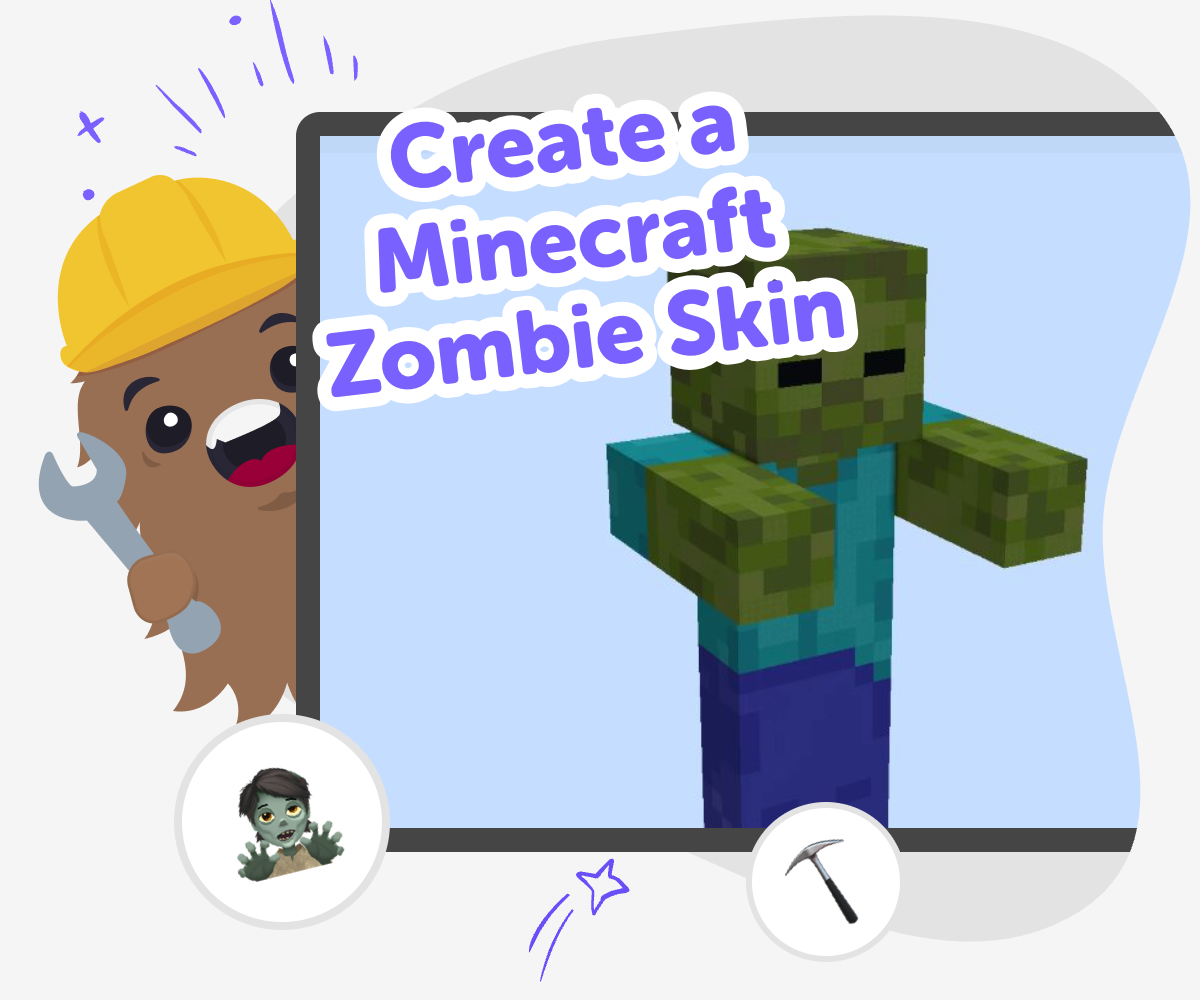
Minecraft Zombie Skin Guide
A create a minecraft zombie skin project helps kids turn a spooky game character into something personal and creative. It teaches shape, colour, and style while showing that even a monster can have a friendly, funny, or adventurous twist. Kids learn that small design choices can change the whole feeling of a character. That makes the idea easier to understand and more fun to try.
Vibe Coding helps kids explore create a minecraft zombie skin ideas by guiding them to describe what they want, then build, test, and improve it step by step. It supports safe, hands-on making so children can experiment with looks and details without needing to know everything at once. The topic stays about creativity first, while the tool gives a calm way to try ideas, notice what works, and make the skin more personal with each version.
What makes a zombie skin interesting?
A good zombie skin is not only about looking spooky. It is about making a character that feels alive, even if it is undead. Kids can think about colour, shape, and tiny details that tell a story, like torn sleeves, uneven eyes, or muddy shoes. These choices help the skin feel like a real Minecraft character instead of just a plain costume. When kids design with a story in mind, they practice creative thinking and learn that art can show personality. A zombie skin can be creepy, funny, friendly, or adventurous, and each version teaches something different about how design changes the feeling of a character.
Why do kids like making their own skin?
Making a skin lets kids turn an idea into something they can use in a game they already know. That feels exciting because the design is not just something to look at; it becomes part of play. Kids often enjoy choosing details that match their own interests, like a basketball shirt, a pirate hat, or a silly face. That kind of choice helps them feel ownership over the project. It also supports confidence, because there is no single right answer. If one version does not look right, they can change it and try again. That practice helps kids learn that creative work gets better through testing, not by being perfect on the first try.
How can this project stay safe and age-appropriate?
A Minecraft skin project can stay safe when the focus stays on creativity, not on copying scary or upsetting images. Kids can make designs that are playful, bold, and easy to recognize without using anything too intense. Adults can help younger children choose colours, keep the design clear, and make sure any sharing happens in a trusted space. This kind of project is also a good chance to talk about digital choice and online safety. Kids learn that they can make something fun for themselves while still being thoughtful about what they share. With support, the project stays calm, age-appropriate, and encouraging for a wide range of ages.
What can kids learn from changing the design?
Changing a skin after the first try is one of the best parts of the project. Kids learn that creative work improves through iteration, which means trying, noticing, and adjusting. Maybe the face needs to be simpler, or the clothes need more contrast so the character stands out. These small changes teach problem-solving in a natural way. They also help kids notice how design choices affect what other people see. That is useful in art, games, and coding alike. A project like this shows that making something personal is not about getting it perfect; it is about exploring ideas, making decisions, and building confidence with each version.
Make Your Zombie Skin
Choose your zombie style
Pick the kind of zombie you want to make, such as spooky, silly, muddy, or heroic. Decide on a few details like clothes, eyes, and colours so your idea is easy to build.
Describe the look in Vibe Coding
Tell Vibe Coding what you want your zombie skin to look like. Include simple choices for shape, colours, and mood so the guided help can support your next steps.
Build and check your first version
Create a first version of the skin and look closely at the details. Notice which parts stand out and which parts need to be clearer or more fun.
Make the most of testing
Try a small change Swap one colour, face detail, or clothing piece so you can see how the zombie skin feels different. Keep the change simple so it is easy to compare versions. Check what stands out Look at the full character and notice whether the design is easy to read, playful, and still zombie-like. If one part feels confusing, adjust it before you move on. Improve with one more remix Make a second version that keeps your favourite parts but changes one thing you want to test. This helps you learn how design choices change the whole look. Share your best version safely Save the version you like most and show it to a trusted adult, teacher, or friend. Talk about what you changed and what you learned while making it.
Frequently asked questions
What is a Minecraft zombie skin?
A Minecraft zombie skin is a custom character design that gives a zombie look a new style. Kids can use colours, clothes, faces, and small details to make the character feel spooky, funny, or adventurous.
Can kids make their own zombie skin?
Yes. Kids can make their own zombie skin by choosing the look they want and then changing it step by step. A guided tool like Vibe Coding can help them experiment with ideas and keep improving the design as they go.
Is making a zombie skin good for beginners?
Yes, because it starts with simple choices like colour, shape, and style. Beginners do not need to know everything at once. They can try one idea, look at it, and make small changes until it feels right.
How do I make my zombie skin look unique?
Pick one or two details that match your idea, like ripped clothes, glowing eyes, a funny hat, or a special colour scheme. Small changes can make the skin feel more personal without making the design hard to understand.
What age is this kind of project best for?
It can work for many ages, from younger kids with adult help to older kids who want more control. Younger makers may need support choosing details, while older kids can experiment more freely with style and version changes.
Do I need drawing skills to make a skin?
No. You do not need to be a great artist to start. The most important part is having an idea and being willing to try changes. A simple design can still feel creative and fun.
Can I test more than one version?
Yes, and that is a great way to learn. Trying more than one version helps kids compare ideas and see how small changes affect the final look. It is one of the best ways to build confidence.
How does Vibe Coding help with this topic?
Vibe Coding gives kids a guided place to build, test, and improve their ideas step by step. It supports creative making without rushing the process, so kids can keep changing the design until it feels like their own.
More tools
Build a Dance Game
Build a dance game and turn music, movement, and timing into a playful project kids can design, test, and improve. With guided support, children can make a game that feels personal, creative, and fun to share.
Build a Diamond Clicker Game
Build a diamond clicker game with a kid-friendly creative coding studio where kids can design a simple game, test how it feels, and improve it step by step. This page helps young makers understand the idea, practice game design, and build confidence while creating something fun and interactive.
Build a Diep IO Game
Build a diep io game by planning a tank battle idea, shaping the gameplay, and testing how it feels to play. This page helps kids understand the game style and start making their own interactive version with creative, guided coding support.
Build a Dinosaur Clicker Game
Build a dinosaur clicker game and explore how simple game ideas can turn into something fun to tap, test, and improve. Kids can create a playful dino game with guided support, then keep changing it as they learn what makes a game feel exciting and easy to play.
Ready to start creating?
Join hundreds of thousands of kids already building cool stuff on DIY.ORG.
Your first game is on us.
Describe a game below - no sign-up needed to try.
KidsGPT has moved!
Log into ChatDino to access your chats
Powered by AstroSafe
Make real games - not just chat