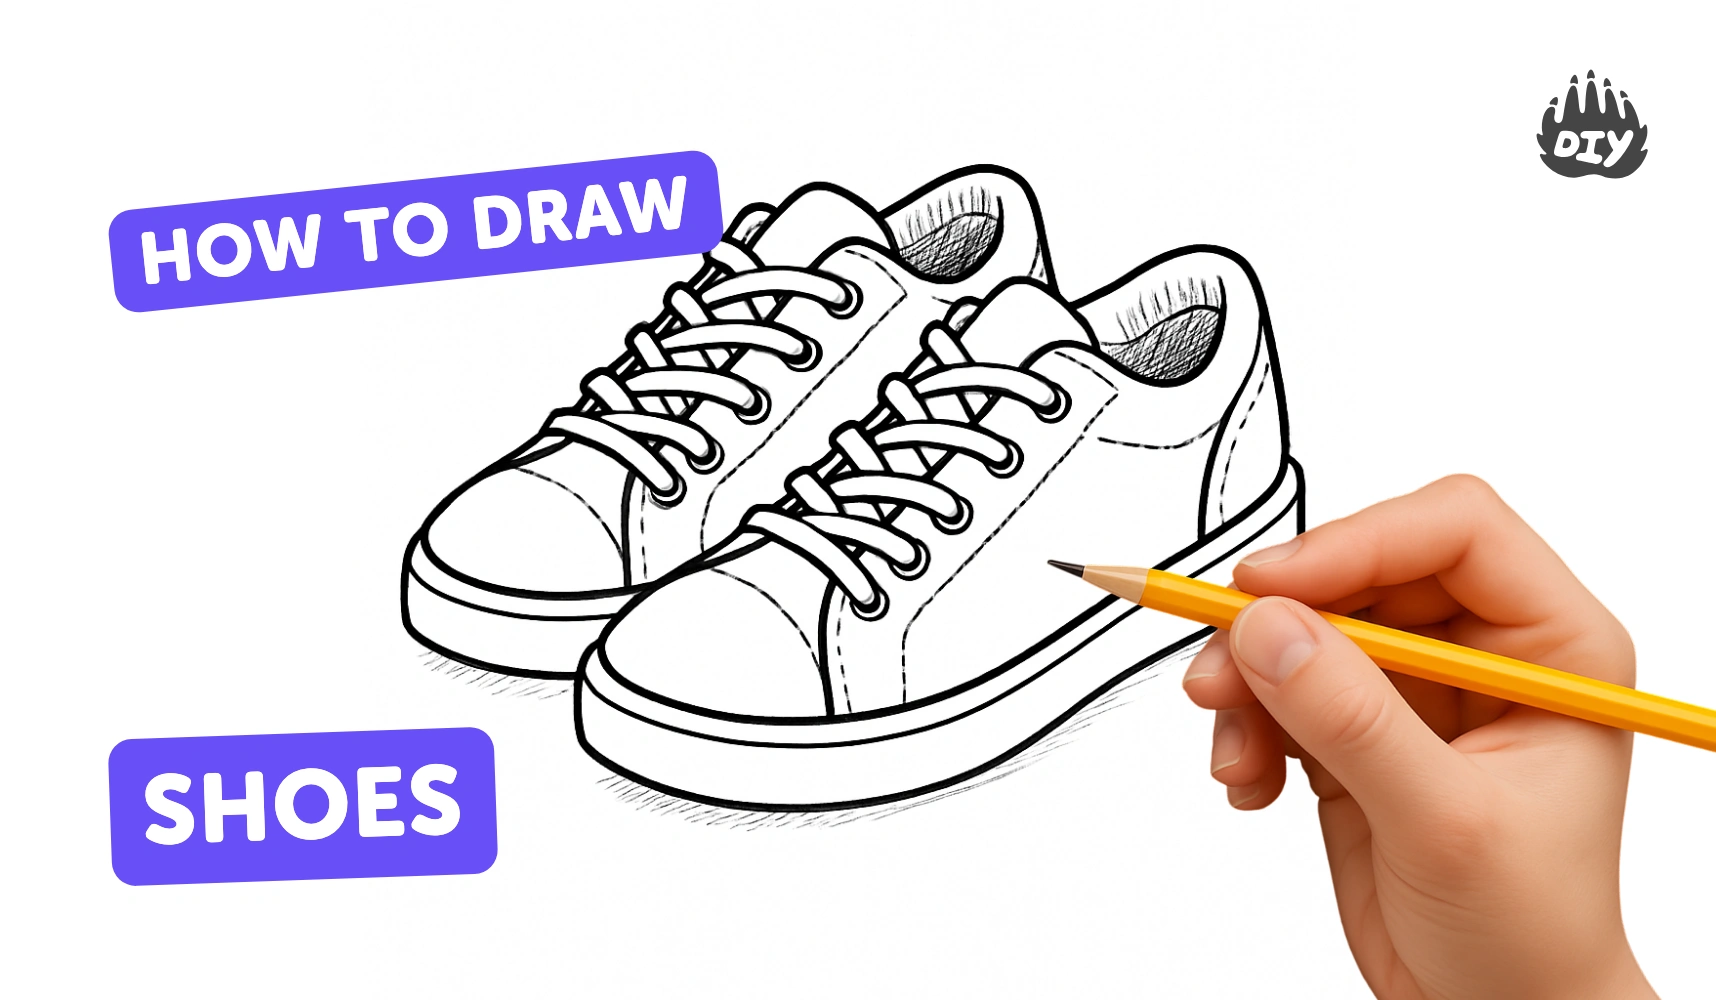
How to draw shoes - a free shoes drawing guide
Draw a pair of shoes step-by-step, learning proportions, perspective, and shading to create realistic footwear you can personalize and display.

Drawing Apps
Get inspired with these


Instructions
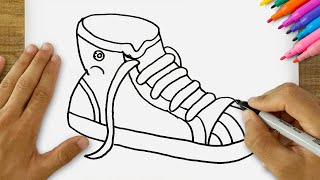
HOW TO DRAW AND DESIGN A SHOE | DRAWING TUTORIAL FOR KIDS
Step 1
Choose a shoe to copy and study it closely for one minute to notice its big shapes.
Step 2
Place your paper flat and draw a light horizontal ground line for the shoe to rest on.
Step 3
Lightly mark two tiny dots on the ground line to show the toe tip and the heel position.
Step 4
Sketch a long oval between the dots to block in the sole with soft pencil lines.
Step 5
Draw a rounded shape on top of the sole to block in the main upper of the shoe.
Step 6
Connect the sole and upper with smooth light lines to make the outer silhouette of the shoe.
Step 7
Draw the shoe opening and the tongue inside the upper shape using simple curved lines.
Step 8
Add a curved heel counter at the back to show the shoe’s heel structure.
Step 9
Add eyelets and laces by drawing small circles and simple line loops across the tongue area.
Step 10
Erase extra construction lines so the shoe looks clean and neat.
Step 11
Go over the final outline with firmer pencil strokes to define the shoe’s edges.
Step 12
Decide where the light comes from and shade the shoe with gentle pencil strokes from light to dark to show form.
Step 13
Blend shaded areas with a stump or tissue and add tiny texture marks like creases or stitching for realism.
Step 14
Share your finished shoe drawing on DIY.org
Help!?
I don't have a blending stump or tissue—what can I use to blend the shading?
If you don't have a stump or tissue for the 'blend shaded areas' step, use a clean finger, a cotton swab, a folded paper towel, or a soft fabric scrap to gently smudge the pencil.
My shoe looks flat or lopsided; which steps should I redo to fix the shape?
If your shoe looks flat or lopsided, recheck and adjust the light horizontal ground line and the two tiny toe/heel dots, then lightly re-sketch the long oval sole and rounded upper and erase extra construction lines before going over the final outline.
How can I adapt the drawing steps for younger or older children?
For ages 3–5, have them trace or place a cut-out shoe and mark the toe and heel dots; for 6–9, guide them to lightly sketch the sole oval and upper; for 10+, assign shading, blending with a stump or tissue, and adding tiny texture marks like creases and stitching.
How can we make the shoe drawing more creative or advanced?
To enhance the activity, try changing the light source before you shade, experiment with patterns or materials on the upper, add detailed eyelets and laces or stitching, and then share the finished shoe drawing on DIY.org.
Related videos
How to draw shoe | Let's Draw a Cute shoe - Easy Art for Kids | Spark & Hobby
4 Videos
How to draw shoe | Let's Draw a Cute shoe - Easy Art for Kids | Spark & Hobby
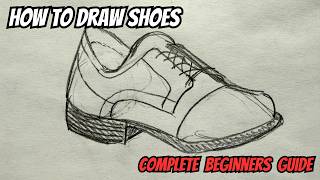
How To Draw Shoes Tutorial (Complete Beginners Guide)
Drawing Shoes and Slippers | Fun and Easy Drawing Ideas for Kids | Step By Step
How to Draw Shoes? Very Easy Shoe Drawing - Easy Step-by-Step Drawings for Kids
Fun Facts
👟 The oldest known leather shoe, found in Armenia, is around 5,500 years old — people have been shaping footwear for millennia!
✏️ Shoe designers often begin with a 'last' (a foot-shaped mold) to get proportions right before sketching details.
🦶 Artists simplify shoes into basic shapes — ovals for toe boxes, rectangles for soles, and wedges for heels — to map proportions quickly.
🎨 Realistic shading relies on reflected light: curved leather shows soft highlights on bulges and deep shadows in creases.
👠 Fun history: high heels were originally worn by men (Persian cavalry) to help keep feet in stirrups — fashion flips over time.
How do I teach my child to draw realistic shoes step-by-step?
What materials do I need to draw realistic shoes with my child?
What ages is drawing realistic shoes suitable for?
What are the benefits and variations of drawing realistic shoes for kids?
