How to draw a bunny | Drawing Projects for kids
Profile Icon

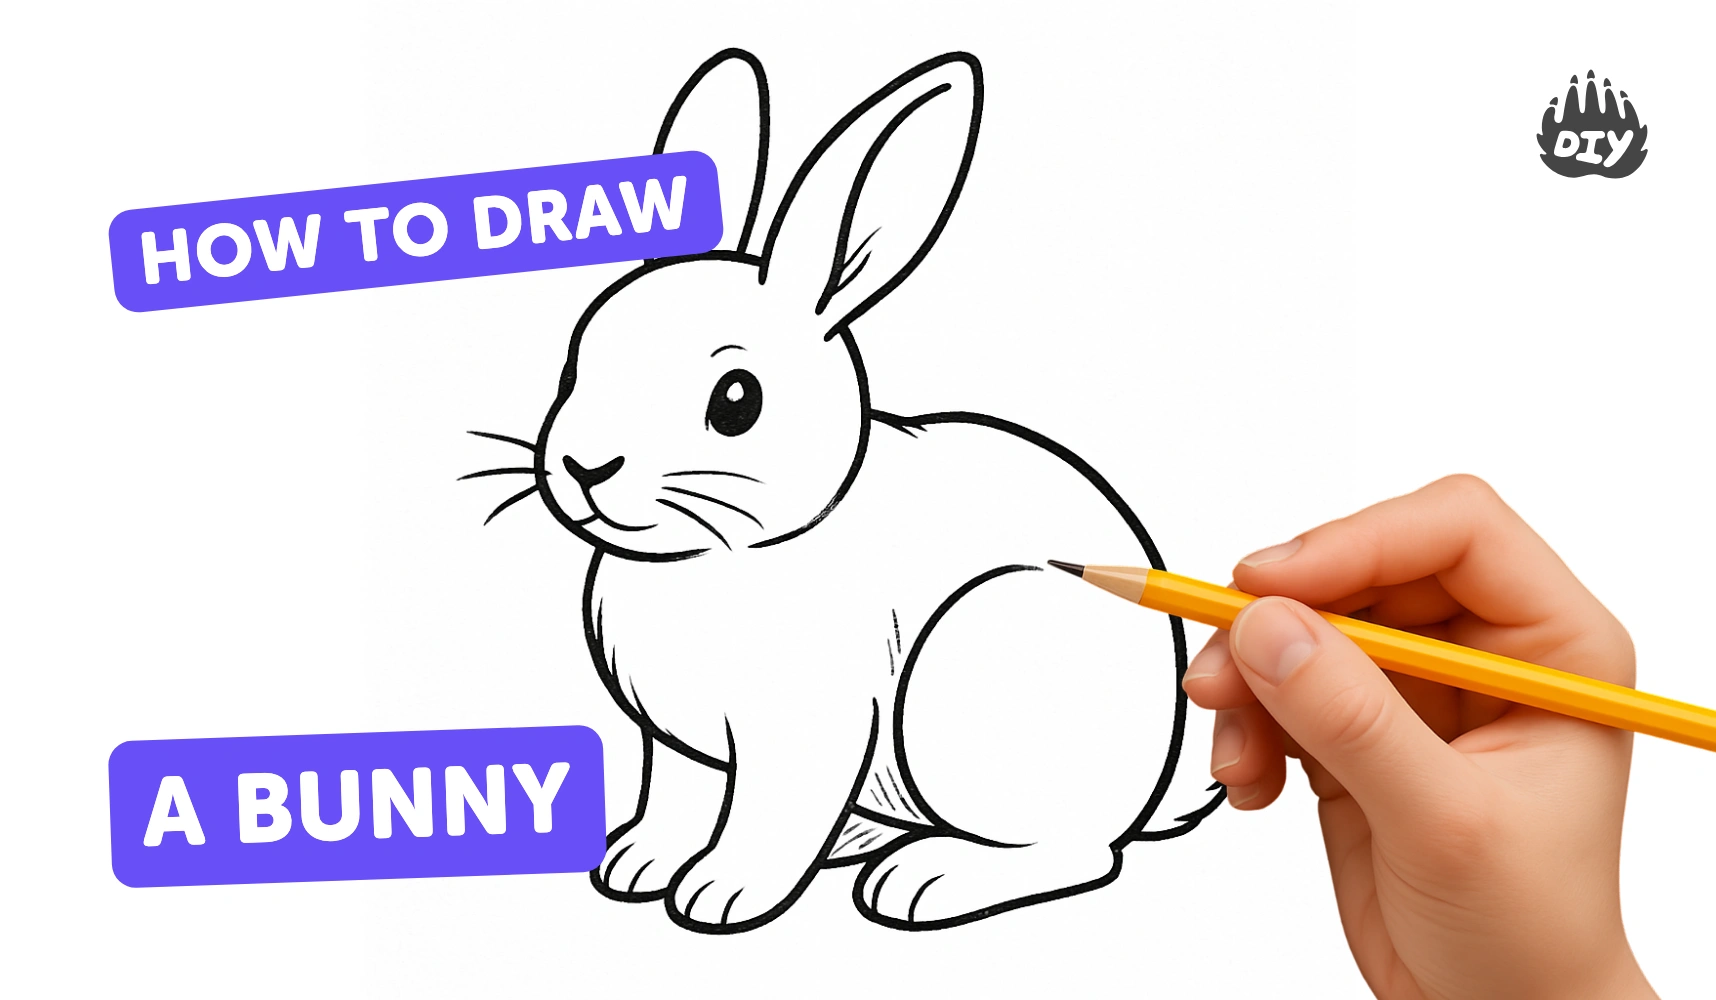
How to draw a bunny - a free bunny drawing guide.

Learn how to draw a bunny easily with DIY.org's step-by-step guide!

Start Drawing Course

See Instructions

How to draw a bunny

Learn how to draw a bunny

Embarking on the journey of drawing a bunny is a delightful and creatively enriching experience that invites you to explore your artistic skills. This activity encourages you to tap into your imagination while developing your hand-eye coordination and understanding of form. As you prepare for your bunny drawing, gather essential materials such as paper, pencils, erasers, and perhaps some colored pencils or markers for adding vibrant details later on. This simple project not only serves as a fantastic introduction to the world of drawing but also allows the opportunity to experiment with different techniques and styles.

As you dive into this engaging task, you'll have the chance to think critically about the shapes and features that make a bunny recognizable, from its long ears to its fluffy tail. You can explore various poses and expressions, allowing your creativity to shine through. Drawing a bunny is more than just a fun activity; it's an exploration of art that can spark joy and foster a sense of accomplishment as you watch your creation come to life on paper. Get ready to unleash your inner artist and enjoy the rewarding process of capturing the charm of a bunny in your own unique way!

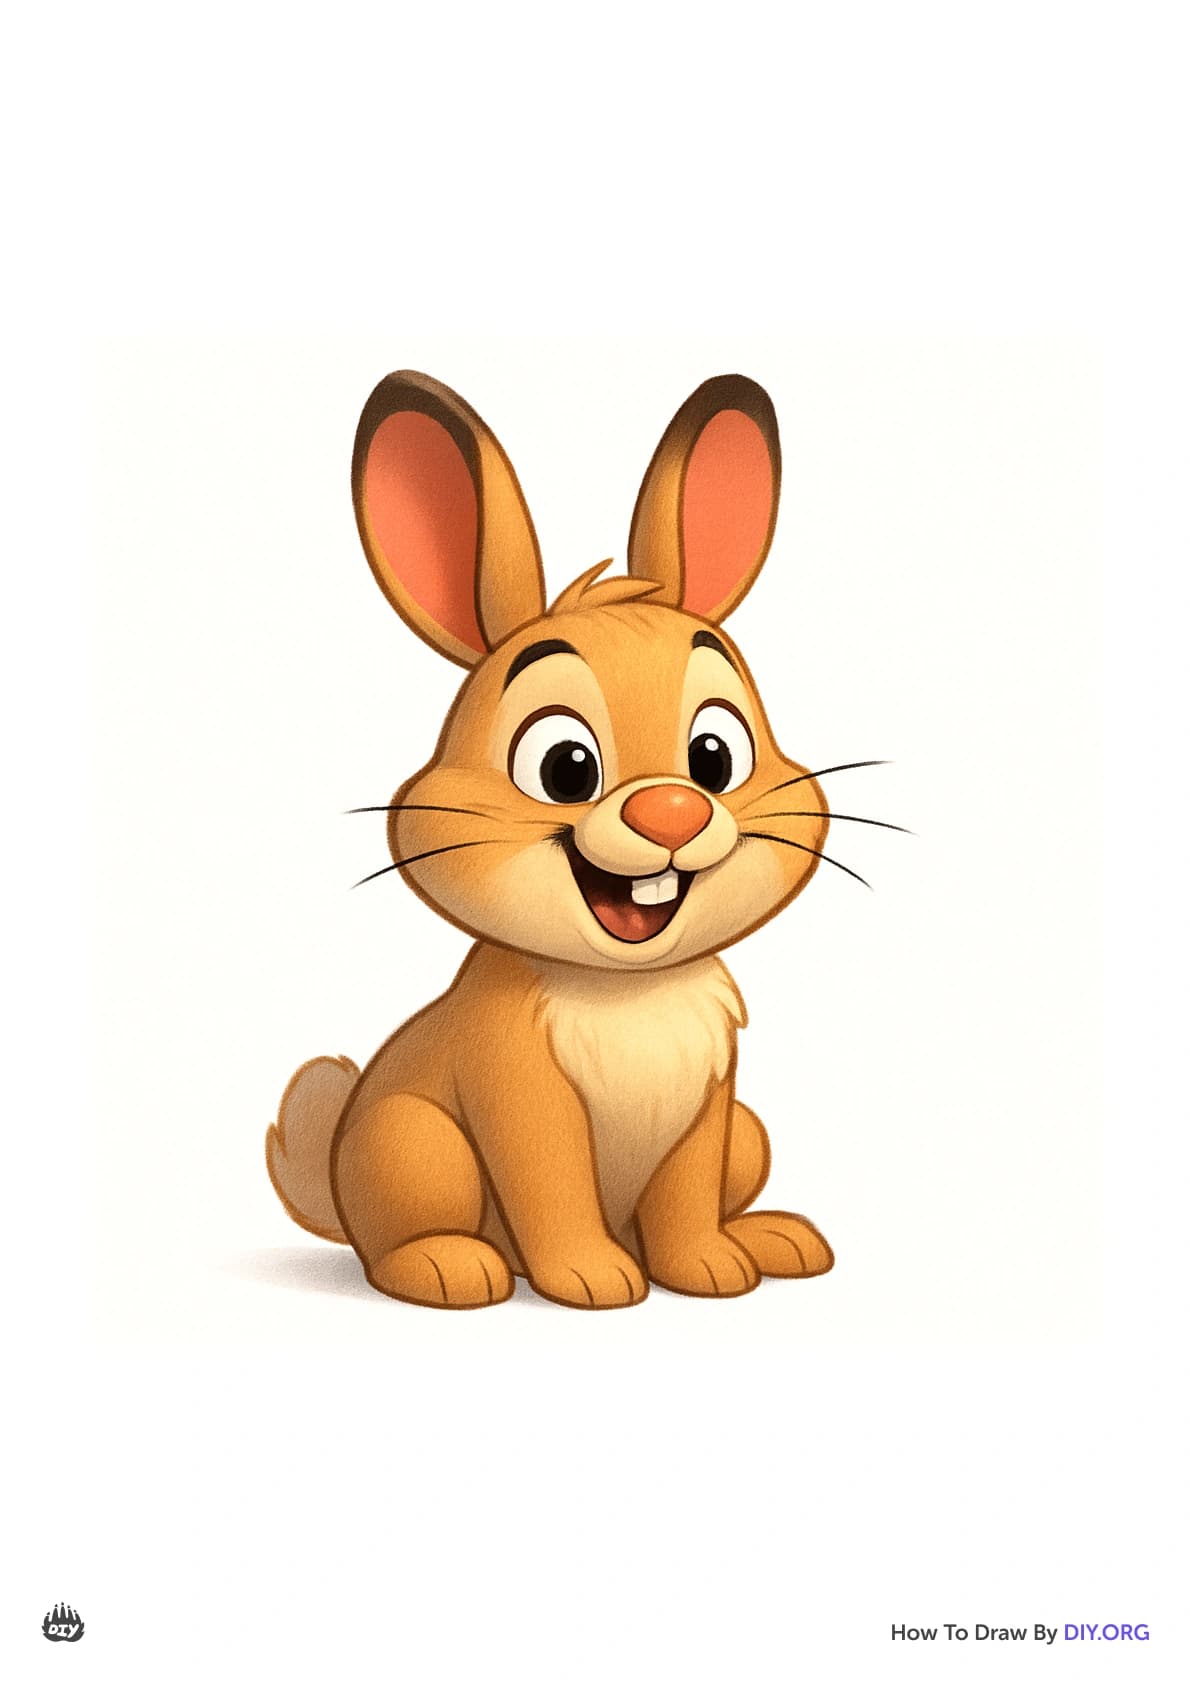
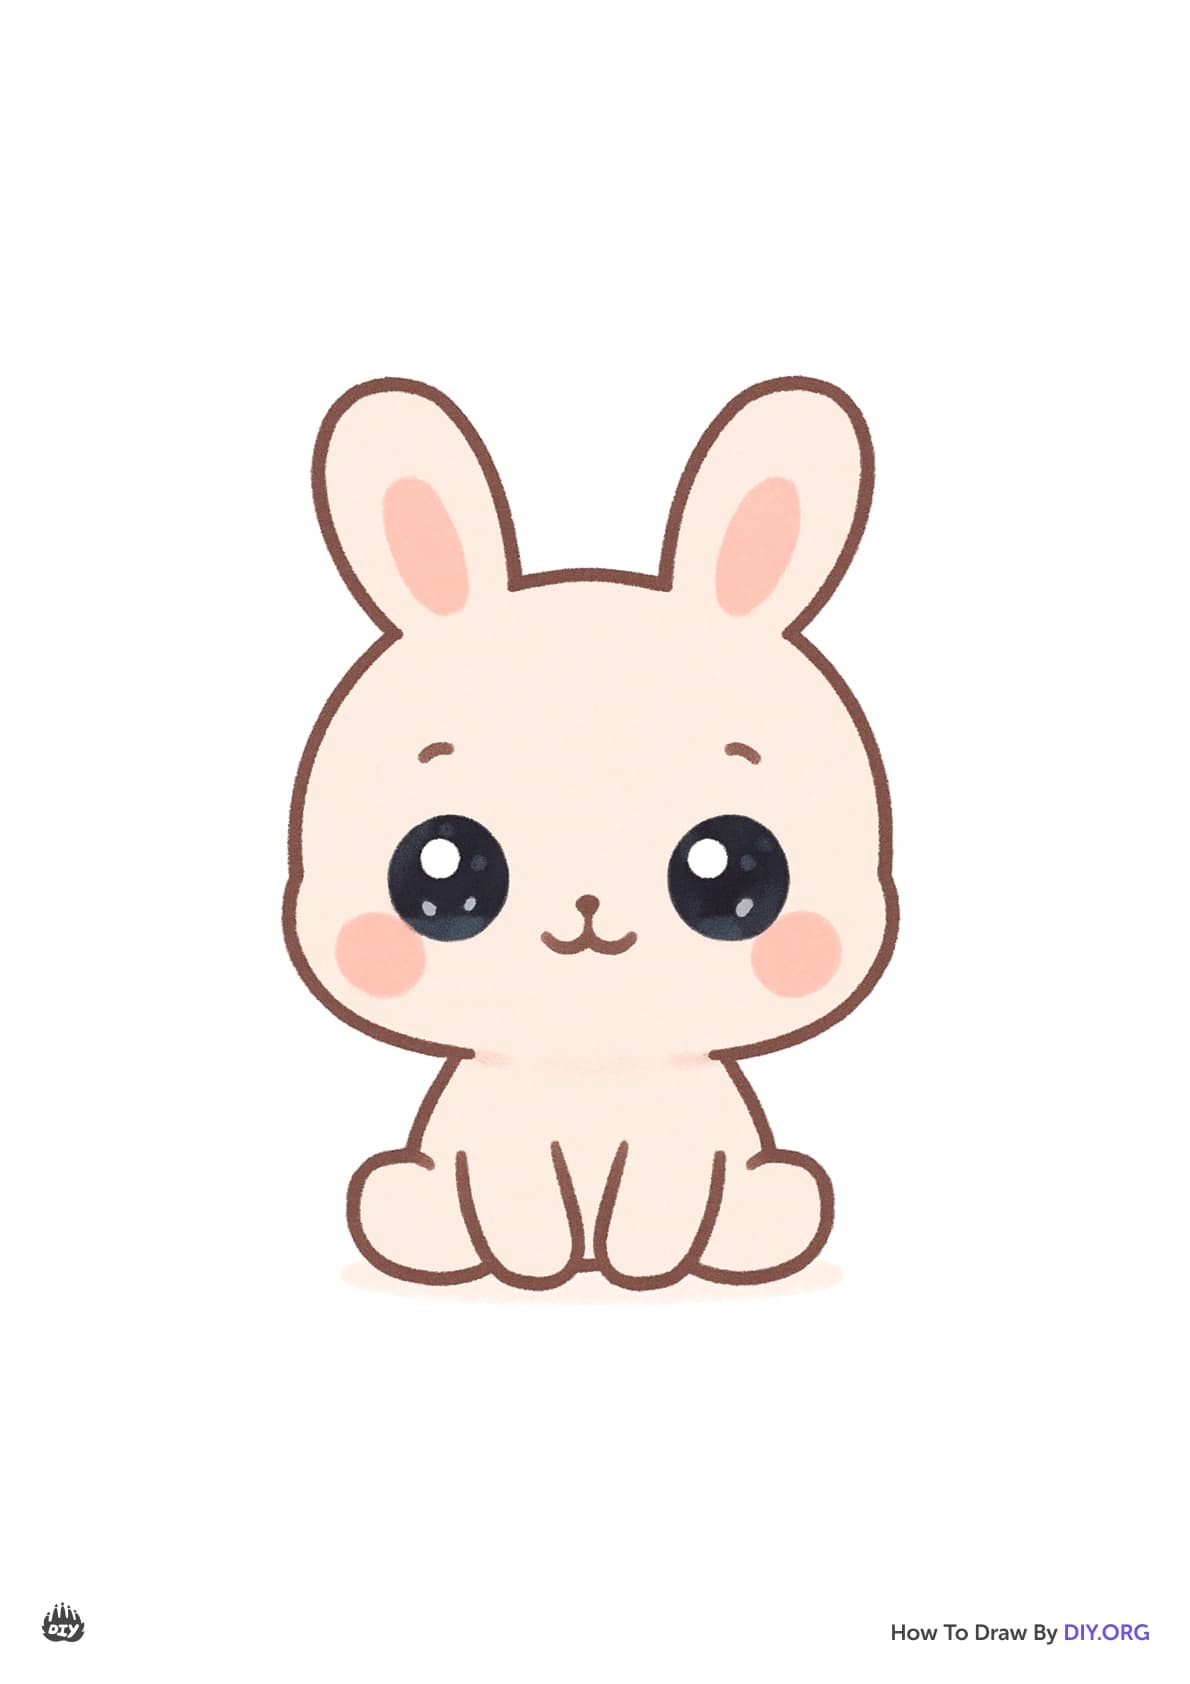
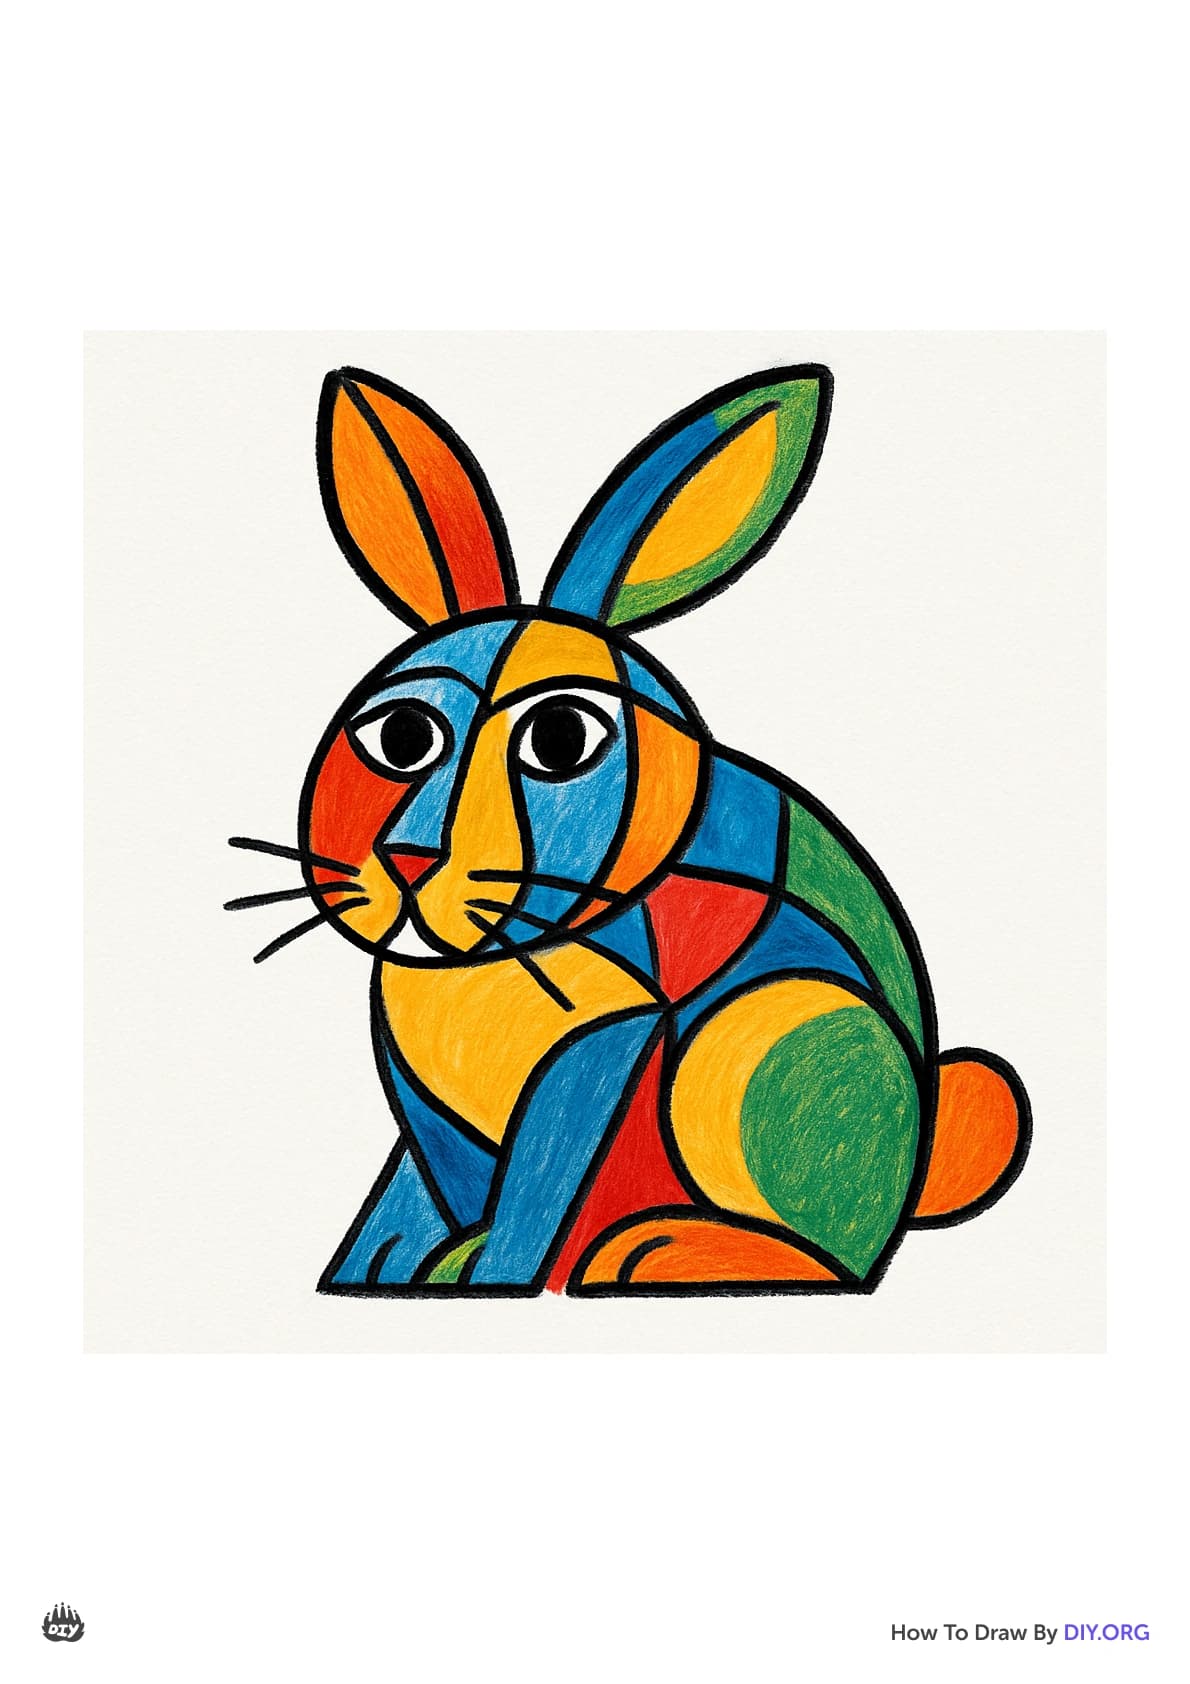
Get inspired with example bunny drawings

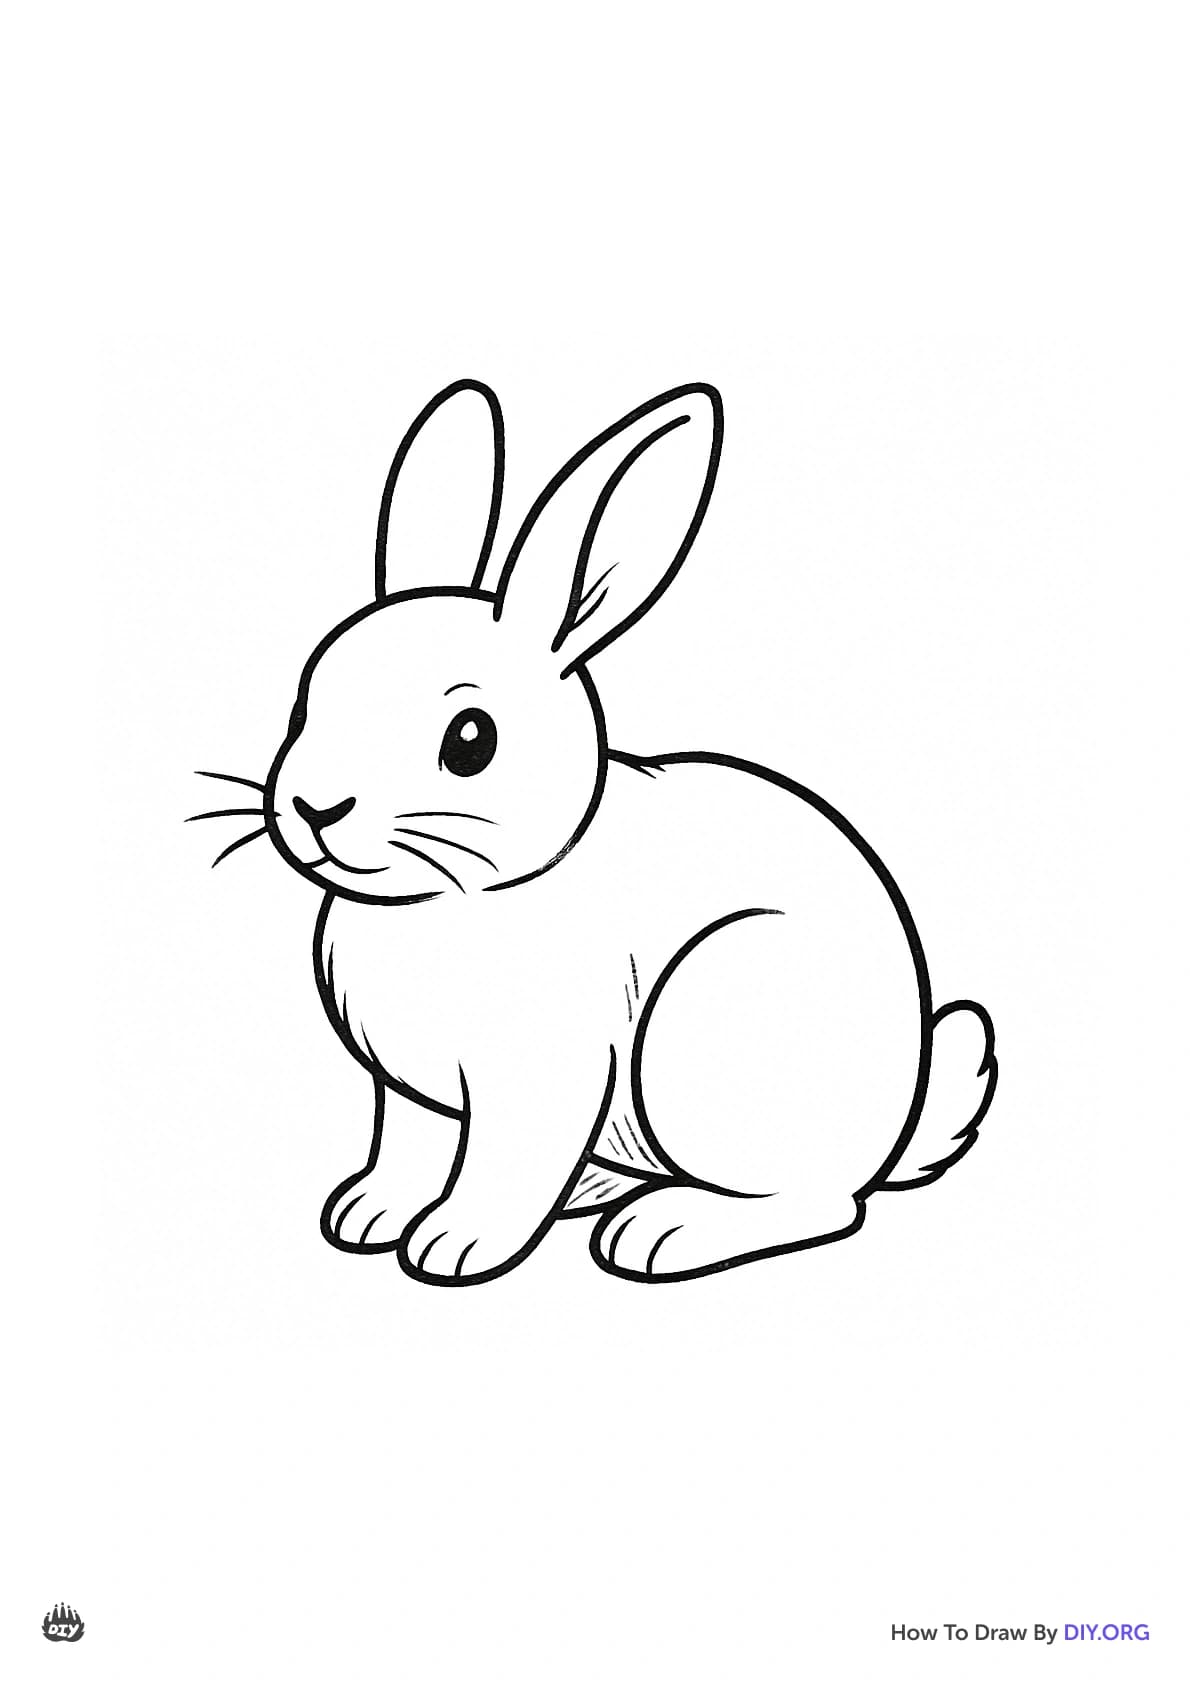
Drawing example 1
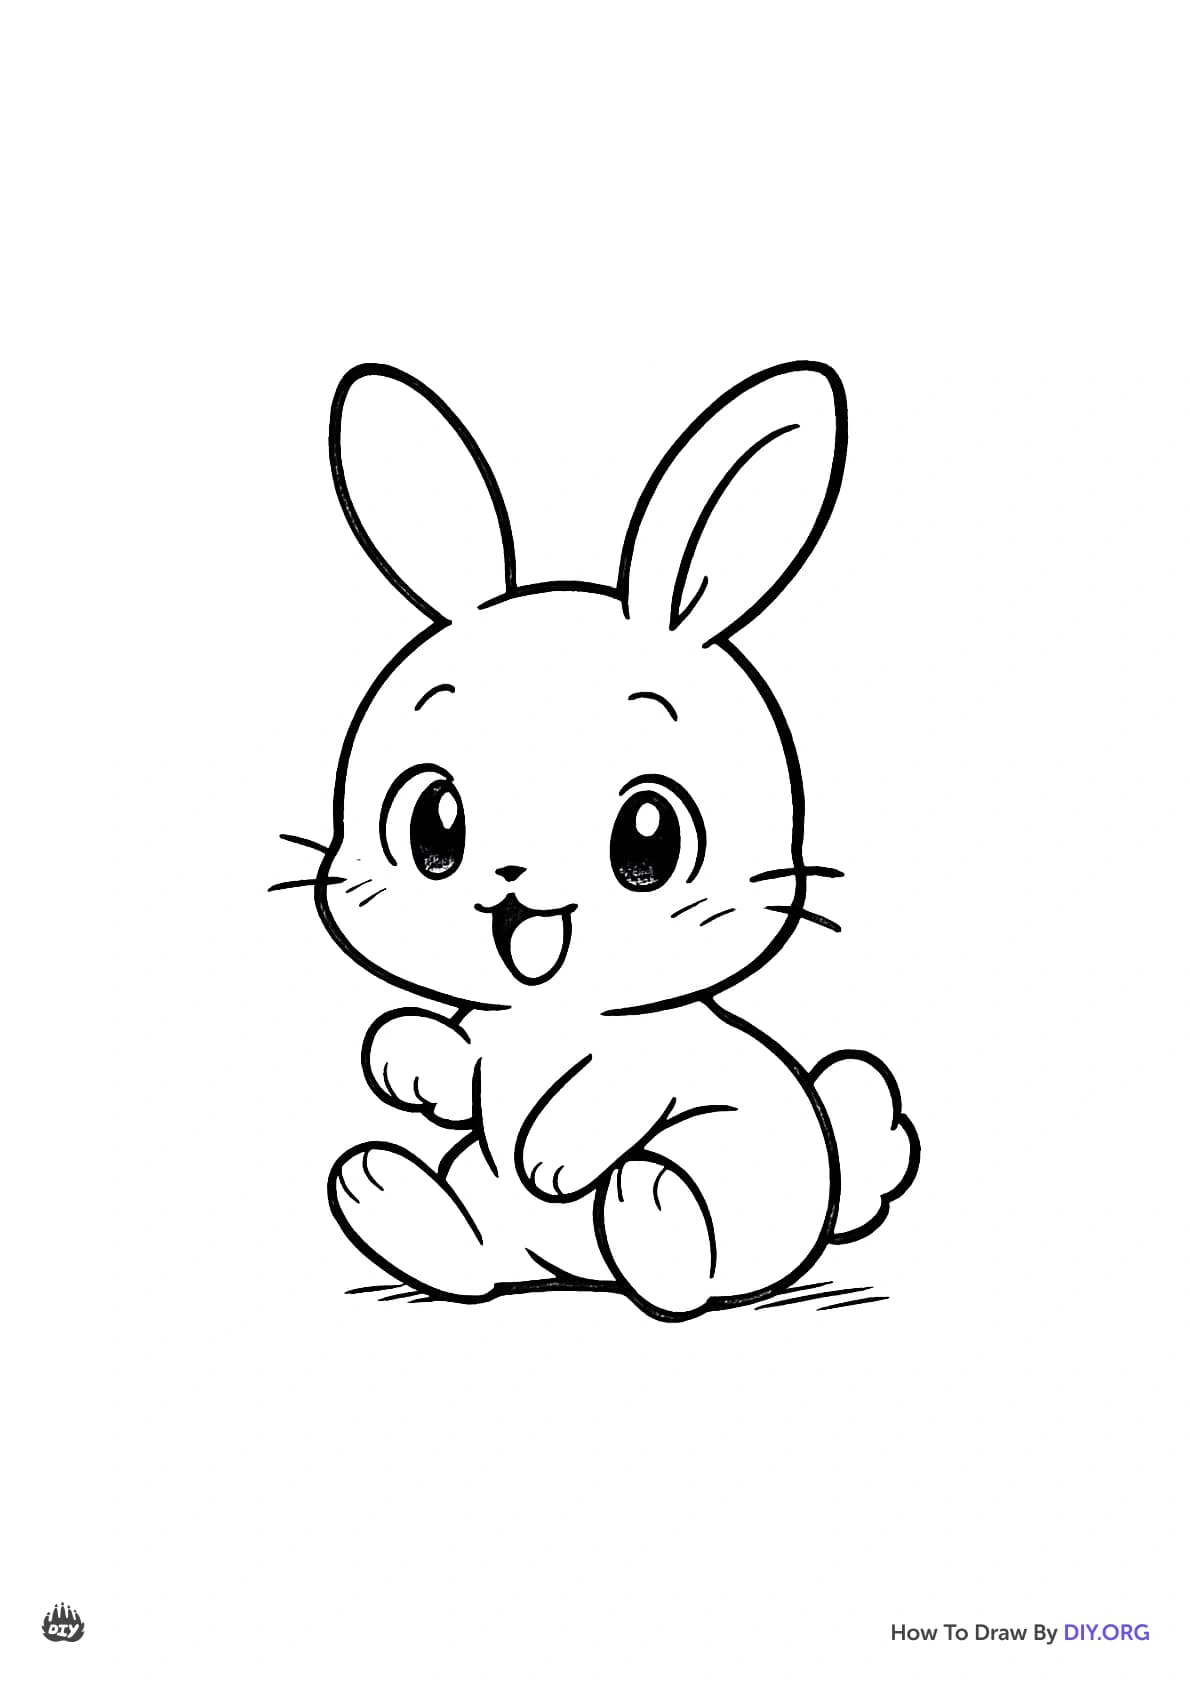
Drawing example 2
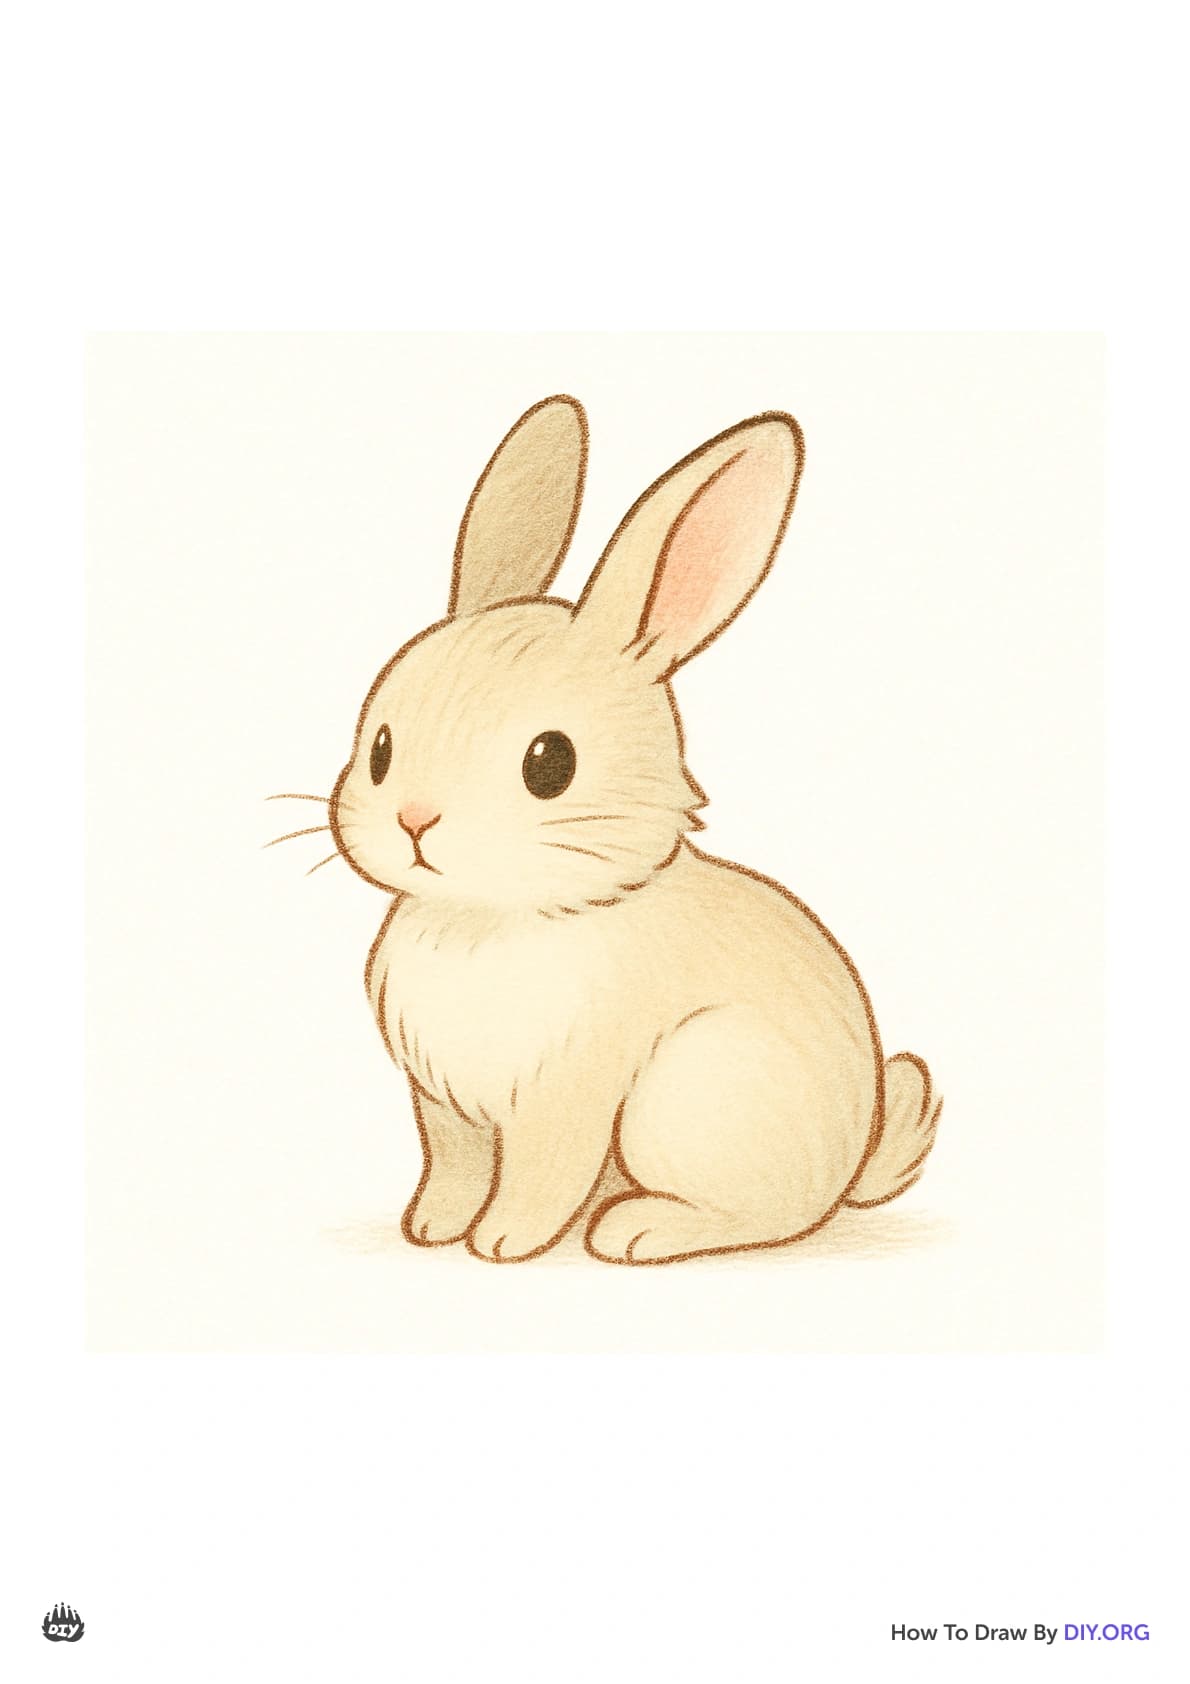
Drawing example 3
Drawing example 4
Drawing example 5
Drawing example 6

Instructions

Step 1

Start with the Bunny's Head: 🐇 Begin by drawing a big, round circle in the middle of your paper. This circle will be the bunny’s head! Tip: Make it nice and plump, just like a fluffy bunny!

Step 2

Bunny Ears Time!: 👀 At the top of the circle, draw two tall, skinny ovals that point upwards. These will be the bunny's ears! Make one ear a little taller than the other to give your bunny a playful look!

Step 3

Add Inner Ears: 🎨 Inside each ear, draw a smaller oval shape. This adds detail and makes the ears pop! You can color these ovals pink to give your bunny a splash of color!

Step 4

Bunny Face Magic: 😊 Near the middle of your big circle, draw two small circles for eyes. Add an even tinier circle inside each for the pupils. Below the eyes, draw a small triangle for the nose. For a smile, sketch a tiny W shape right under the nose!

Step 5

Whiskers Galore!: 🐾 On each side of the bunny’s face, draw three long and wiggly lines coming out for whiskers. Make them as wild and fun as you want, because bunnies have personality!

Step 6

Bunny Body Bounce: 🥕 Draw a large oval shape right below the head for your bunny’s body. Make it a bit wider, as bunnies are cute and chubby!

Step 7

Bunny Legs: 🐾 At the bottom of the body oval, sketch four little rounded shapes for the bunny’s legs. They should look like soft pillows! Tip: Think of bunny legs as short and cute, not too long!

Step 8

Add the Feet: 🦶 At the end of each leg, draw a small round shape for the bunny’s feet. Add three tiny lines at the bottom of each foot for the toes. Now your bunny is ready to hop!

Step 9

Fluffy Tail Time!: 🌼 On one side of your bunny's body, draw a small fluffy cloud shape for the tail. This will make your bunny look extra cuddly!

Step 10

Color Your Bunny!: 🌈 Grab your favorite colors! You can make your bunny classic gray, fluffy white, or even bright pink! Color the ears and the nose, too. Use different colors to make it unique and fun!

Step 11

🎉 You Did It! 🎉: Look at your adorable bunny! Now you can show it off to your friends and family. Keep drawing and creating more bunnies to fill your world with cuteness! Hop to it, and have a fantastic time drawing! 🐰✨

Download Activity Sheet

Join our drawing course for kids age 7 to 12.

  • Step by Step Drawing guides
  • Expert video tutorials
  • Hands-on drawing course
  • Trusted by 100k+ families
  • Try it free for 7 days
Course banner

How to draw a bunny step by step.

Drawing a bunny can be a delightful and rewarding experience when you break it down into manageable steps. Start by envisioning the bunny's basic shapes; begin with simple circles and ovals to establish the head and body proportions. Next, think of the bunny's ears and paws as additional shapes—long ovals for the ears and rounded ends for the feet. Take your time and focus on each part individually, ensuring each segment is where you want it before moving on. Don't hesitate to use light pencil strokes for your initial outlines; this allows you to make adjustments easily. Once you’re comfortable with the basic structure, you can gradually add details like whiskers, fur texture, and facial features. This step-by-step approach not only makes the process less daunting but also helps you achieve a charming bunny illustration that you can be proud of!

How to draw a bunny for beginners.

Drawing a bunny can be a delightful experience, and simplifying the process can help you achieve great results with ease. Start by breaking down the bunny's shape into basic forms; use circles and ovals to outline the head, body, and ears. This method allows you to focus on proportions without getting overwhelmed by details. Additionally, consider using reference images to guide your sketch and understand the bunny's features more clearly. Rather than aiming for perfection, enjoy the freedom of making your bunny unique—experiment with different expressions or poses. Remember, practice makes progress, so embrace any mistakes as part of your artistic journey, and have fun along the way!

How to draw How realistic bunny.

To elevate your bunny drawing from a simple sketch to a more realistic representation, consider focusing on the intricate details that bring the animal to life. Begin by studying images of real bunnies to understand their proportions and anatomy; pay attention to the shape of their ears, the subtle curvature of their bodies, and the distinct texture of their fur. Use shading techniques to create depth, adding darker tones in shadowed areas and lighter shades where the light hits, which can enhance the three-dimensional quality of your bunny. Additionally, incorporating fine details like whiskers, the reflective glimmer in the eyes, and individual fur strands can make your artwork captivating. Don’t forget to consider the bunny’s environment; adding elements like grass or flowers can provide context and an extra layer of realism. With these tips, your bunny drawing will not only look more lifelike but will also tell a story.

How to draw How cute bunny.

When it comes to making your bunny drawing even cuter, there are several delightful tweaks you can implement. Start by exaggerating the bunny's features—think oversized ears, a tiny nose, and large, sparkling eyes that invite a sense of playfulness. Soft, rounded shapes typically evoke a more cuddly vibe, so emphasize fluffy fur with gentle curves rather than sharp angles. Consider adding accessories like a playful bow or colorful flowers, which can enhance the charm of your bunny. Experiment with pastel colors to create a soft, whimsical look that’s easier on the eyes and adds to the overall cuteness. Lastly, incorporating fun backgrounds, such as a meadow filled with daisies, can give your bunny a delightful setting that enriches its adorable appeal. Enjoy the process of crafting a truly lovable bunny!

Frequently Asked Questions

Is DIY back?!
How do I reactivate my account?
How do I sign up?
Are the android and iOS apps coming back?
What is DIY?
What is a “Challenge” on DIY?
What is a “Course” on DIY?
What are “Skills” on DIY?
What if I'm new to all this—where do I begin?
Do I need special materials or equipment?
Is DIY safe for kids?
Can I collaborate with other DIYers on a project?
How do Mentors, Mods, and Jr. Mods help us?
What is DIY?
What's the recommended age for DIY?

Our Mission

To create a safe space for kid creators worldwide!

Challenges

Photograph a Landscape

Draw a Food Monster

Make Fluffy Slime

Build a Catapult

The 30 Day Project

Introduce Yourself in Another Language

See more

Skills

Illustration

Painting

Cooking

Gaming

Rocketry

Photography

Mechanical Engineering

See more

Activities

Activities for Kids

Indoor Activities for Kids

Outdoor Activities for Kids

Summer Activities for Kids

AI Homework Helper

Would you rather?

Company

About

Blog

Terms of Service

Privacy Policy

Community Guidelines

FAQ

Download on AppStoreDownload on Google Play
2025, URSOR LIMITED. All rights reserved. DIY is in no way affiliated with Minecraft™, Mojang, Microsoft, Roblox™ or YouTube. LEGO® is a trademark of the LEGO® Group which does not sponsor, endorse or authorize this website or event. Made with love in San Francisco.