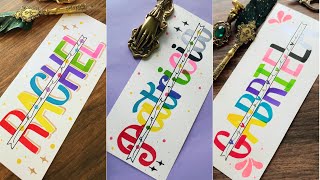
Your DIY Nickname in Calligraphy
Practice basic calligraphy strokes to create a decorative handwritten nickname on paper, experimenting with pens, ink, and simple colorful embellishments.

Step-by-step guide to create a decorative handwritten nickname in calligraphy
Step 1
Clear a flat workspace so you have room to work.
Step 2
Lay out your materials within easy reach.
Step 3
Decide which nickname you want to write and write it in pencil on scrap paper to try the look.
Step 4
Use your ruler and pencil to draw light guidelines on your final paper: a baseline a midline and a descender line.
Step 5
Warm up by practicing basic calligraphy strokes on scrap paper with your pen making thin upstrokes and thick downstrokes.
Step 6
Practice each letter of your nickname on scrap paper until the shapes feel comfortable.
Step 7
Lightly sketch the full nickname on your final paper using the guidelines.
Step 8
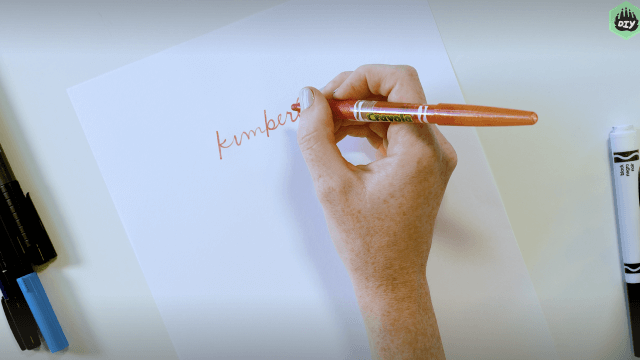
Carefully trace over each pencil letter with your calligraphy pen or brush pen making downstrokes thicker than upstrokes.
Step 9
Add simple colorful embellishments like dots swirls or small flourishes with your coloring materials or a small paintbrush.
Step 10
Let the ink and colors dry completely before touching the paper.
Step 11
Gently erase any remaining pencil marks once the ink is dry.
Step 12
Share your finished calligraphy nickname on DIY.org.
Help!?
What can I use if I don't have a calligraphy pen or brush pen?
If you don't have a calligraphy or brush pen, use a fine-tip marker for thin upstrokes and a broader chisel-tip or felt marker for thicker downstrokes while practicing the warm-up strokes on scrap paper.
My ink keeps smudging or the pencil marks won't erase — what should I do?
Make lighter pencil guidelines with an HB pencil, follow the step to let the ink and colors dry completely before touching the paper, and then gently remove remaining pencil marks with a soft eraser to avoid smudging.
How can I adapt this activity for younger or older children?
For younger kids use larger paper, pre-drawn baseline/midline/descender guidelines and thick washable markers, while older kids can spend more time on warm-up strokes, refine each letter on scrap paper, and add delicate flourishes with a small paintbrush.
How can we extend or personalize the finished nickname artwork?
Personalize the piece by adding a light watercolor wash before sketching, using metallic pens or colored pencils for the dots, swirls, and small flourishes from the instructions, and then frame or photograph the dry final work to share on DIY.org.
Watch videos on how to create a decorative handwritten nickname in calligraphy
5 Creative Name Lettering Ideas to Personalize Your Projects ✍️ | NhuanDaoCalligraphy
4 Videos
5 Creative Name Lettering Ideas to Personalize Your Projects ✍️ | NhuanDaoCalligraphy
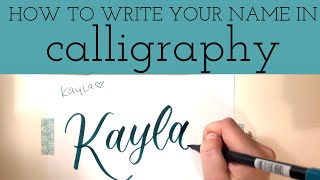
How to Write Your Name in Calligraphy: A step-by-step guide
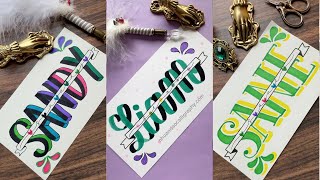
How to Create Stunning Colorful Name Lettering Designs 🌟 | NhuanDaoCalligraphy
💫 Your Name, My Calligraphy Art | Let's Play the Creative Code Game 🌈✍🏻🪄 | Comment your Name ❤️
Facts about calligraphy and hand lettering for kids
🖋️ Calligraphy comes from the Greek words kallos (beauty) and graphein (to write) — it literally means "beautiful writing."
✒️ Edward Johnston is often called the father of modern Western calligraphy and designed the Johnston typeface for the London Underground.
🖌️ Pointed-pen styles like Copperplate create thick and thin strokes by changing pressure: harder for thick, lighter for thin.
✨ Medieval illuminated manuscripts often used real gold leaf and bright pigments to decorate initial letters and borders.
⏱️ Just 10 minutes of focused daily practice helps build the muscle memory that makes your handwritten nickname neater and faster.
How do I do the DIY Nickname in Calligraphy activity with my child?
What materials do I need for DIY Nickname in Calligraphy?
What ages is this activity suitable for?
What are the benefits of doing the DIY Nickname in Calligraphy activity?
