Weave A Looming Bracelet With Julie45!
Weave a colorful loom bracelet with simple tools and patterns, learning counting, pattern design, and fine motor skills while creating wearable art.


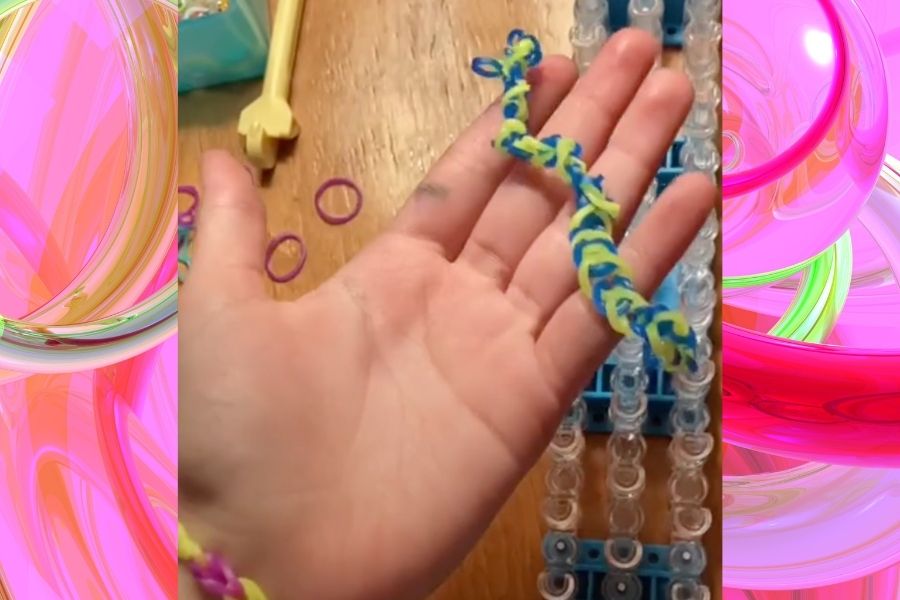

Step-by-step guide to weave a colorful loom bracelet
Step 1
Gather all materials and bring them to a flat workspace.
Step 2
Choose whether you will use the plastic loom or make a cardboard loom.
Step 3
Set your chosen loom on the flat surface so it will not move.
Step 4
Pick 3 to 5 band colors and lay them in the order you want your pattern.
Step 5
Stretch the first band from the first peg to the second peg in a simple U shape.
Step 6
Keep placing one band from each peg to the next following your color order until the row is the length you want.
Step 7
Put the hook under the second peg and pull the bottom band up and over the peg into the center.
Step 8
Repeat pulling the bottom band up and over each peg all the way down the row until only one loop stays on each peg.
Step 9
Slip the last loop off the final peg with the hook so the chain comes off the loom.
Step 10
Attach a C clip or loop an extra band through both ends of the chain to secure the bracelet.
Step 11
Try the bracelet on your wrist and add or remove one band if you need to make it tighter or looser.
Step 12
Share a photo of your finished bracelet and tell what pattern you made on DIY.org.
Help!?
What can I use if I don't have a plastic loom, hook, or C-clip?
Use the cardboard loom option in step 2, bend a paperclip into a hook to pull bands as in step 7, and secure the ends by looping an extra band through both ends instead of a C-clip as in step 9.
My bands won't pull up and over the pegs—what am I doing wrong?
Make sure the loom is set on a flat surface so it will not move (step 3), slide the hook under the second peg as described in step 7, and pull only the bottom band up and over into the center while keeping the row taut from step 5.
How can I change this activity for younger or older kids?
For younger kids, make a shorter row with just 3 colors from step 4 and help them with pulling each band over the pegs in step 7, while older kids can use more colors, longer rows or multiple rows to make a wider cuff before attaching a C-clip in step 9.
How can we personalize or enhance the bracelet beyond the basic instructions?
Personalize by choosing a repeating color pattern from step 4, add small beads onto bands before looping for extra texture, or make multiple chains and join them with extra bands or a C-clip as in step 9 then share a photo on DIY.org (step 11).
Watch videos on how to weave a colorful loom bracelet
NEW Rope Braid Bracelet Rainbow Loom Tutorial by Angelynn (TutorialsByA™) | Intermediate Level
4 Videos
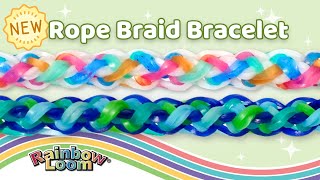
NEW Rope Braid Bracelet Rainbow Loom Tutorial by Angelynn (TutorialsByA™) | Intermediate Level
Easy Round Friendship Bracelet Pattern with a Cardboard Loom | Welcome to Nana's
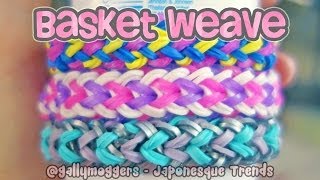
Rainbow Loom Tutorial: Basket Weave Bracelet with One Loom
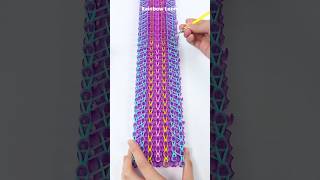
Making a WIDE Rainbow Loom bracelet! Made using the Loom Your Life kit @ Target #rainbowloom
Facts about loom weaving for kids
🧵 Friendship bracelets have roots in Central and South American textile traditions and are worn worldwide as symbols of friendship.
🪢 The Rainbow Loom toy sparked a global bracelet-making craze around 2013 that inspired millions of kids to weave at home.
🔢 Making loom bracelet patterns uses counting and sequences — a fun way to practice basic math like symmetry and repeats.
✋ Weaving small bracelets builds fine motor skills and hand-eye coordination, which helps with writing and tying shoes.
🌈 You can create chevron, stripe, and diamond patterns with just a few colors by repeating the same knot counts.
How do I weave a looming bracelet with Julie45 step by step?
What materials do I need to weave a looming bracelet with Julie45?
What ages is weaving a looming bracelet with Julie45 suitable for?
What are the benefits of making a looming bracelet with Julie45?
