Try Out the Apron Card Challenge
Make a mini apron-shaped greeting card using paper, scissors, glue, and decorations, practice measuring and cutting, then personalize it for someone special.


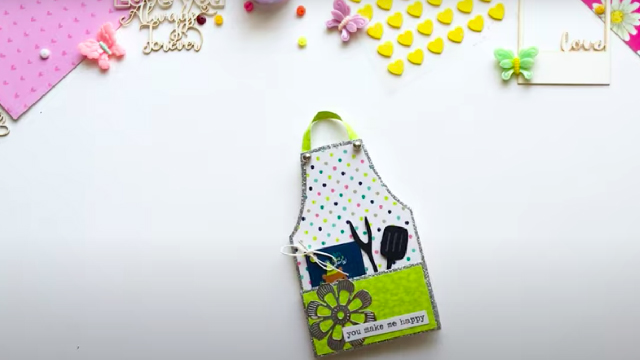

Step-by-step guide to make a mini apron-shaped greeting card
Step 1
Gather all materials.
Step 2
Clear a flat workspace to work on.
Step 3
Fold your paper in half so it opens like a card.
Step 4
Use the ruler and pencil to draw an apron shape on the front half about 8 cm wide and 10 cm tall.
Step 5
Draw two short strap marks at the top edges of the apron shape.
Step 6
Draw a small rectangle for a pocket on the lower front of the apron shape.
Step 7
Cut out the apron shape through both layers of the folded card using the scissors.
Step 8
Cut out the small pocket from a scrap piece of paper.
Step 9
Glue the scrap paper pocket onto the front of the apron.
Step 10
Glue two short ribbon or paper strips to the top corners to make straps.
Step 11
Decorate the apron front with colouring materials and stickers.
Step 12
Write a short special message inside the card.
Step 13
Let the glue and decorations dry for a few minutes before handling.
Step 14
Share your finished apron card on DIY.org.
Help!?
What can we use instead of ribbon or scrap paper for the straps and pocket if we don't have them?
Use yarn, washi tape, thin fabric strips from an old T-shirt for the straps and a folded piece of colored paper or lightweight cardboard for the pocket, then glue them on as the instructions say.
My folded card shifted when I cut the apron shape — how can I prevent misalignment or fix a crooked cut?
Keep the card folded and secure the edges with paper clips or clothespins before cutting with sharp scissors, or cut one layer and use that cut apron as a template to trace and recut the second layer.
How can we adapt the activity for younger children or make it more challenging for older kids?
For preschoolers, pre-draw the 8 cm by 10 cm apron and have an adult handle the scissors while the child glues the pocket and decorates, and for older kids add precise measuring with the ruler, sew a fabric pocket, or layer mixed-media decorations.
What are some creative ways to enhance or personalize the finished apron card before sharing it on DIY.org?
Personalize by sewing or gluing a real button to the scrap paper pocket, writing a themed short special message inside, adding sequins or ribbon trim to the straps, and then photograph the decorated apron card to share on DIY.org.
Watch videos on how to make a mini apron-shaped greeting card
Cotton Wool Bunny Card to teach Preschoolers
4 Videos
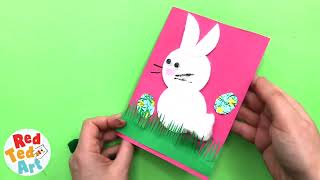
Cotton Wool Bunny Card to teach Preschoolers

Cooking Lessons like a Chef! Kids' Cooking Lessons with a Real Chef! Fun Cake Decorating for Kids!
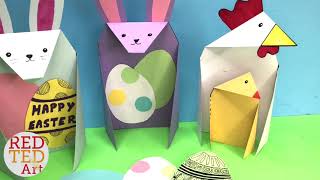
Triangle 3d Bunny Card - Super Easy Card DIY for Easter - Teacher Classroom Resources

Math Games for Kids - Math Challenges for Kids
Facts about cardmaking and paper crafts
🧵 Aprons have been used for thousands of years as handy protective garments for cooks, bakers, and makers.
💌 People have been sending greeting cards for centuries — handmade cards are often treasured as keepsakes.
✂️ Scissors-like tools go back to ancient Egypt, so cutting is one of the oldest human crafts.
📏 Measuring before you cut helps kids learn practical math skills like fractions and spatial reasoning.
🌱 Paper crafting is a great way to upcycle scraps — one small card can turn paper waste into a special gift.
How do I make a mini apron-shaped greeting card step by step?
What materials do I need for the Apron Card Challenge?
What ages is this mini apron card activity suitable for?
What are the benefits, safety tips, and variations for the Apron Card Challenge?
