Timelapse a growing plant
Create a time-lapse video of a growing plant by taking daily photos, arranging them into a sequence, and observing changes over several weeks.


Step-by-step guide to create a time-lapse video of a growing plant
Growing Plants Seed to Harvest 4K Time Lapse Compilation (~3 Years)
Step 1
Fill the small pot with potting soil leaving about 1 cm of space at the top.
Step 2
Plant one or two seeds at the depth the seed packet says and press the soil gently.
Step 3
Put the pot in a sunny spot where it will not be moved for the next few weeks.
Step 4
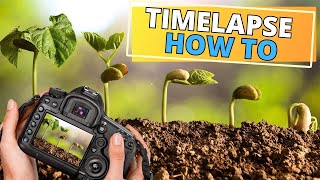
Set up your phone or camera on a tripod or stack of books so the lens points at the plant from the same spot every day.
Step 5
Stick masking tape on the table and the tripod or book stack to mark the exact camera and pot positions.
Step 6
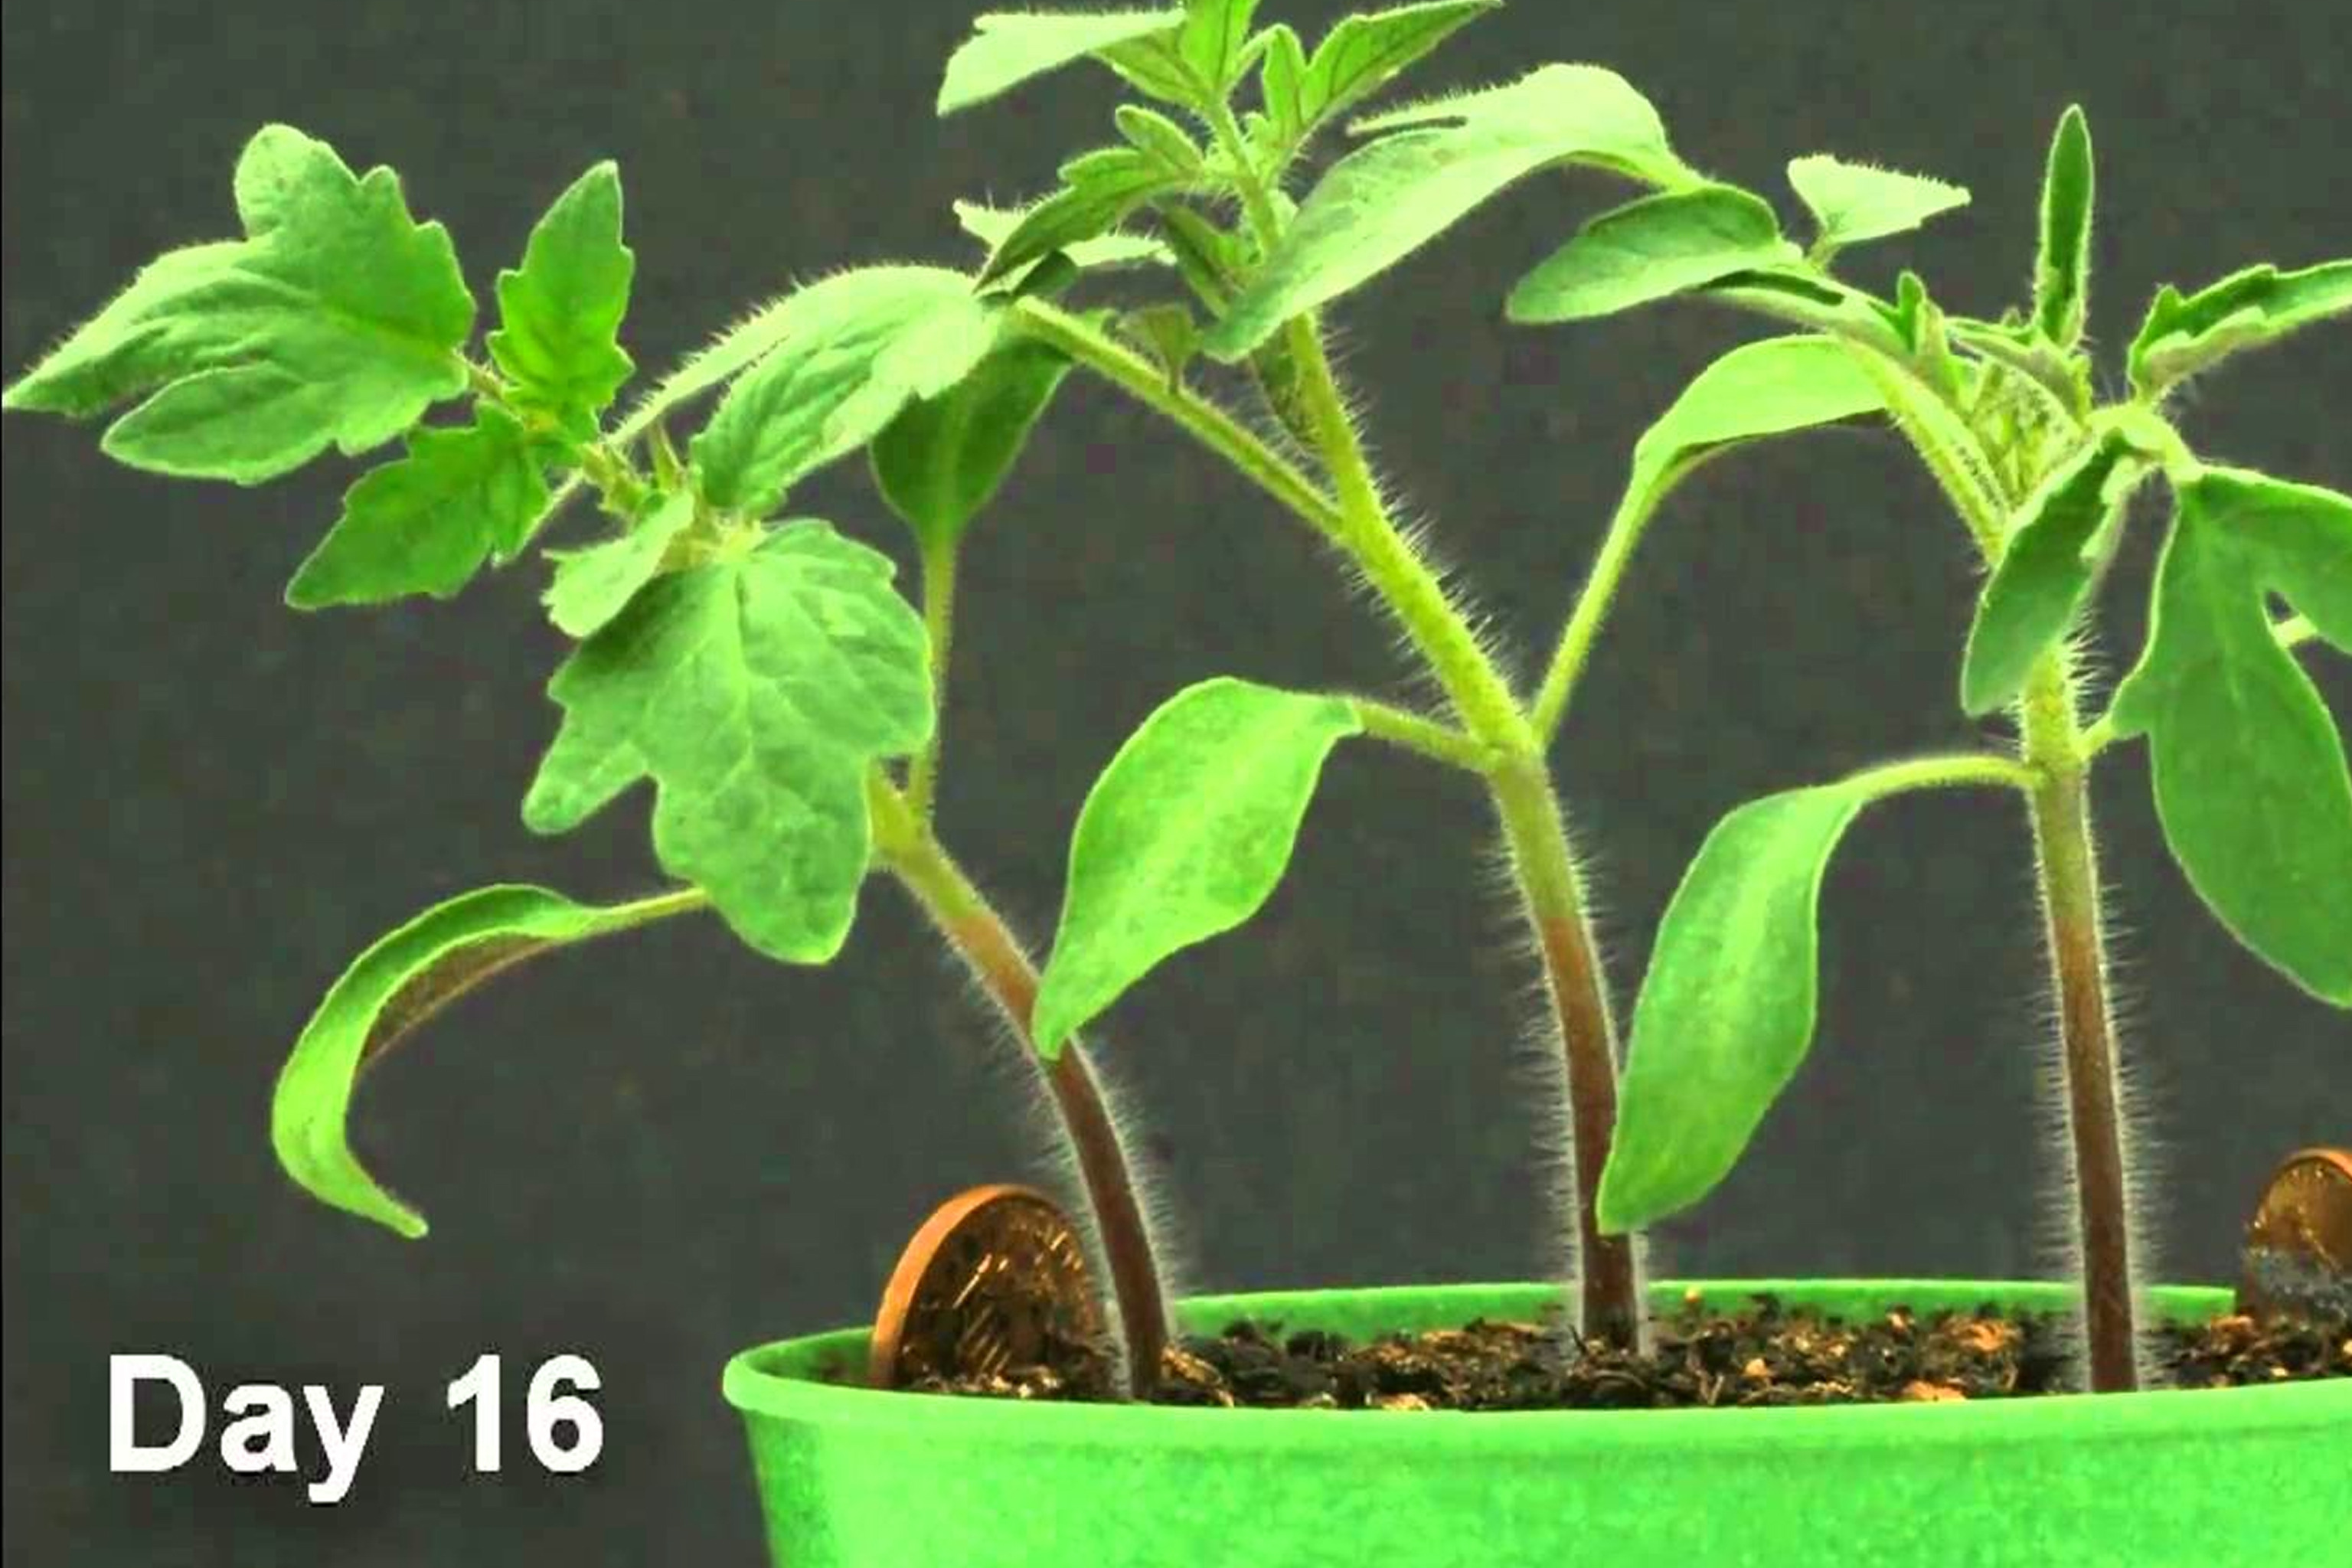
Take the first photo today at a set time and save the file as Day 1 with today’s date.
Step 7
Every day at the same time take one photo of the plant from the marked spot.
Step 8
Every day water the plant according to the seed packet instructions.
Step 9
Label or rename each photo with the date and day number so they stay in order.
Step 10
Once a week move that week’s photos into a single folder on your computer.
Step 11
Open a simple video editor or timelapse app and import the photos in date order.
Step 12
Set the playback speed to 6 frames per second and preview your timelapse.
Step 13
Export the timelapse as an MP4 video file and save it to your computer.
Step 14
Watch your finished timelapse and write down three changes you noticed in the plant’s growth.
Step 15
Share your finished timelapse video on DIY.org
Help!?
I don't have potting soil or a small pot—what can I use instead?
Use a clean container with drainage holes (like a yogurt cup with holes) and fill it with garden soil mixed with compost and a little sand, then leave about 1 cm of space at the top as the instructions say.
What if my photos end up with the plant in different places or the camera moves?
Re-stick masking tape to mark the exact camera and pot positions, set your phone on a tripod or book stack at the same time each day, and turn on fixed focus or airplane mode to prevent accidental movement or notifications.
How can I adapt this activity for younger or older kids?
For younger children, have an adult do the pot filling and camera setup while the child waters and presses seeds, and for older kids add a weekly ruler photo and log plant height in a spreadsheet before importing photos into the timelapse app.
How can we extend or personalize the timelapse project after exporting the MP4?
Use your video editor to add weekly title cards, captions with watering dates from your folders, a ruler overlay for growth measurements, and background music before exporting the MP4 to share on DIY.org.
Watch videos on how to create a time-lapse video of a growing plant
Growth Of Plants, Seed Germination, Plant Growth and Development, Growth Of Plants For Kids, Plants
3 Videos

Growth Of Plants, Seed Germination, Plant Growth and Development, Growth Of Plants For Kids, Plants

Life Cycle of a Plant for Kids! | Learn Parts of a Plant 🌱 | Twinkl USA
HOW TO Make Your Own Plant TIMELAPSE
Facts about plant growth and time-lapse photography
🌱 Many seeds (like beans) can sprout in 3–7 days — perfect for a short time-lapse project!
🎞️ At 24 frames per second, every 24 photos becomes one second of video — so 72 daily photos would make ~3 seconds.
🌞 Plants bend toward light (phototropism), a movement that's especially clear and dramatic in time-lapse.
🌻 Young sunflowers track the sun across the sky each day (heliotropism) — you can watch that in a multi-day time-lapse.
⏳ Some seeds stay viable for decades; a lotus seed once germinated after around 1,300 years!
How do I create a time-lapse video of a growing plant with my child?
What materials do we need to timelapse a plant growing?
What ages is creating a plant time-lapse suitable for?
What are the benefits of making a plant time-lapse with kids?
