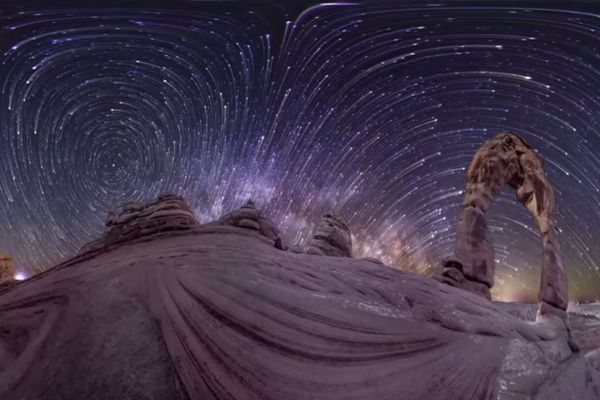
Take a time lapse of a celestial body
Use a phone or camera on a tripod to record a time-lapse of the Moon or stars, learning observation, framing, and basic astronomy.


Step-by-step guide to take a time lapse of a celestial body
Solar System Planets From BIGGEST To SMALLEST! | Planet Sizes For Kids | KLT
Step 1
Pick a clear night and decide whether you will film the Moon or the stars.
Step 2
Check the weather and the Moon phase on a sky app or calendar so you pick the best time.
Step 3
Put on warm clothes and gather your notebook pencil and flashlight with a red filter.
Step 4
Find a dark safe spot with a clear view of the sky and set up your tripod or steady surface there.
Step 5
Mount your phone or camera on the tripod and point it at the Moon or the patch of sky you chose.
Step 6
Set your camera to time-lapse mode and choose an interval: for the Moon use 10–30 seconds per frame and for stars use 2–5 seconds per frame.
Step 7
Lock focus and exposure on the Moon or on a bright star using tap-and-hold or manual settings.
Step 8
Start the time-lapse recording.
Step 9
Check your setup every 15–30 minutes and use the red-filter flashlight only if you need to make tiny adjustments.
Step 10
Stop the recording after your planned duration such as 30–90 minutes for stars or 20–60 minutes for the Moon.
Step 11
Watch your time-lapse video and save the best clip to your device.
Step 12
Share your finished time-lapse of the Moon or stars on DIY.org
Help!?
What can we use if we don't have a tripod, red-filter flashlight, or a sky app?
If you don't have a tripod use a stack of books or a weighted box as a steady surface, make a red filter by taping red cellophane over a regular flashlight, and install a free sky app on your phone to check the Moon phase and weather.
What should we do if the focus or exposure keeps changing during the time-lapse?
If focus or exposure drifts, stop the recording, re-lock focus and exposure using tap-and-hold or manual settings, and firmly reposition the camera on the tripod or steady surface before restarting while checking every 15–30 minutes.
How can we adapt this activity for different age groups?
For younger kids shorten to a 10–15 minute session with an adult setting up the tripod and locking focus/exposure while the child uses the notebook and red-filter flashlight, and for older kids plan longer 30–90 minute star sequences with 2–5 second intervals and let them experiment with manual settings.
What are simple ways to extend or personalize our Moon or star time-lapse?
Enhance your clip by including a nearby foreground silhouette placed near the tripod, adding timestamped notebook observations during the session, and trimming or stitching multiple recordings before saving and sharing on DIY.org.
Watch videos on how to take a time lapse of a celestial body
Movement of the Planets in our Solar System Animation | Twinkl Go!
4 Videos
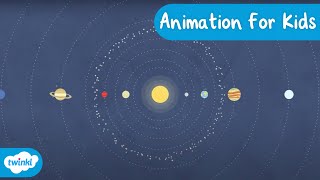
Movement of the Planets in our Solar System Animation | Twinkl Go!
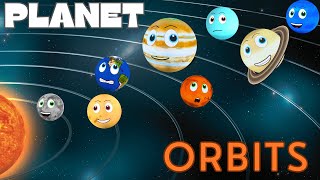
Planet Orbits | Orbit time Comparison | Solar System for Kids

Explore the Wonders of Space: Amazing Celestial Bodies 🌌
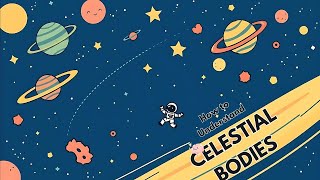
How to Understand Celestial Bodies | The Mystery of Space Explained for Kids!
Facts about astronomy and astrophotography for kids
🌕 The Moon moves about 13° eastward against the background stars each day — you can see that shift in a timelapse!
📷 Shooting one frame every 5 seconds for an hour yields 720 photos — enough for a ~24–30 second timelapse at common playback speeds.
⏱️ Earth rotates roughly 15° per hour, so long exposures make graceful star trails as the sky appears to turn.
🌌 Centering your camera on Polaris (the North Star) makes circular star trails; point elsewhere for sweeping streaks across the sky.
🔭 Modern smartphones with manual exposure controls plus a tripod can capture crisp Moon details and star motion — you don’t always need a telescope.
How do I take a time-lapse of the Moon or stars with a phone or camera?
What materials do I need to record a celestial time-lapse with a phone or camera?
What ages is this Moon or star time-lapse activity suitable for?
What are the benefits, safety tips, and variations for a kid-friendly celestial time-lapse project?
