Support a 10lb load with LEGO®
Design and build a sturdy LEGO structure that safely supports a 10 lb weight, testing braces and beams with adult supervision.



Step-by-step guide to support a 10 lb load with LEGO®
How to Make a LEGO Modular Building
Step 1
Gather all your materials in one clear workspace so everything is easy to reach.
Step 2
Draw a simple plan showing a wide base and at least four vertical columns to hold the weight.
Step 3
Build a wide solid base on the baseplate by overlapping plates and bricks for a strong foundation.
Step 4
Stack bricks to make four equal-height vertical pillars at the corners of your base.
Step 5
Connect the top of the pillars with long flat plates or beams to form a sturdy top platform.
Step 6
Add diagonal braces between pillars using flat plates or Technic beams to make triangle shapes for strength.
Step 7
Strengthen the top platform by adding a second layer of plates so the weight spreads across many studs.
Step 8
Gently press the top with your hand to check for wobble or weak spots.
Step 9
Ask an adult to carefully place half of the 10 lb weight onto the top while you watch for movement.
Step 10
If you see wobbling or shifting, ask the adult to remove the weight before making repairs.
Step 11
Add extra bricks or braces to the weak spots you observed to make the structure firmer.
Step 12
With an adult, carefully place the full 10 lb weight on the top while you watch closely for safety.
Step 13
Share a photo and a short description of your finished LEGO weight-support design on DIY.org.
Help!?
If I don't have a LEGO baseplate or enough flat plates, what can we use instead?
Use a rigid board (stiff cardboard, foam-core, or a wooden tray) under your overlapping plates and bricks so you can still build the wide solid base described in step 3 and anchor the pillars.
When I gently press the top platform it wobbles—what should I check and fix first?
Check that the four vertical pillars are equal height and fully attached to the base (steps 3–4), then add diagonal braces (step 6), overlap more plates on the base, or add extra bricks to the weak spots mentioned in step 11 to reduce wobble.
How can I adapt this activity for younger or older kids?
For younger kids (about 5–8) have an adult pre-build the wide solid base (step 3) and mark pillar locations so the child can stack the bricks (step 4) and press the top (step 7), while older kids (10+) can design triangle braces with Technic beams (step 6), add a second layer of plates (step 8), and plan the adult-supervised 10 lb test.
What are simple ways to extend or personalize the build after it holds the 10 lb weight?
Test incremental weights while recording any wobble, add decorative or color-coded plates and extra top layers (steps 8 and 11), experiment with different diagonal brace layouts using Technic beams (step 6), and then share a photo and short description on DIY.org (step 13).
Watch videos on how to support a 10 lb load with LEGO®
Making a Lightweight Earthquake-proof Lego Structure
4 Videos
Making a Lightweight Earthquake-proof Lego Structure
How to build Your Own Lego Modular Building! | The HermitBrick

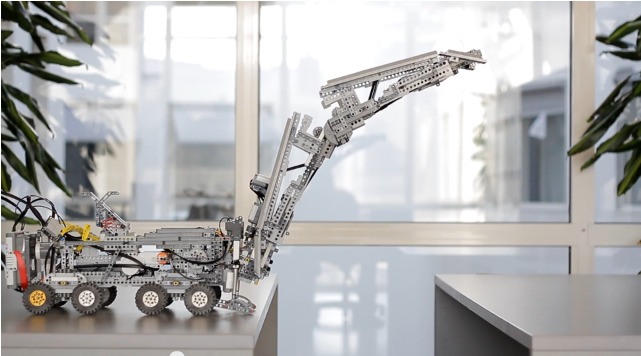
Can This LEGO Cargo Lift Survive Mountain Load?
Lego Towers STEM Challenge
Facts about structural engineering for kids
🧱 LEGO's modern interlocking brick design was patented in 1958.
🔺 Triangles are one of the strongest shapes for frames — that's why trusses use them to resist bending.
⚖️ 10 pounds is about 4.54 kilograms, so your LEGO structure needs to support roughly that mass.
🛠️ Engineers and teachers often use LEGO to prototype and teach real structural concepts because it's fast and modular.
🧪 Adding diagonal bracing (or gussets) can dramatically increase how much weight a model can safely hold.
How do I build a LEGO structure that can safely support 10 pounds?
What materials do I need to support a 10 lb load with LEGO?
What ages is this LEGO load-bearing challenge suitable for?
What safety tips should I follow when testing LEGO structures with weights?
