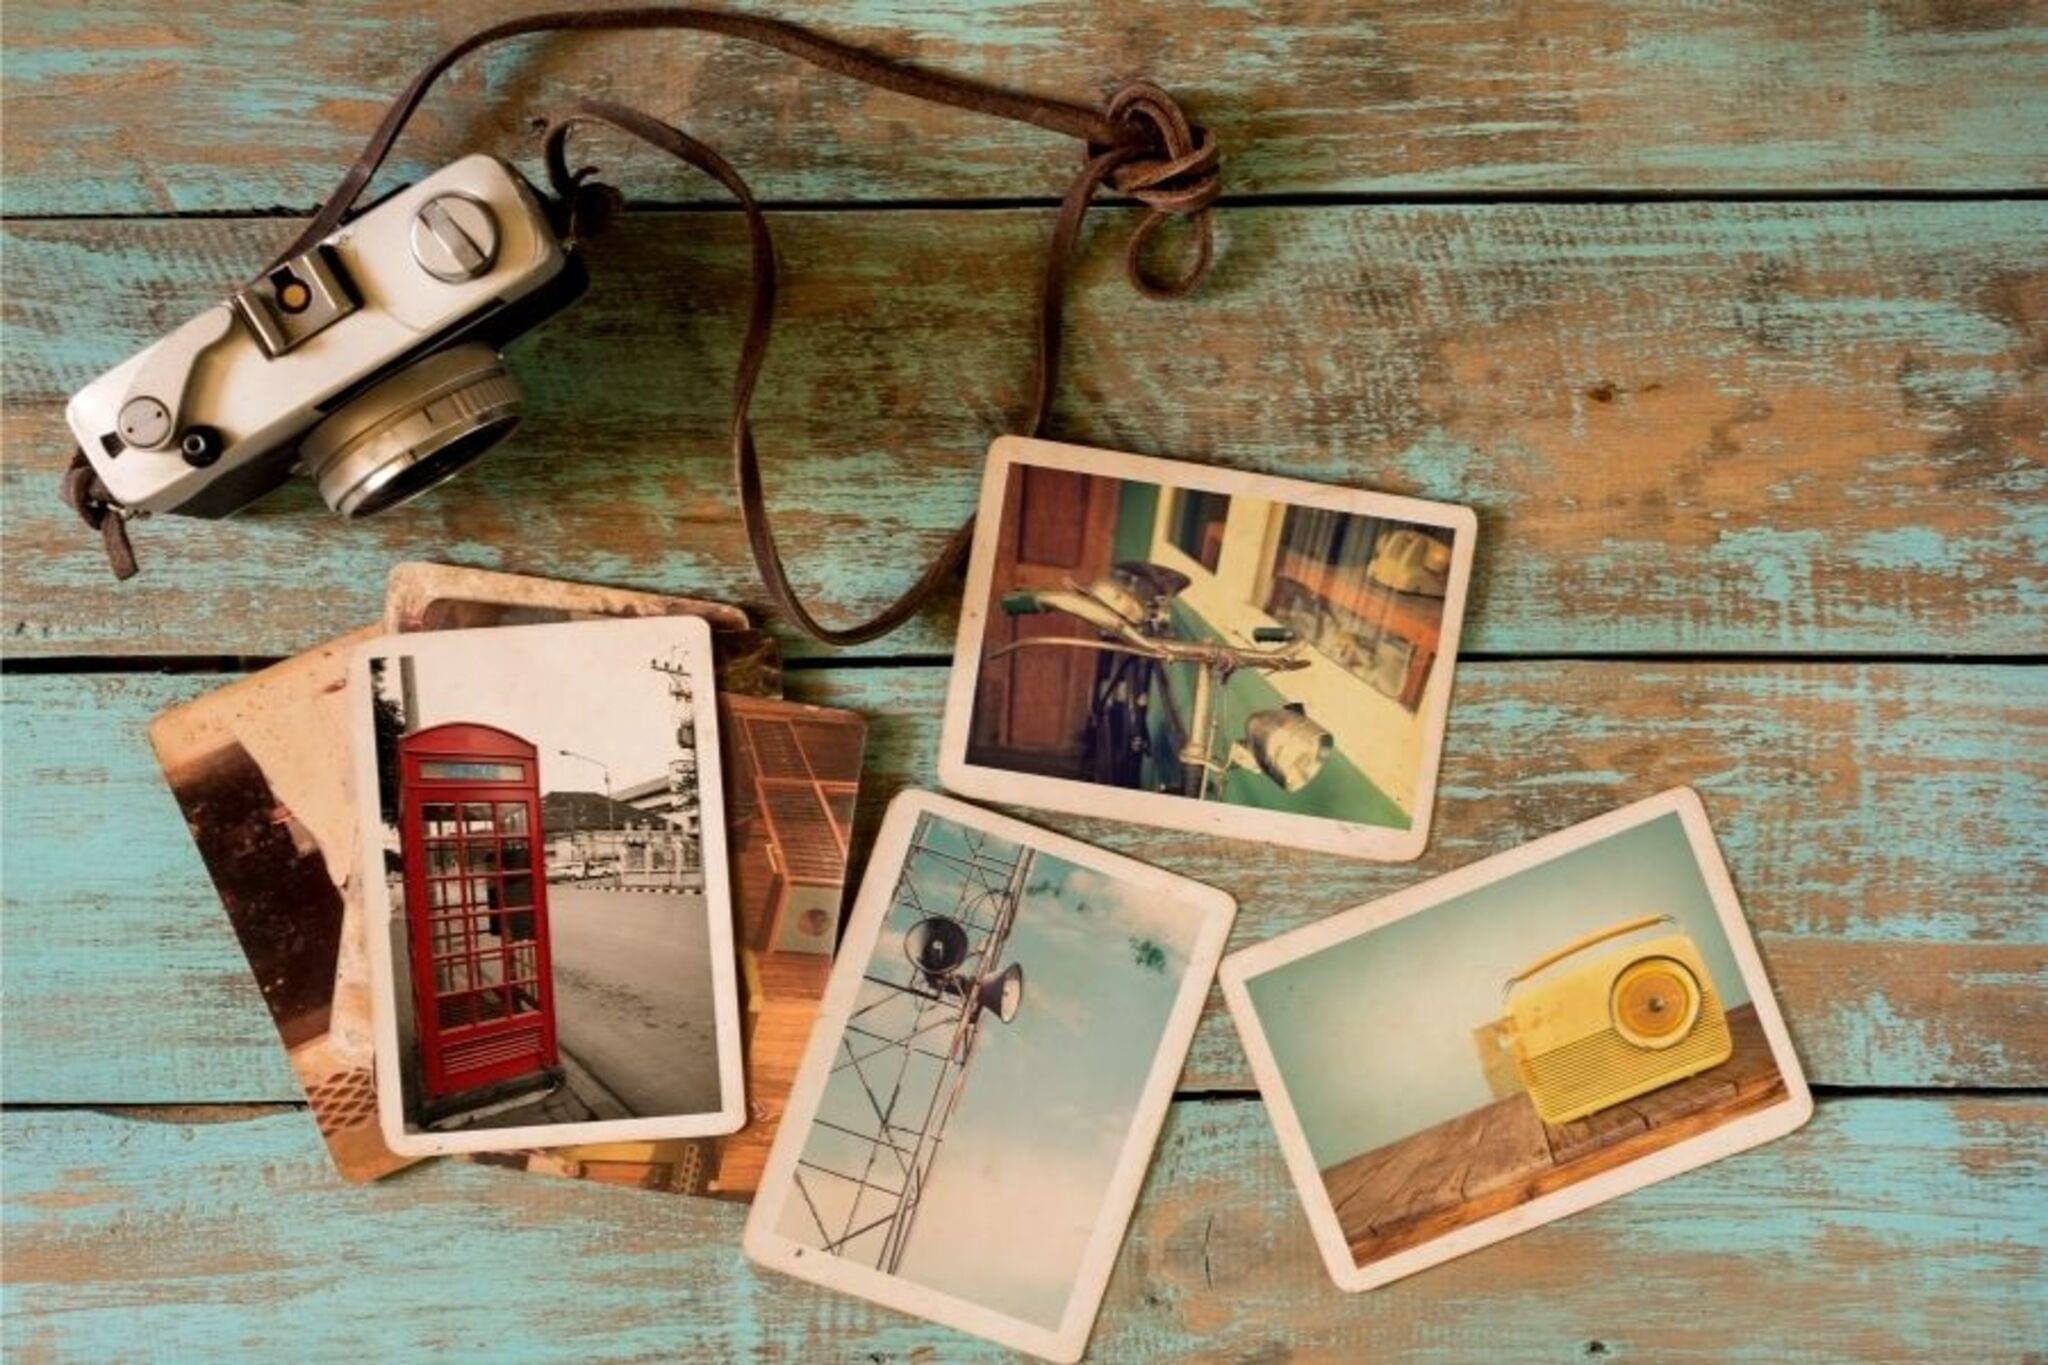
Show us a Favorite Photo
Choose a favorite photo, make a simple cardboard frame and decorate it, then present and explain why the picture is special.


Step-by-step guide to show a favorite photo
The dangers of posting about your kids on social media, explained by a lawyer
Step 1
Choose your favorite photo and hold it up to make sure you love it.
Step 2
Use a ruler and pencil to draw a rectangle on the cardboard the same size as your photo plus a 2 cm border.
Step 3
Cut out the rectangle you drew from the cardboard with scissors.
Step 4
Draw a smaller rectangle in the center of your cardboard piece so the photo will show through.
Step 5
Cut out the smaller rectangle to make the window of your frame.
Step 6
Slide your photo behind the window so it shows through and sits where you like.
Step 7
Secure the photo to the back of the frame with tape or glue so it won’t move.
Step 8
Decorate the front of the frame using colouring materials and stickers to make it special.
Step 9
Tape a loop of ribbon or string to the back top of the frame so you can hang it.
Step 10
Think of three short reasons why this photo is special and say them out loud once.
Step 11
Show your framed photo to a family member or friend and explain the three reasons why it matters to you.
Step 12
Share your finished creation on DIY.org
Help!?
What can we use if we don't have cardboard, ribbon, or a ruler?
Use a clean cereal box or foam board instead of cardboard for the frame, substitute yarn, a shoelace, or a strip of fabric for the ribbon in step 8, and use the straight edge of a book or phone to draw the rectangle in step 2.
My photo keeps sliding or the window looks uneven—what should I do?
Slide the photo until it sits where you like, then follow step 6 and firmly tape or glue all sides to the back of the frame, and trim jagged cuts from step 4 slowly with sharp scissors or have an adult score the cardboard first to keep the window straight.
How can I change this activity for younger or older kids?
For younger children have an adult pre-cut the outer and inner rectangles and let them decorate with stickers and crayons, while older kids can measure the 2 cm border themselves, use a craft knife for cleaner cuts, and add detailed decorations like paint or layered paper.
How can we make the frame more special or longer-lasting?
Protect the photo by placing it in a clear page protector or gluing a piece of clear plastic over the window, write the three reasons and the date on the back, add a magnet or stronger hanging loop instead of ribbon, and embellish the 2 cm border with washi tape, sequins, or small glued trinkets.
Watch videos on how to show a favorite photo
📲 Social Media Safety for Kids | Staying Safe Online | Social Media Safety Day | Twinkl USA
3 Videos

📲 Social Media Safety for Kids | Staying Safe Online | Social Media Safety Day | Twinkl USA

💻 Internet Safety for Kids | Twinkl USA

5 Internet Safety Tips for Kids
Facts about photography and craft projects for kids
📸 The first permanent photograph (a heliograph) was made in 1826 by Nicéphore Niépce after an hours-long exposure!
🖼️ Picture frames became popular in Europe during the Renaissance to show off portraits and altarpieces.
📦 Corrugated cardboard was patented in 1871 by Albert Jones and is lightweight, strong, and great for DIY frames.
✂️ Scrapbooking began as a way to preserve family memories; modern scrapbooking turned it into a huge creative hobby.
🗣️ Telling the story behind a favorite photo helps people feel closer and makes the memory easier to remember.
How do I do the 'Show us a Favorite Photo' activity?
What materials do I need for 'Show us a Favorite Photo'?
What ages is 'Show us a Favorite Photo' suitable for?
What are the benefits, safety tips, and variations for this activity?
