Show some love to your upcycle craft mentor
Create an upcycled thank-you gift using recycled materials like fabric scraps, buttons, and cardboard; decorate it and present it to your craft mentor.


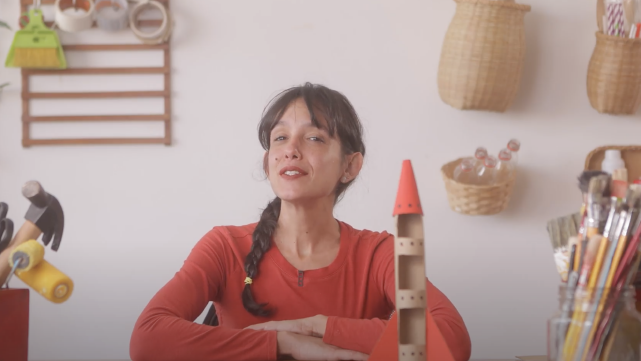

Step-by-step guide to Show some love to your upcycle craft mentor
Step 1
Gather all your materials and put them on a clean table so everything is easy to reach.
Step 2
Pick a shape for your gift base and draw its outline on the cardboard with your pencil.
Step 3
Cut out the cardboard shape carefully with scissors.
Step 4
Lay your fabric scraps on the cardboard without gluing to try different designs and colors.
Step 5
Cut the fabric scraps to the sizes you want for your final design.
Step 6
Apply glue to a fabric piece and press it firmly onto the cardboard base to stick it down.
Step 7
Glue buttons and other small decorations onto the fabric to make your craft sparkly and fun.
Step 8
Use your coloring materials to add drawings or color around the edges for extra decoration.
Step 9
Make a bow or loop with the ribbon and glue it onto your gift as a finishing touch.
Step 10
Give your upcycled thank-you gift to your craft mentor and tell them what you made and why you appreciate them.
Step 11
Share a photo and a short description of your finished creation on DIY.org.
Help!?
What can we use if we don't have cardboard, fabric scraps, buttons, or ribbon?
Replace cardboard with a cereal-box panel for the base, swap fabric scraps with cut-up old t-shirts or colored paper in step 4, glue on stickers or painted pasta instead of buttons in step 6, and use yarn or ribbon from a gift package for the bow in step 8.
What should we do if the fabric won't stick or the buttons keep falling off?
If pieces lift after gluing in step 6, press each fabric piece firmly for 20–30 seconds, add a thin line of school glue or double-sided tape along the edges, and use a drop of stronger craft glue or a glue dot for buttons in step 6.
How can we adapt this project for different ages or skill levels?
For preschoolers, have an adult pre-cut the cardboard in step 3 and offer large fabric pieces and a glue stick for step 6, while older kids can try cutting detailed shapes in step 2, sewing edges, or using hot glue for finer embellishments in steps 6–8 under supervision.
How can we make the thank-you gift more special or long-lasting before sharing it on DIY.org?
After finishing decorations in steps 6–8, personalize with a handwritten message using the coloring materials from step 7, glue a small magnet to the back to turn it into a lasting fridge keepsake, and seal the surface with a clear-drying glue or varnish before photographing for step 10.
Watch videos on how to Show some love to your upcycle craft mentor
Creative Parenting Hacks For Crafty Families
4 Videos
Creative Parenting Hacks For Crafty Families
Arts and Crafts for Kids! Fun Videos for Kids with Oliver and Lucas
Colorful Parenting Crafts And Cool Kids Training Techniques That Will Save Your Time
Upcycled Crafts DIY | Upcycling Ideas For Beginners | Activities For Kids | School Project Ideas
Facts about upcycling for kids
♻️ Upcycling turns old or discarded items into something new and often more valuable—different from recycling, which breaks materials down.
🧵 Even tiny fabric scraps can become colorful patchwork—quilters often use hundreds of scraps to make one blanket.
🎁 Handmade gifts are extra meaningful—many people treasure handcrafted keepsakes longer than store-bought presents.
🌍 Reusing materials in crafts helps cut waste and saves resources, so one small upcycled project can reduce environmental impact.
🪡 Picking up simple skills like sewing, gluing, and decorating opens the door to endless creative upcycle projects.
How do I make an upcycled thank-you gift for my craft mentor?
What materials do I need to make an upcycled thank-you gift?
What ages is this upcycle craft activity suitable for?
What are the benefits of making an upcycled thank-you gift for a mentor?
