Show Off your Pokémon Go w/ Robowipe
Decorate and assemble a robot-themed microfiber screen cleaner (Robowipe) to display Pokémon Go stickers, practice simple crafting, and safely care for your device.


Step-by-step guide to decorate and assemble a Pokémon Go Robowipe
Step 1
Gather all materials on a clean table.
Step 2
Lay the microfiber cloth flat on the table.
Step 3
Place the craft foam or felt sheet under the microfiber cloth so they line up.
Step 4
Trace a simple robot shape on the foam around the cloth using a marker.
Step 5
Cut out the foam robot shape with scissors.
Step 6
Put small dots of fabric glue or strips of double-sided tape on the foam where the cloth will stick.
Step 7
Press the microfiber cloth onto the glued areas of the foam.
Step 8
Smooth the cloth with your palm to make it stick flat.
Step 9
Draw robot details like bolts and a mouth with markers or paint pens.
Step 10
Stick the googly eyes or small buttons onto the robot face using glue or tape.
Step 11
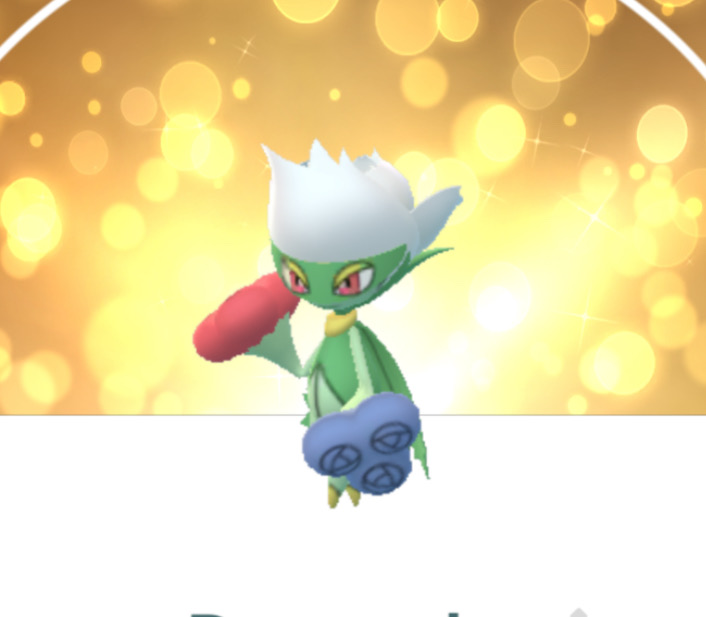
Add Pokémon Go stickers to the robot body where you want to show them off.
Step 12
Attach a small elastic loop or ribbon to the top back of the robot.
Step 13
Trim any extra foam or loose threads around the edges with scissors.
Step 14
Gently test the Robowipe by wiping a turned-off device screen corner to make sure it cleans safely.
Step 15
Share your finished Robowipe on DIY.org.
Help!?
What can we use if we don't have a microfiber cloth or craft foam for the Robowipe?
If you don't have a microfiber cloth, use a soft lint-free cotton T‑shirt or an old lens-cleaning cloth and if you lack craft foam, substitute a felt sheet or thin cardboard (like a cereal box) under the cloth to keep the robot shape during steps 2–6.
My cloth is peeling off after I press it in step 7—how do I fix it?
If the cloth peels after step 7, add more small dots of fabric glue or replace weak glue with strips of double-sided tape on the foam (step 5), press firmly for 30 seconds, and let it dry flat before trimming in step 12.
How can I adapt this activity for younger or older kids?
For younger children, an adult should pre-trace and cut the foam robot (steps 3–4) and supervise gluing and sticking stickers (steps 5–10), while older kids can design freehand, use paint pens for details (step 8), and sew the elastic loop (step 11) for a sturdier Robowipe.
What are some ways to personalize or make the Robowipe last longer?
To enhance and personalize the Robowipe, add a small magnet to the top back and reinforce it with extra foam or a felt patch before attaching the elastic loop (step 11), and seal sticker edges with a clear glue or tape so it survives wiping tests in step 13.
Watch videos on how to decorate and assemble a Pokémon Go Robowipe
HIDDEN TIPS & TRICKS WITH THE POKÉMON GO PLUS+!! How to Maximize this Device!
4 Videos
HIDDEN TIPS & TRICKS WITH THE POKÉMON GO PLUS+!! How to Maximize this Device!
TOP 100 Pokémon GO Tips and Tricks!

Top 15 Tips to MASTER Pokémon GO!

New Season! * Transformation Tales * in Pokémon GO! Keldeo, Megas & More
Facts about screen cleaning and device care
🎮 Pokémon Go reached over 1 billion downloads worldwide by 2019, turning real-world walks into monster-catching adventures!
🤖 The word "robot" comes from the Czech word "robota," meaning forced labor — a fun origin for our Robowipe buddy!
🧽 Microfiber cloths are made of super-fine polyester and polyamide fibers that trap dust and oil much better than ordinary cloth.
🏷️ Vinyl stickers are waterproof and fade-resistant, so your Pokémon decals can stay bright on your Robowipe for a long time.
📱 Using a soft microfiber screen cleaner is safer for screens than paper towels or tissues — it helps prevent scratches and smudges.
How do I make a robot-themed Robowipe to show off Pokémon Go stickers?
What materials do I need to decorate and assemble a Pokémon Go Robowipe?
What ages is this Robowipe craft suitable for?
How does this activity teach device care and what safety tips should I follow?
