Share a Cosplay WIP
Create and photograph a simple cosplay work-in-progress by building one costume piece, documenting steps, and sharing progress with friends, with adult help.


Step-by-step guide to share a cosplay WIP
A Beginner's Guide to Learning to Sew for Cosplay
Step 1
Choose a character you love.
Step 2
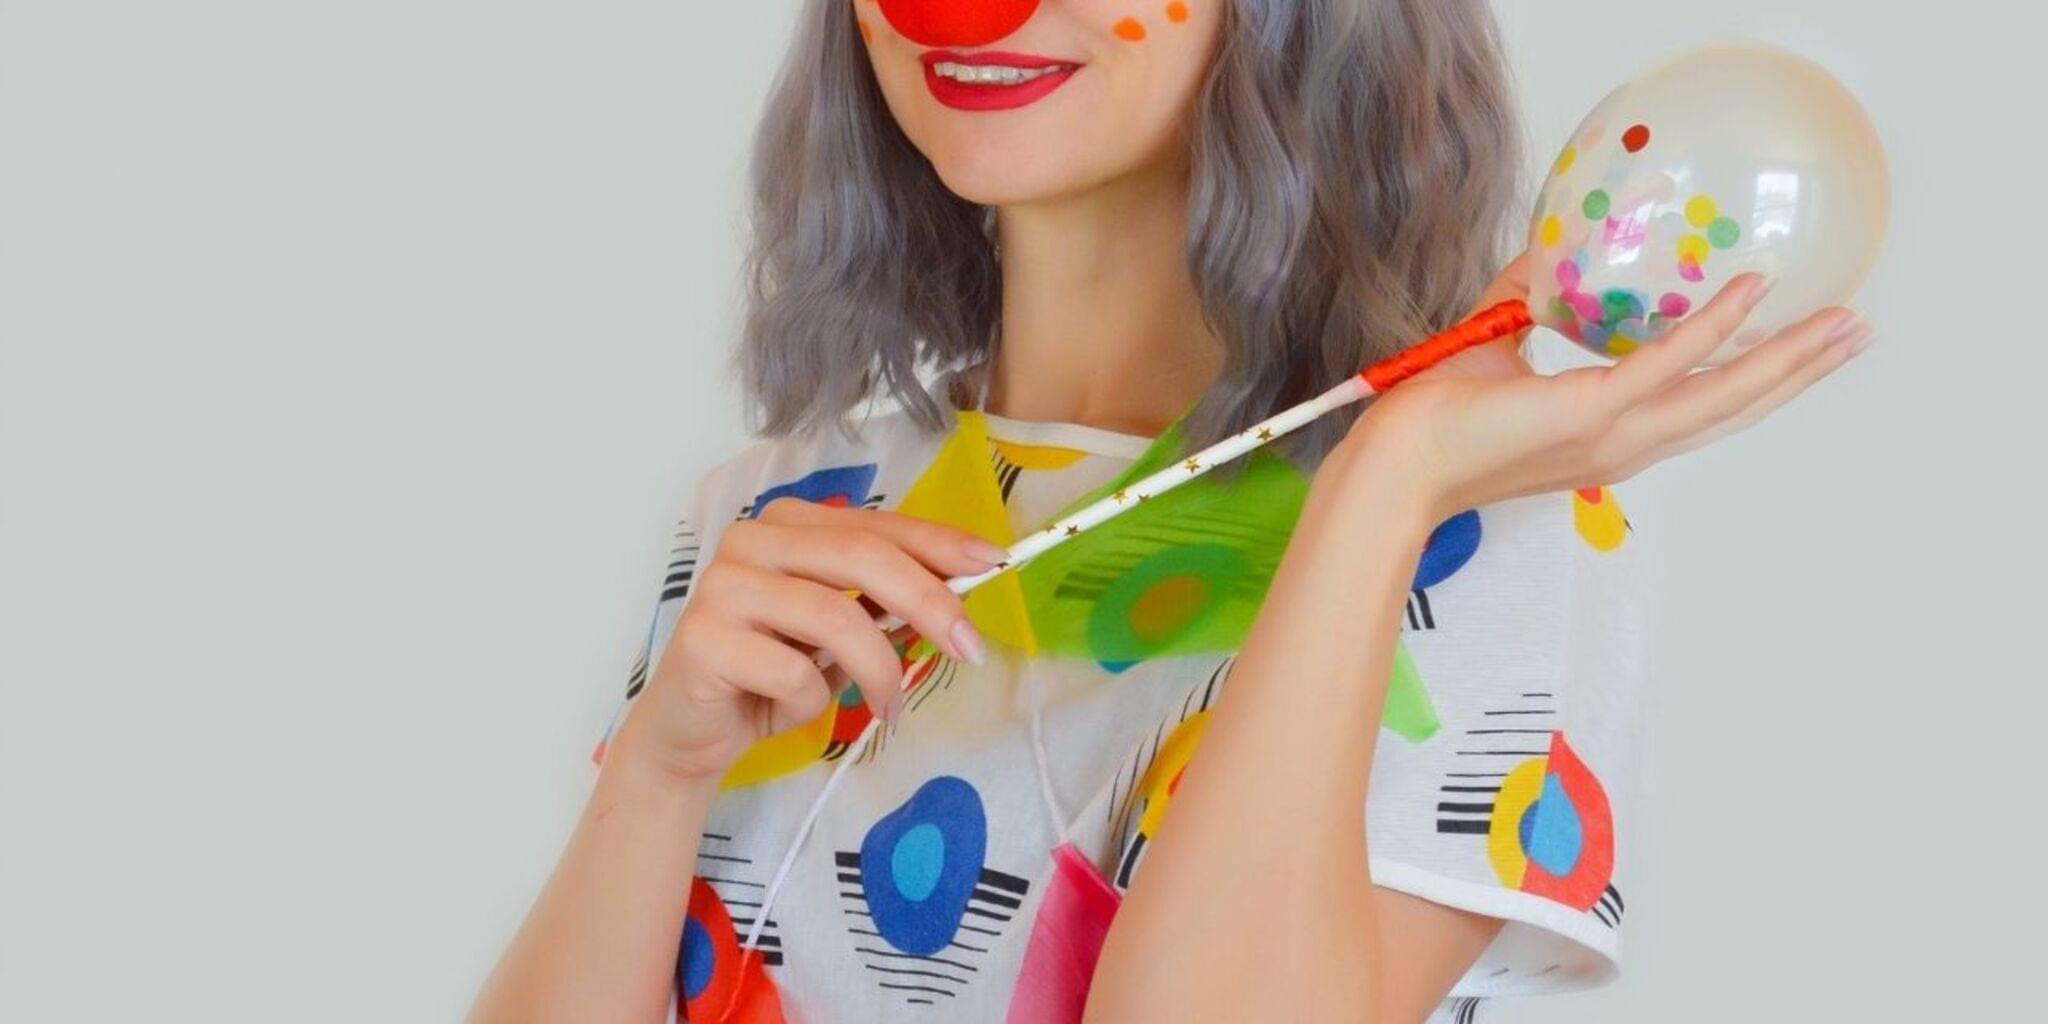
Pick one simple costume piece to make like a mask headband or wrist cuff.
Step 3
Gather the materials from the list.
Step 4
Measure the body part the piece will fit using a strip of scrap paper.
Step 5
Draw the shape of your costume piece on scrap paper using your measurement.
Step 6
Cut out the paper pattern with scissors.
Step 7
Trace the paper pattern onto your chosen material with a pencil.
Step 8
Cut the shape out of the material carefully.
Step 9
Attach any pieces together using glue or tape.
Step 10
Decorate the piece with colouring materials and extra bits.
Step 11
Put the piece on and check the fit for comfort and look.
Step 12
Ask an adult to help take photos of your pattern cut pieces and the piece on you to document your progress.
Step 13
Share your finished creation and progress photos on DIY.org.
Help!?
What can I use if I can't find the recommended material for my mask, headband, or wrist cuff?
If craft foam, felt, or fabric aren't available, trace your paper pattern onto sturdy cardboard or a cereal box, cut it out with scissors, and then decorate with colouring materials and extra bits after attaching pieces with glue or tape.
My cut piece is too tight or keeps falling apart—what should I try?
Re-measure the body part with a new strip of scrap paper and compare it to your paper pattern, add a little extra allowance before tracing onto the chosen material, and reinforce joins by using stronger glue or extra tape when you attach pieces together.
How can I change the activity for different ages?
For younger children skip precise tracing and use pre-cut shapes plus safety scissors and stickers for decorating, while older kids can carefully measure, trace the pattern onto the chosen material with a pencil, cut neatly, and use glue or tape to assemble more detailed pieces.
How can we make the finished costume piece more special or durable?
Make it more special by layering extra bits with glue or tape, adding colour and patterns with colouring materials, reinforcing straps or edges for comfort, and following the 'ask an adult to help take photos' step to document and share the finished creation on DIY.org.
Watch videos on how to share a cosplay WIP
How to get started with Cosplay in 2024!
3 Videos

How to get started with Cosplay in 2024!

How to Work with Costume Patterns!
✨ how to start cosplaying for beginners (step-by-step guide)
Facts about cosplay and costume making for kids
🎭 The word "cosplay" was coined in 1984 by Japanese reporter Nobuyuki Takahashi after seeing fan costumes at a U.S. sci‑fi convention.
✂️ A simple backstitch or running stitch with a needle can create strong seams for many costume WIP pieces — no sewing machine required.
🔥 Worbla and similar thermoplastics become moldable around 90–100°C, letting makers shape armor and props (always use adult help with heat).
📷 Soft natural light from a window or shaded outdoor spot is one of the easiest ways to take clear, flattering WIP photos without special gear.
♻️ Many cosplayers upcycle thrifted clothes, craft foam, and recyclables to save money and reduce waste while building costumes.
How do I create and photograph a cosplay work-in-progress with my child?
What materials do I need to make and photograph a simple cosplay WIP?
What ages is a cosplay WIP activity suitable for?
What safety tips should I follow when doing a cosplay WIP with my child?
