Sculpt Your Dungeons & Dragons Character in LEGO
Design and build a LEGO version of your Dungeons and Dragons character, choosing parts, colors, and poses while learning about storytelling and miniature sculpting.

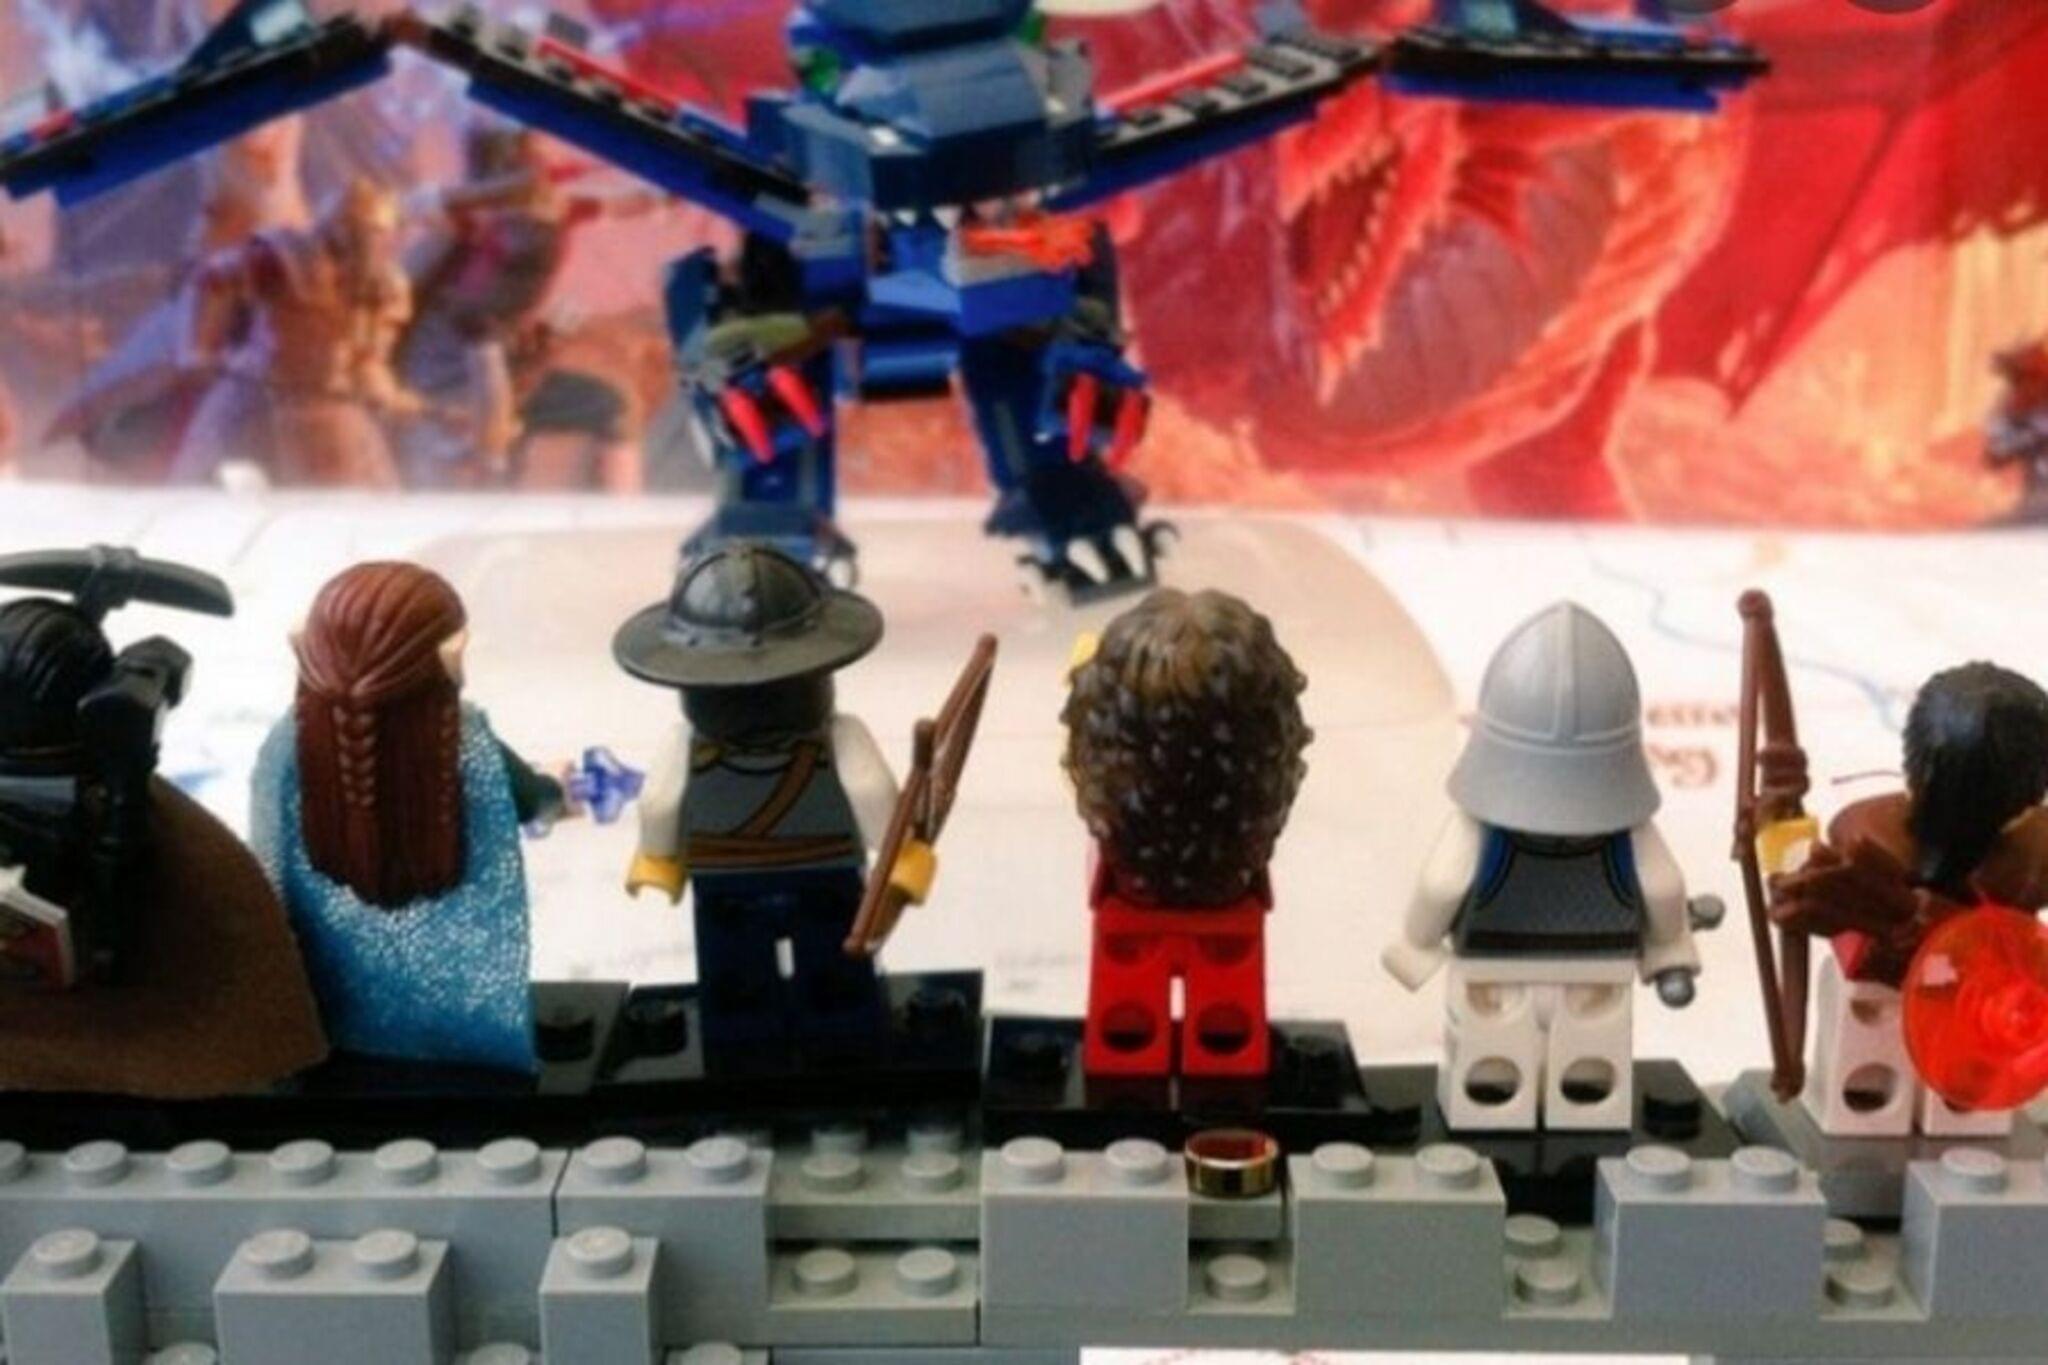

Step-by-step guide to sculpt your Dungeons & Dragons character in LEGO
How Zelda's Puzzle Box Dungeons Work
Step 1
Decide which Dungeons & Dragons character you will sculpt and picture one pose for them.
Step 2
Clear a flat workspace and place all your LEGO pieces where you can reach them.
Step 3
On paper draw a very simple sketch showing the pose colors and one or two special details to add.
Step 4
Choose the main color bricks that match your sketch and put them in separate piles.
Step 5
Build the character’s core body by attaching torso and legs or by stacking bricks to form a mini statue.
Step 6
Add the head hair and face pieces to the body or build a detailed head from small bricks.
Step 7
Create and attach accessories like weapons shields magic items or a cape using small pieces.
Step 8
Adjust the pose or connectors so the figure can stand or hold its weapon without falling.
Step 9
Build a tiny scene on the baseplate such as a rocky patch forest or dungeon tile for your character to stand on.
Step 10
Write your character’s name and one-sentence backstory on paper and place it next to your model.
Step 11
Take a photo of your finished LEGO Dungeons & Dragons character and share your creation on DIY.org
Help!?
What can we use instead of LEGO minifig parts or a baseplate if we don't have them?
If you don't have LEGO bricks or a baseplate, use compatible building bricks or cut sturdy cardboard to baseplate size and substitute paper or printable stickers for small face, hair, or accessory pieces.
My character keeps falling over—how do we fix standing or holding a weapon?
If the figure won't stand or hold its weapon when you follow 'Adjust the pose or connectors,' attach the legs to a larger baseplate, widen the core body by adding extra stacked bricks, or use a small dab of reusable adhesive under the feet.
How should I change the activity for younger or older kids?
For younger children simplify by using large Duplo-style bricks and pre-sorted color piles from 'Choose the main color bricks,' while older kids can 'build a detailed head from small bricks,' craft a complex baseplate scene, and write a longer backstory.
How can we make the character or scene more impressive or unique?
To enhance the project add LED tiles under the 'tiny scene on the baseplate,' custom-paint or swap in unique armor for accessories like shields or capes, or create a short stop-motion video when you 'Take a photo of your finished LEGO Dungeons & Dragons character and share your creation on DIY.org.'
Watch videos on how to sculpt your Dungeons & Dragons character in LEGO
How to play Dungeons & Dragons
4 Videos
How to play Dungeons & Dragons

Minecraft Dungeons Review
10 Things I wish I Knew When I First Started Playing MINECRAFT DUNGEONS!
How Dungeons & Dragons Started
Facts about LEGO building and miniature sculpting
🐉 Dungeons & Dragons was first published in 1974 and invented the idea of guided storytelling with dice.
🧱 Every LEGO stud (the little bump on a brick) has the LEGO logo molded on it — a tiny brand secret!
🧙♂️ A D&D character typically has six ability scores: Strength, Dexterity, Constitution, Intelligence, Wisdom, and Charisma.
🎨 Miniature sculptors often build a simple armature (a wire skeleton) first to get strong poses before adding details.
🧩 Color choices and poses help tell a character's story instantly — like fiery red for bravery or a hunched pose for a sneaky rogue.
How do I sculpt my Dungeons & Dragons character in LEGO?
What materials do I need to sculpt my Dungeons & Dragons character in LEGO?
What ages is sculpting a Dungeons & Dragons character in LEGO suitable for?
What are the benefits of sculpting my Dungeons & Dragons character in LEGO?
