Roblox Design 101 - Build Your Unique Obby
Design and build your own Roblox obby, plan obstacles, customize appearances, test gameplay, and learn simple level building and game design skills.


Step-by-step guide to design and build a Roblox obby
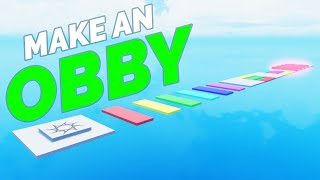
Easiest Obby Ever? Rainbow Shape Obstacle Course Roblox Video
Step 1
Open Roblox Studio and sign in to your Roblox account.
Step 2
Create a new project by choosing the Baseplate or Obby template.
Step 3
Draw a simple map on paper showing the start finish and three obstacle ideas.
Step 4
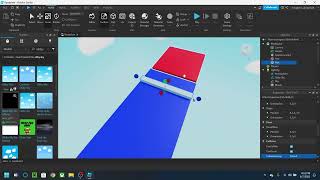
Build the main path and platforms in Studio using Parts to match your map.
Step 5
Place the first obstacle by arranging parts to make a jump or narrow walk.
Step 6
Add a second obstacle type like a moving platform or a bounce pad from the Toolbox.
Step 7
Add a hazard part and change its color and material so it looks dangerous.
Step 8
Place SpawnLocation parts as checkpoints along the course and name them Checkpoint.
Step 9
Decorate your obby by adding props changing colors and adjusting lighting.
Step 10
Open the Avatar Editor and pick a fun outfit for your player.
Step 11
Click Play in Studio and run through your obby to see what works and what feels tricky.
Step 12
Fix any problems you found by moving resizing or adjusting the parts you built.
Step 13
Save your project and publish your game to Roblox so others can play it.
Step 14
Share your finished obby on DIY.org.
Help!?
What can we use if the Toolbox moving platform or bounce-pad asset is missing?
If the Toolbox asset is missing, build a moving platform by placing a Part (from the Build menu) and scripting movement with TweenService or BodyPosition, and make a bounce pad by using a Part with a touched script that adds upward velocity as in the 'Add a second obstacle' step.
My players fall through parts or the course feels broken when I click Play—how do I fix that?
When Play shows clipping or falling, follow the 'Fix any problems' step by checking that Parts are Anchored and CanCollide is enabled where needed, move or resize overlapping Parts, and confirm SpawnLocation checkpoints are placed and named 'Checkpoint'.
How can I change this activity for younger kids or make it harder for older kids?
For younger kids, use the Baseplate template, draw a very simple map with three large platforms (step 3) and only easy jumps, and for older kids add moving obstacles from the Toolbox, custom scripts, tighter platform spacing, and advanced lighting tweaks in the 'Decorate your obby' step.
What are easy ways to personalize and improve the obby before publishing and sharing on DIY.org?
Personalize your obby by choosing a fun outfit in the Avatar Editor, adding themed props and custom colors during 'Decorate your obby', inserting sound or music with Sound objects, adding collectibles or a simple leaderboard script, then Save and Publish as indicated in the final steps.
Watch videos on how to design and build a Roblox obby
🔥 How to Make an Obby on Roblox Studio | Beginners Scripting Tutorial 🎮
4 Videos
🔥 How to Make an Obby on Roblox Studio | Beginners Scripting Tutorial 🎮

(ALL LEVELS) Fun Platform Game: Roblox "Easy Obby" Obstacle Course!!
Roblox Obby Tutorial: Create Your Own Epic Obstacle Course Game!
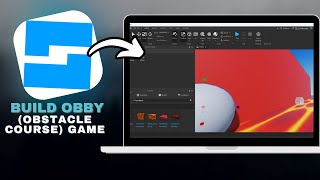
How to Build Obby (Obstacle Course) Games in Roblox in SECONDS!
Facts about game design for kids
🎮 Roblox is a platform where creators can publish games for millions of players and earn virtual currency through a creator economy.
🛠️ Roblox Studio is a free game-building tool that includes drag-and-drop building, terrain tools, and a playtest simulator for trying your obby as you build.
🧑💻 Roblox games use Lua (Roblox Lua), a beginner-friendly scripting language perfect for adding moving platforms, timers, and custom obstacles.
🏁 Many obbys use timers and leaderboards so players can race for the fastest completion time—speedrunning an obby is a popular challenge!
🧩 Great level design balances challenge and fairness: designers often iterate and playtest with friends to make obstacles fun, not frustrating.
How do you design and build a Roblox obby?
What materials and tools do I need to build a Roblox obby?
What ages is Roblox obby building suitable for?
What are the benefits of designing and building Roblox obbys?


