Put Together a Fashion Cosplay
Design and assemble a child friendly fashion cosplay outfit using thrifted clothes, simple sewing or gluing, and handmade accessories while planning colors and character details.


Step-by-step guide to put together a fashion cosplay
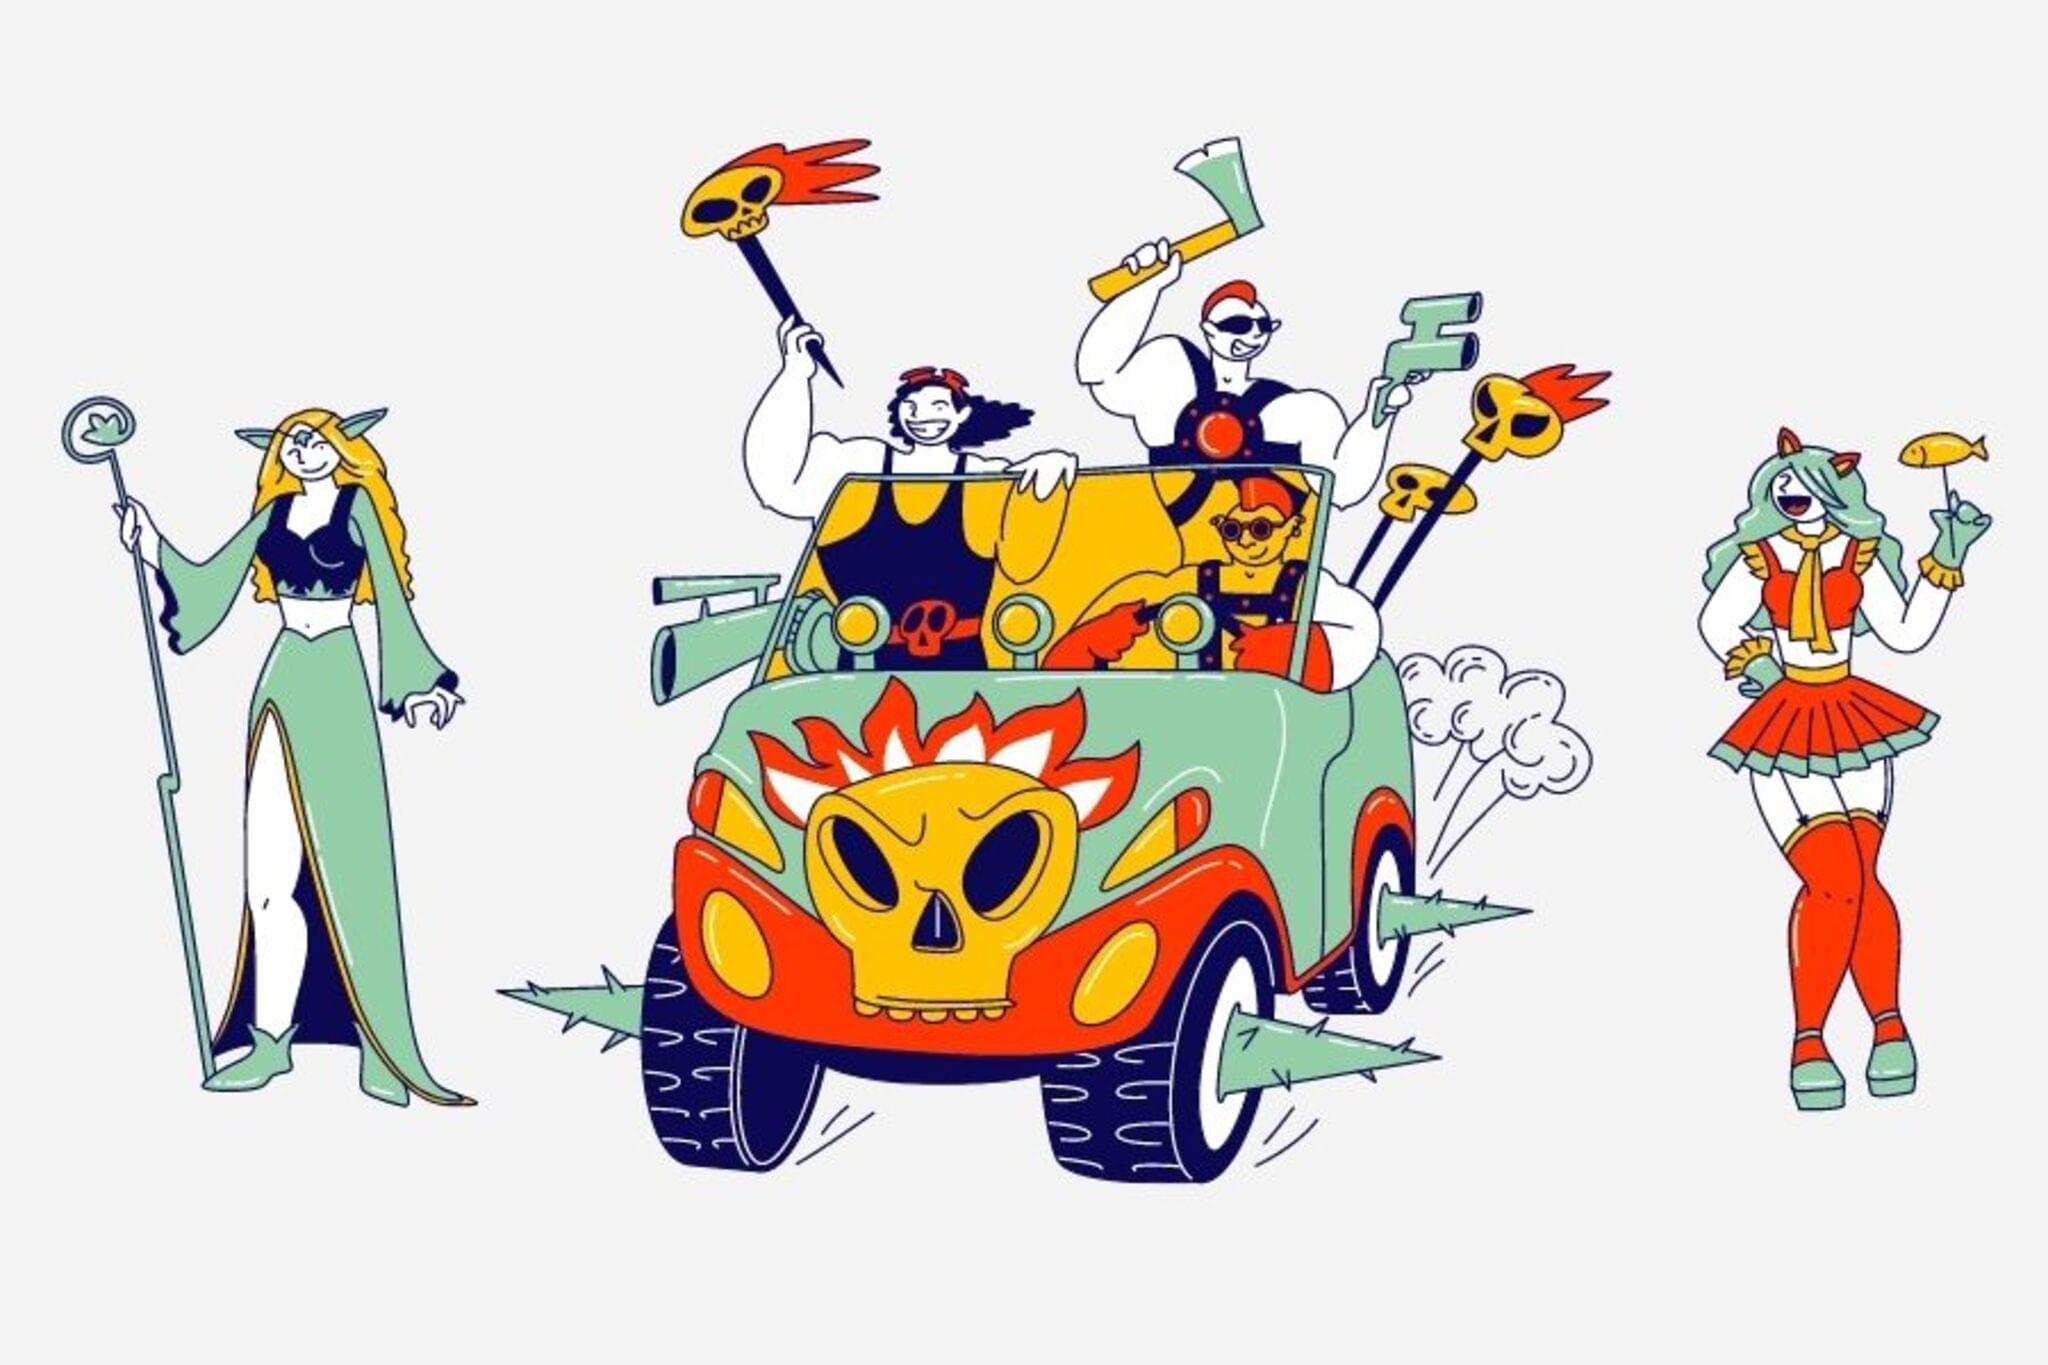
DIY Starfire Costume | Teen Titans Cosplay on a Budget
Step 1
Choose a character to cosplay and pick 2 or 3 main colors you want to use.
Step 2
Find a thrifted top and bottom or a dress that has the right shape or color for your character.
Step 3
Try on the clothes to check the fit and make sure you can move comfortably.
Step 4
Lay the outfit flat on the floor and place fabric scraps and trims around it to imagine the final look.
Step 5
Draw a simple sketch of where you want decorations accessories and color accents to go.
Step 6
Cut fabric scraps or felt into shapes like stars stripes or appliqués for the costume details.
Step 7
Attach your cut decorations to the clothes using fabric glue or by sewing with needle and thread.
Step 8
Make one simple accessory like a headband belt or wrist cuff from felt craft foam elastic or trim.
Step 9
Try on the full outfit with the accessory and use safety pins or small stitches to fix any loose pieces.
Step 10
Add final color details with colouring materials and trim any rough edges with fabric scissors.
Step 11
Take photos of your finished cosplay and share your creation on DIY.org
Help!?
What can we use if we don't have fabric glue, felt, or thrifted clothes?
If you don't have fabric glue or felt, cut shapes from an old cotton T‑shirt or scrap fabric and attach them with small hand stitches (step 6) or temporary fabric tape while using a regular top or dress from your wardrobe as the thrifted substitute (step 2).
My decorations keep falling off when I move—how do I fix that?
If decorations you attached in step 7 come loose during the full try-on in step 9, reinforce them with tiny hand stitches using needle and thread or secure them temporarily with safety pins before final gluing or sewing.
How can I adapt this activity for younger or older kids?
For younger kids, have an adult pre-cut felt pieces and let them place and glue decorations in step 7 and make a simple headband in step 8, while older kids can create a detailed sketch in step 5, hand-sew appliqués in step 7, and add painted accents in step 10.
How can we extend or personalize the cosplay beyond the basic steps?
To personalize the outfit after step 10, add fabric paint details or sew on unique trims and pockets in step 7, or tuck battery-powered LED trim under seams for a light-up effect before taking final photos in step 11.
Watch videos on how to put together a fashion cosplay
Make a DIY Spider-Man Costume! (Homecoming)
4 Videos
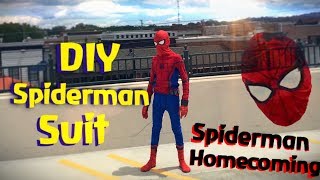
Make a DIY Spider-Man Costume! (Homecoming)
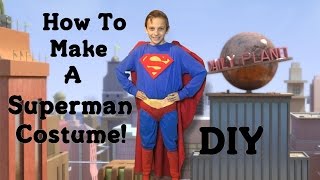
Make a DIY Superman Costume!
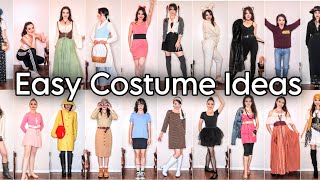
DIY last minute costumes! 20+ Halloween and cosplay ideas from my thrifted closet

How to Make an Easy Cape (Halloween, Cosplay, or Fall Fashion)
Facts about costume design and upcycling for kids
🧵 Kids can learn basic stitches like the running stitch and whip stitch in just one afternoon and use them to mend or decorate clothes.
♻️ Thrift stores often sell clothes for just a few dollars, making them perfect for building a cosplay on a small budget.
👗 Many cosplayers DIY most of their outfits—sewing, gluing, and crafting accessories is a huge part of the fun!
🎭 The word 'cosplay' comes from 'costume play' and was popularized in Japan during the 1980s.
🎨 Using a color wheel to pick 2–3 matching colors (complementary or analogous) helps a character outfit really pop.
How do I put together a child-friendly fashion cosplay outfit?
What materials do I need to design and assemble a kid’s cosplay from thrifted clothes?
What ages is a fashion cosplay project suitable for?
What safety tips should I follow when making a child’s cosplay outfit?
