Practice Movement in Calligraphy
Practice basic calligraphy strokes and letter movements using a marker or brush pen, making practice sheets to improve control and flow.


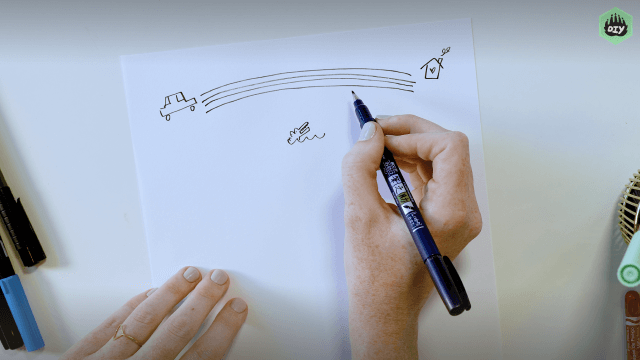

Step-by-step guide to Practice Movement in Calligraphy
Step 1
Lay out your materials on a clean flat surface so everything is easy to reach.
Step 2
Use your pencil and ruler to draw three horizontal guide lines across the paper: a baseline a midline and an ascender line.
Step 3
Hold the marker gently between your thumb and pointer finger so it can move smoothly.
Step 4
On scrap paper make ten light upward strokes lifting pressure so each stroke stays thin.
Step 5
On scrap paper make ten downward strokes pressing slightly so each stroke becomes thicker.
Step 6
On scrap paper practice a compound curve ten times by starting with a thin upstroke then curving into a heavier downstroke.
Step 7
Draw three rows of pencil guide lines with your ruler on a fresh sheet for your practice worksheet.
Step 8
In the top row draw ten thin upstrokes and thick downstrokes slowly following your guide lines.
Step 9
In the middle row draw ten compound curves slowly keeping upstrokes thin and downstrokes thick.
Step 10
In the bottom row write the letters i n m o five times each slowly focusing on thin upstrokes and thick downstrokes.
Step 11
Gently erase the pencil guide lines so your practice sheet looks clean.
Step 12
Share a photo of your finished calligraphy practice sheet on DIY.org so others can see your progress.
Help!?
What can we use instead of the marker if we can't find one?
If you don't have a brush marker, use a soft chisel-tip highlighter, a felt-tip pen, or a regular pen and make downstrokes thicker by pressing harder or tracing over them while still holding the tool gently between your thumb and pointer finger.
My upstrokes are coming out thick or shaky—how can I fix that?
Slow down and repeat the scrap-paper exercises (ten light upward strokes and ten downward strokes), focusing on lifting pressure for upstrokes and using your ruler-drawn guide lines to keep each stroke steady.
How can I change the activity for younger or older kids?
For younger children widen the three horizontal guide lines and use a thick marker with big, slow strokes and fewer repetitions, while older kids can tighten the guide-line spacing, increase repetitions per row, and practice the bottom-row letters i n m o at a smaller size for more precision.
How can we make the practice sheet more creative before sharing on DIY.org?
After you gently erase the pencil guide lines, personalize the sheet by adding colored accents or metallic ink to embellish the thin upstrokes and thick downstrokes or write a decorative nameplate using your practiced strokes before photographing it for DIY.org.
Watch videos on how to Practice Movement in Calligraphy
Calligraphy Alphabet For Beginners - a to z With Brush Pen (Tutorial)
4 Videos
Calligraphy Alphabet For Beginners - a to z With Brush Pen (Tutorial)
5 Things to Keep in Mind while Learning Calligraphy as a Beginner
How To: Calligraphy & Hand Lettering for Beginners! Tutorial + Tips!
Learn Calligraphy in 5(ish) Minutes With Just a PENCIL!
Facts about calligraphy and hand lettering
🖋️ Calligraphy has been practiced for thousands of years — some written styles date back over 2,000 years!
✍️ Repeating basic strokes builds muscle memory: just a few minutes a day can make your movements steadier and smoother.
🖌️ Brush pens let you get thick downstrokes and thin upstrokes without changing nibs, which makes them a beginner favorite.
🔡 Styles like Copperplate and Spencerian rely on pressure contrast (heavy downstrokes, light upstrokes) to look elegant.
📄 Gridded practice sheets with slant lines and stroke boxes help you measure consistency and track fast improvements.
How do you practice movement in calligraphy?
What materials do I need for calligraphy movement practice?
What ages is practicing calligraphy movements suitable for?
What are the benefits and safety tips for practicing calligraphy movements?
