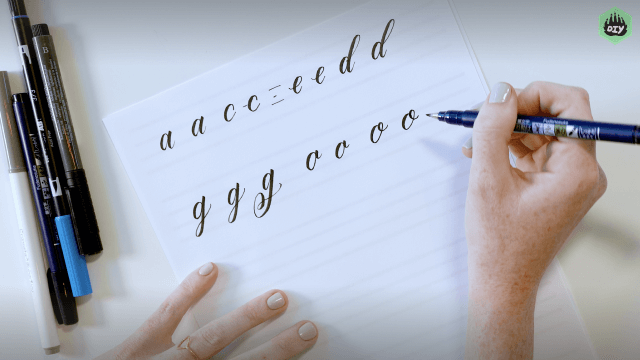
Practice letters with O shape - a, c, e, d, g, o, q
Practice letters using an O shape: a, c, e, d, g, o, q by tracing, forming with clay, and decorating each finished letter.


Step-by-step guide to practice O-shaped letters (a, c, e, d, g, o, q)
Step 1
Lay out your tray or mat and put all your materials on it so everything is easy to reach.
Step 2
Draw seven big O shapes spaced across the paper using your pencil.
Step 3
Write the letters a c e d g o q next to or under each O so you know which letter to make.
Step 4
Trace over each O shape three times with your pencil to practice making smooth circles.
Step 5
Turn each traced O into its letter on paper by adding the small extra marks for each one (for example a add a short vertical and a tail c leave the right side open e add a little middle line d add a vertical on the right g add a tail o leave as is q add a tiny tail).
Step 6
Pinch off seven equal sized pieces of clay and roll each into a smooth ball.
Step 7
Roll each clay ball into an O shaped ring with your fingers so you have seven clay O shapes.
Step 8
Change each clay O into the matching letter by adding tiny clay pieces or pressing with a toothpick to make tails lines or openings to copy your paper letters.
Step 9
Place each finished clay letter next to its paper partner to compare their shapes.
Step 10
Decorate each paper letter with crayons or markers using colors and patterns you like.
Step 11
Add texture or color to each clay letter by pressing a toothpick gently or by pinching tiny clay decorations onto them.
Step 12
Point to each letter and say its name out loud so you can practice saying them while you look.
Step 13
Share a photo or description of your finished paper and clay letters on DIY.org
Help!?
What can we use if we don't have modeling clay or a toothpick?
If you don't have modeling clay, use playdough or homemade salt-dough to pinch off seven pieces and roll into O rings, and substitute a wooden skewer or clean craft stick for pressing tails and textures.
My clay letters keep losing their tails or falling apart—what should I try?
Lightly score and press extra tiny clay pieces onto the joined areas with a toothpick or skewer and smooth the seams with a damp fingertip after pinching and rolling the rings (Steps 6–9) so tails stay attached and rings don't fall apart.
How can I adapt this activity for younger or older kids?
For toddlers, draw bigger O shapes, have them trace once and use thicker, easier-to-handle clay rings with adult hand-over-hand help for adding tails, while older kids can trace three times precisely, add smaller clay details, and label sounds as they place each clay letter next to its paper partner.
How can we make this activity more challenging or long-lasting?
Turn the decorated paper and clay letters into a keepsake by baking salt-dough or air-drying the clay, then glue on magnets to make a matching fridge game or display as a follow-up to decorating and comparing shapes (Steps 12–15).
Watch videos on how to practice O-shaped letters (a, c, e, d, g, o, q) by tracing, forming with clay, and decorating
How to Write Letters for Children - Teaching Writing ABC for Preschool - Alphabet for Kids
3 Videos
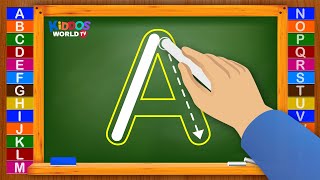
How to Write Letters for Children - Teaching Writing ABC for Preschool - Alphabet for Kids

Learning How to Write the English Alphabet Uppercase and Lowercase Letters
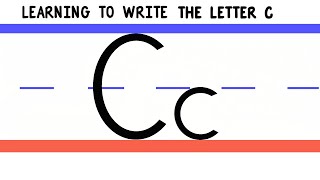
Write the Letter C - ABC Writing for Kids - Alphabet Handwriting by 123ABCtv
Facts about handwriting and fine motor skills for kids
⭕ The lowercase letters a, c, e, d, g, o and q all build from the same round 'o' shape—great for teaching with circles!
✍️ Tracing letters helps kids build handwriting muscle memory—short, repeated practice makes shapes more automatic.
🧠 Forming letters from clay boosts fine motor skills and hand strength, which supports neater writing later on.
🎨 Decorating finished letters with colors, stickers, or texture adds sensory clues that help kids remember each shape.
🧩 Recognizing the shared 'o' shape across letters helps children generalize shapes and speeds up reading readiness.
How do I practice letters using an O shape (a, c, e, d, g, o, q)?
What materials do I need to practice letters with an O shape?
What ages is this O-shape letter practice suitable for?
What are the benefits and variations of practicing letters with an O shape?
