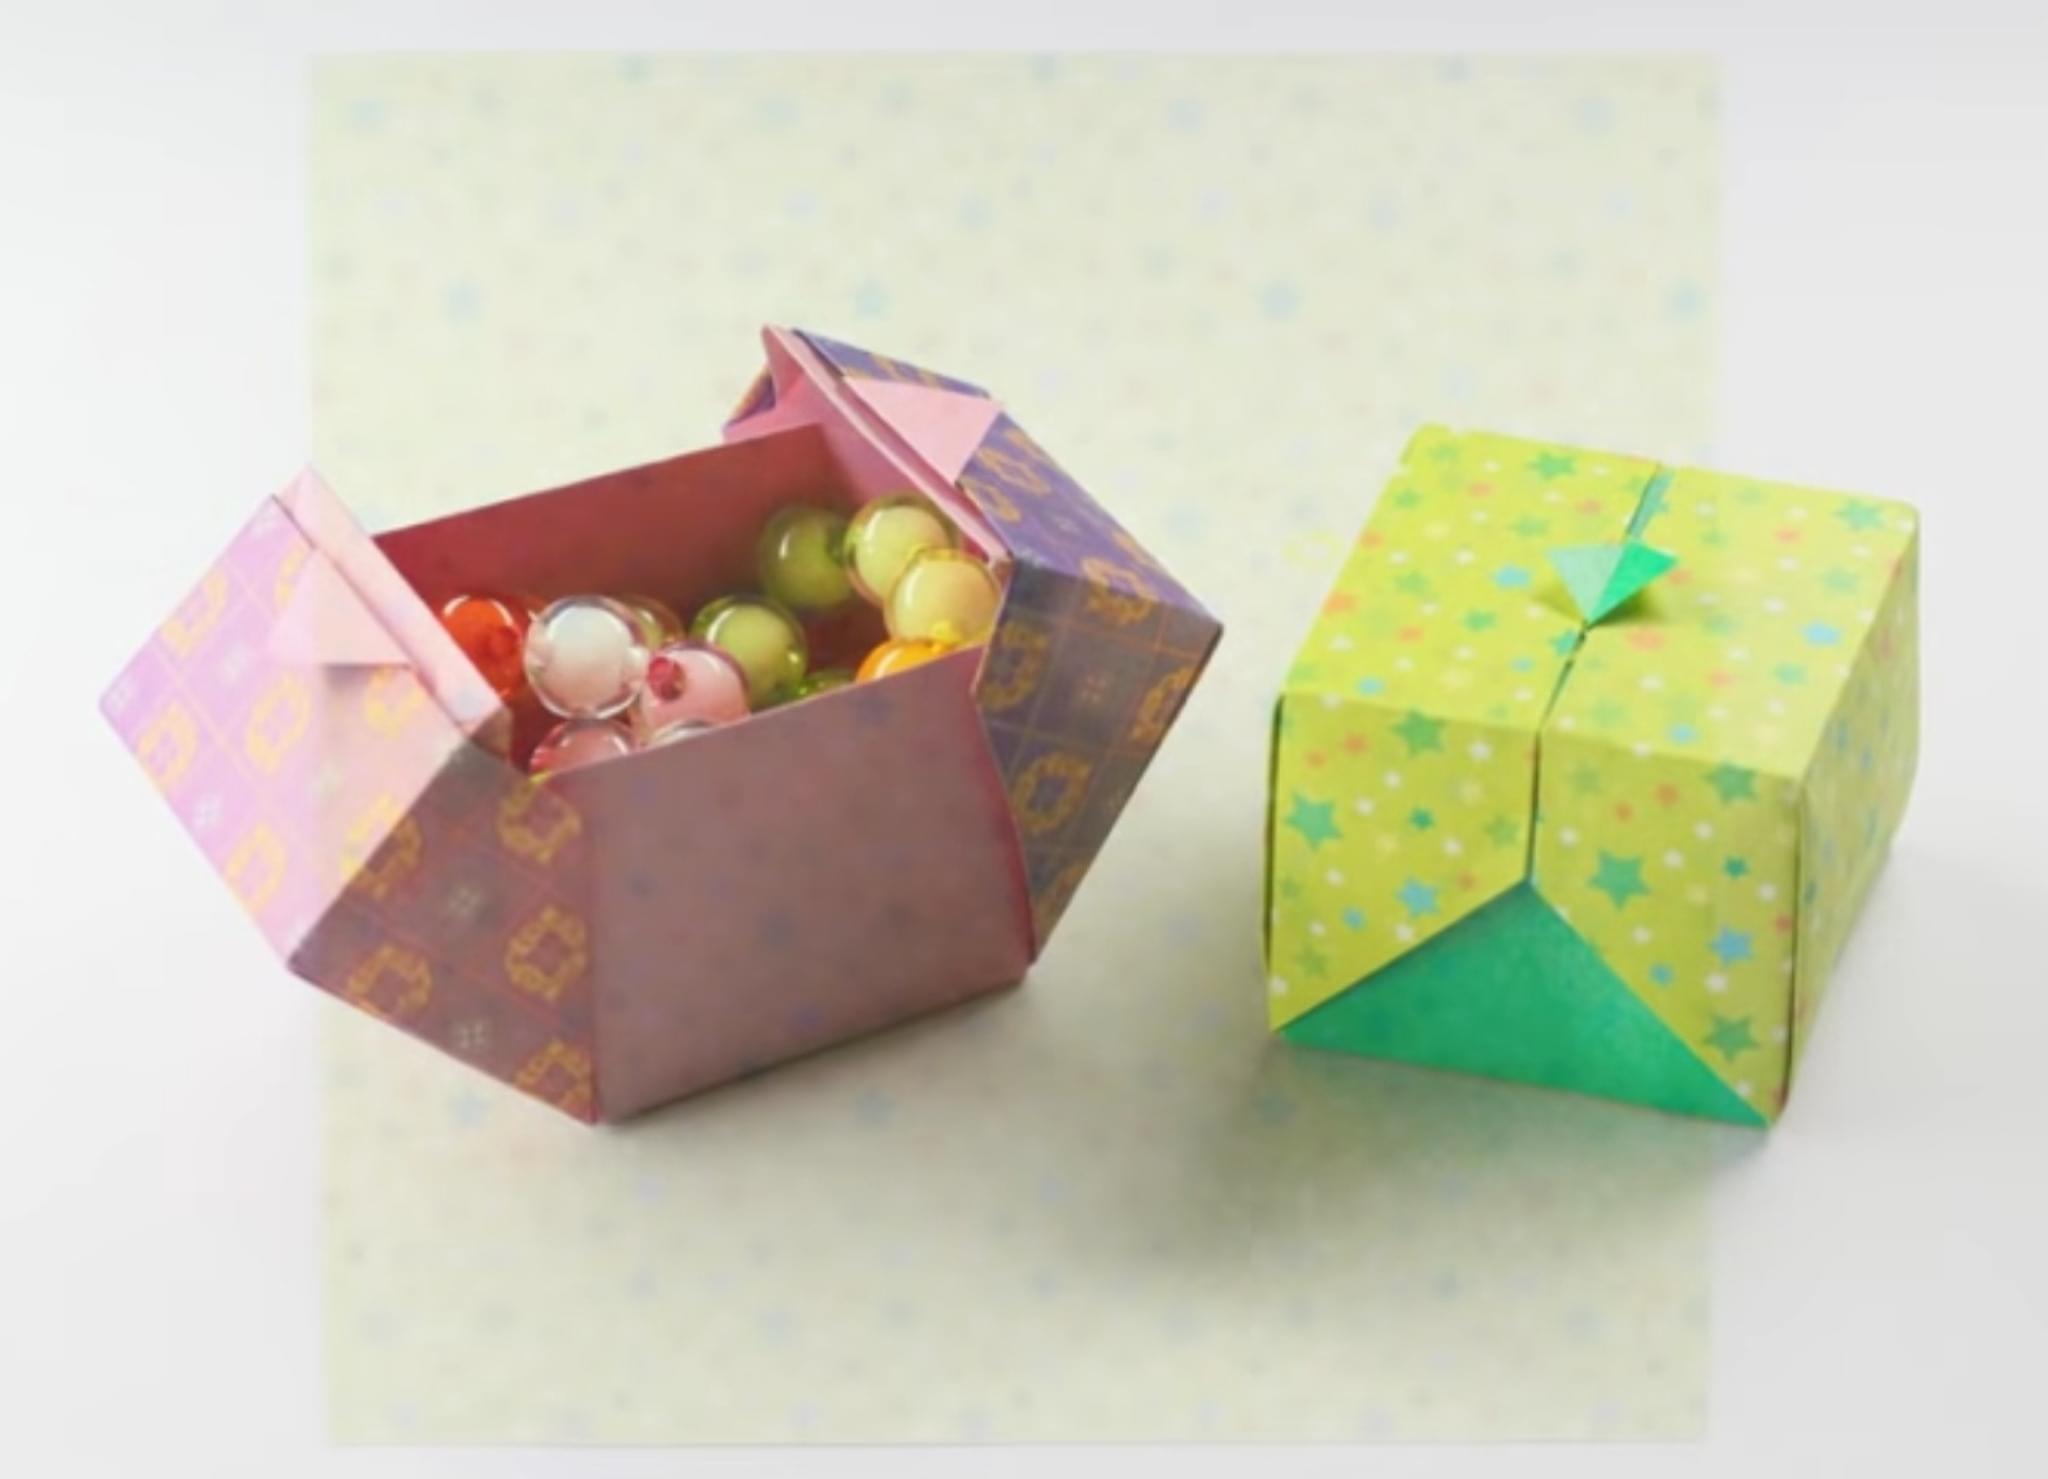
Origami: Build an Exquisite GiftBox
Make an origami gift box using square paper, fold precise creases, decorate it, and learn measurements, patience, and spatial skills.


Step-by-step guide to make an origami gift box
How to Make Origami Surprise Box 🎁 | Easy Step by Step Tutorial | DIY Paper Gift Box
Step 1
Place one sheet of square paper color side down on a flat table.
Step 2
Fold the paper in half left to right and make a sharp crease.
Step 3
Unfold the paper to reveal the vertical center crease.
Step 4
Fold the paper in half top to bottom and make a sharp crease.
Step 5
Unfold the paper to reveal the horizontal center crease.
Step 6
Fold all four corners so their points meet at the center and crease each corner.
Step 7
Fold the left and right edges into the center line and make crisp creases.
Step 8
Unfold only the left and right edge folds while keeping the corner folds in place.
Step 9
Fold the left and right vertical flaps up to start forming the side walls.
Step 10
Fold the top and bottom flaps up to complete the other two walls.
Step 11
Tuck the small triangular corner flaps into the pockets between the walls to lock the box.
Step 12
Press the base and corners firmly so the box holds its shape.
Step 13
Decorate your gift box with colouring materials and stickers to make it special.
Step 14
Share a photo of your finished origami gift box on DIY.org.
Help!?
What can I use instead of origami paper if I don't have a square sheet?
Trim a sheet of printer or wrapping paper into a square (place the color side down as instructed) and use the edge of a ruler or your fingernail as a bone-folder substitute to make the sharp creases.
My box won't stay together when I tuck the triangular corner flaps—how can I fix that?
Make sure the vertical and horizontal center creases and the corner folds are very crisp, gently lift the adjacent wall to open the pocket before tucking each small triangular corner flap fully inside, then press the base and corners firmly so the box holds its shape.
How can I adapt this activity for younger or older children?
For younger children, use a larger 12-inch construction paper square and pre-crease the center and corner folds for them and help with tucking the triangular flaps, while older kids can use smaller origami paper, try making a matching lid by repeating the same steps with a slightly larger square, and add finer decorations.
How can we personalize or make the gift box sturdier or fancier?
After tucking the corner flaps into the pockets, reinforce seams with a small dab of glue if you want sturdiness, then decorate with colouring materials, stickers, ribbon or a handmade tag and consider folding nested boxes of different sizes to create a set before sharing a photo on DIY.org.
Watch videos on how to make an origami gift box
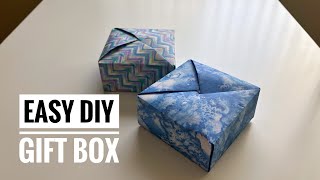
Easy Origami Box Tutorial - DIY Paper Gift Box | Simple Origami for Beginners
4 Videos

Easy Origami Box Tutorial - DIY Paper Gift Box | Simple Origami for Beginners
Super Easy DIY Origami Gift Box Tutorial
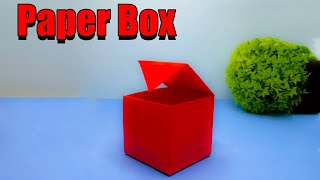
How to Make an Easy Origami Paper Box | DIY Craft for Beginners | Gift Box
![[DETAILED TUTORIAL] Origami Rectangular Box | Step-by-Step Folding Guide](https://img.youtube.com/vi/nlzD4orwy8s/mqdefault.jpg)
[DETAILED TUTORIAL] Origami Rectangular Box | Step-by-Step Folding Guide
Facts about origami and paper crafts
🎁 Origami means "folding paper" in Japanese — the word comes from ori (folding) + kami (paper).
📏 Most traditional origami starts with a perfect square — even a tiny uneven edge can change how folds line up.
✂️ Classic origami rules use no scissors or glue — you can make a strong gift box using only folds.
🧠 Playing with origami boosts spatial reasoning, patience, and fine motor skills — it's great brain training!
🔢 There’s real math in origami: theorems like Kawasaki's and Maekawa's explain which crease patterns can fold flat.
How do I make an origami gift box?
What materials do I need to make an origami gift box?
What ages is the origami gift box activity suitable for?
What are the benefits and safety tips for kids making an origami gift box?
