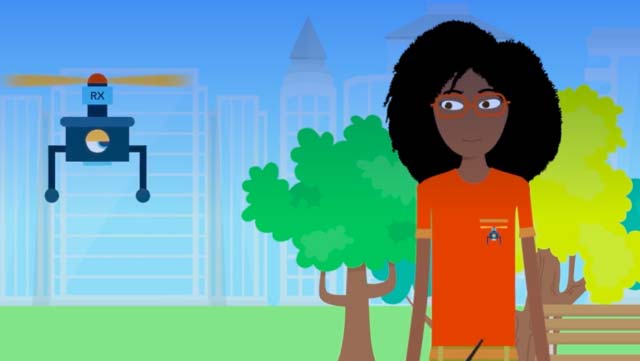
Name Your Drone
Choose a creative name for your drone, design and decorate a durable name tag, attach it securely, and explain why you picked that name.


Step-by-step guide to name your drone
Step 1
Pick a creative name for your drone and say it out loud.
Step 2
Write your chosen name neatly at the top of a piece of cardstock.
Step 3
Below the name write one or two sentences that explain why you picked that name.
Step 4
Draw a tag shape around your writing using a pen or marker.
Step 5
Decorate the tag with colours and small drawings that match your drone’s personality.
Step 6
Cut out the name tag carefully along the outline.
Step 7
Cover the front of the tag completely with clear packing tape or a laminating sheet to make it durable.
Step 8
Flip the tag over and cover the back completely with tape or laminate as well.
Step 9
Trim any extra tape or laminate so the edges of the tag are neat.
Step 10
Punch a hole near the top center of the tag for attaching.
Step 11
Thread one end of the string or the zip tie through the hole.
Step 12
Tie the string securely or close the zip tie so the tag is fastened.
Step 13
Loop the string or zip tie around the drone frame away from the propellers and secure it tightly.
Step 14
Gently tug the tag to check it is firmly attached and not touching any moving parts.
Step 15
Share your finished name tag and the reason behind the name on DIY.org.
Help!?
What can we use if we don't have cardstock, clear packing tape, or a laminating sheet?
Use a cereal-box or thin cardboard instead of cardstock and cover the finished tag front and back with overlapping clear packing tape or clear contact paper in place of a laminating sheet before trimming.
My tag ends up touching the propellers after I attach it—how can I fix that?
Loosen the string or zip tie, reposition the tag so you loop it around the drone frame away from the propellers as the instructions say, then retie or reclose the zip tie tighter and gently tug to confirm it no longer touches moving parts.
How can I adapt this activity for younger children or for older kids who want a challenge?
For younger children have an adult pre-cut the cardstock tag and punch the hole, let them write and decorate with markers or stickers and use yarn instead of a zip tie, while older kids can design and print the name and reasons on heavy paper, fully laminate it with a laminating sheet, and add a QR code or reflective details before attaching.
What are some ways to personalize or improve the finished name tag?
Add a printed contact-info card on the back before covering both sides with clear packing tape or a laminating sheet, decorate the front with glow-in-the-dark or reflective tape to match the drone’s personality, and trim the edges neatly so it’s durable and safe.
Watch videos on how to name your drone
How Drones Work - Beginner's Guide to Drone Flight Explained
4 Videos
How Drones Work - Beginner's Guide to Drone Flight Explained

Intoducing Pioneer Drones | Exploring Education Through Hands-On Drone Learning
What is a drone? (types of drones explained) + Full Glossary list
How to Fly a Drone - A Beginner's Guide
Facts about drone safety and identification
🚁 Tiny drones exist that weigh only a few grams — some are smaller than a chocolate bar!
🏷️ Many countries ask hobbyist drone owners to register or label their craft so lost drones can be returned.
🛩️ Real airplanes have visible registration codes (like license plates); a clear name tag does the same for a drone.
🎨 Waterproof labels — made with laminating film, clear tape, or permanent markers — help names survive rain and flights.
🔍 Adding contact info or a QR code to a drone tag greatly increases the chance someone will return it if it’s found.
How do I do the "Name Your Drone" activity?
What materials do I need for the "Name Your Drone" activity?
What ages is the "Name Your Drone" activity suitable for?
What are the safety tips for the "Name Your Drone" activity?
